LG HT906TI, Owner'S Manual
The LG HT906TI is a high-performance home theater system that delivers immersive audio and video experiences in the comfort of your own home. Enhance your entertainment with this sleek and powerful system. Explore its full potential by accessing the comprehensive Owner's Manual available for free download at manualshive.com.
Share
Download


Reviews:
No comments
Related manuals for HT906TI

CT-5
Brand: RBH Sound Pages: 12

Z553
Brand: Logitech Pages: 200

10026464
Brand: auna multimedia Pages: 17

Mineral Mizer
Brand: O-SO Pure Pages: 16

D-N5
Brand: Onkyo Pages: 9

Studio 500 Series
Brand: JAMO Pages: 16

DIGITAL DRIVE - REV G
Brand: Velodyne Pages: 50

NK12
Brand: Nakamichi Pages: 2

Cinema CR58
Brand: EAW Pages: 2

ALFA-2600
Brand: Party Light & Sound Pages: 20

Vocal Master VA300-S
Brand: Shure Pages: 2

JP108 Aquarius
Brand: Jupiter Pages: 16

DVD 4602 HC
Brand: AEG Pages: 36

DVD 4606 HC
Brand: AEG Pages: 64
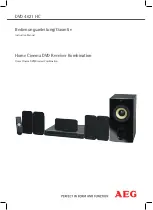
DVD 4621 HC
Brand: AEG Pages: 58

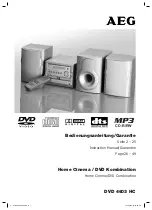
DVD 4604 HC
Brand: AEG Pages: 56
DVD 4603 HC
Brand: AEG Pages: 50

DVD 4619 HC
Brand: AEG Pages: 70


