background image

Advanced functions 

on your Video 

Your Video has some advanced operations with features you may find useful.

Setting the clock

The Video uses a 24 hour clock, so
that for example 1 pm is represented
as 13:00. Single digit numbers should
be entered with a 0 in front for 
instance, 01.

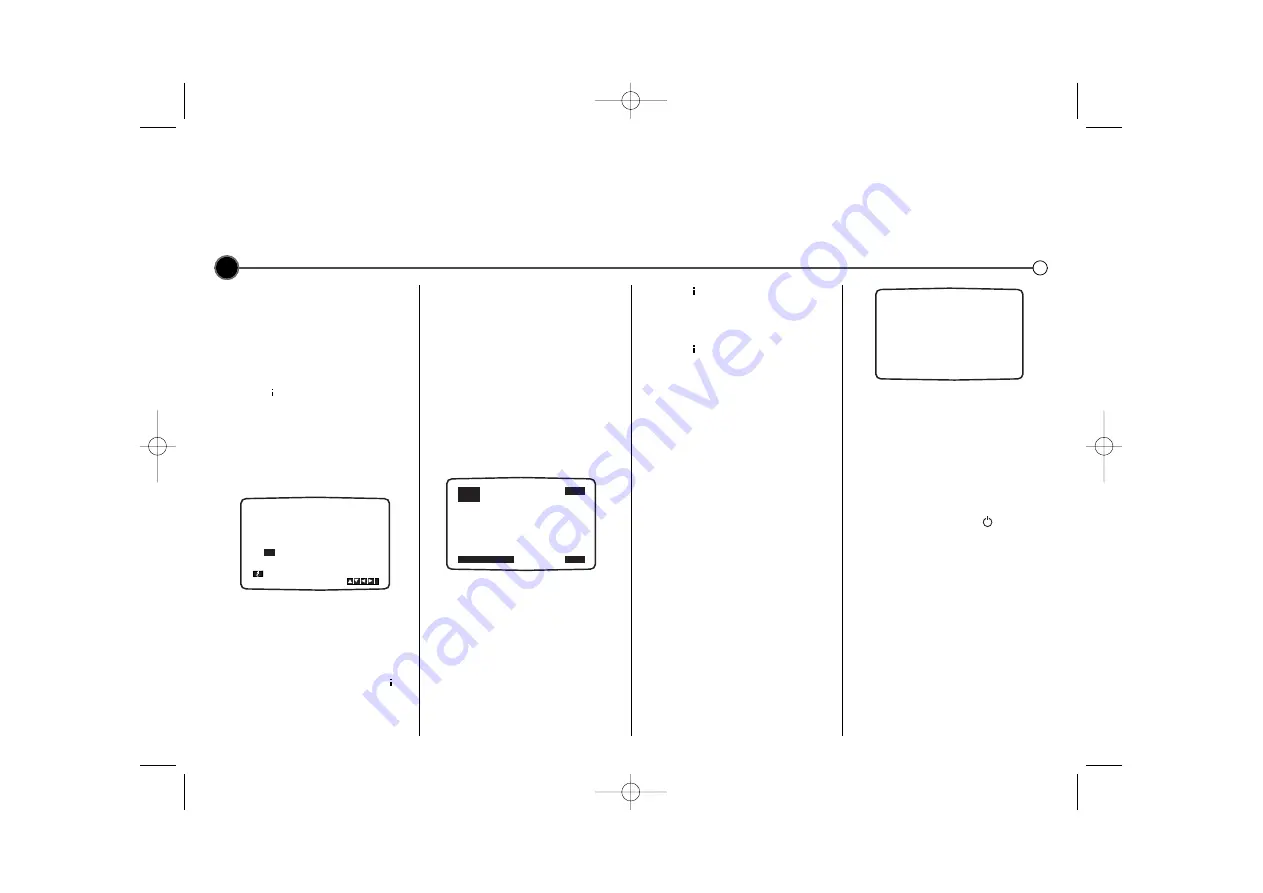
1

Press 

to enter the main menu.

Use the 

or

buttons to select

TIME DATE

then press 

OK

.

2

Use the numbered buttons on the
remote control to enter the the

HOURS, MINUTES, DAY,
MONTH 

and 

YEAR

.

The day of the week will appear
automatically once the date has
been entered. If you make a 
mistake use 

or

to select the

item and re-enter the details.

3

Once you are satisfied press 

to

store your settings.

On screen display
(OSD)

This can be used to display the 
current time, tape counter, tape
remaining, day, month and year, day
of week, channel and operational
mode of your Video on your 
television screen. If a recording is 
taking place, the on screen displays 
will not be recorded onto tape.

1

Press 

OK

to show the 

OSD

.

2

Press 

OK

repeatedly to cycle

through the display options. 
The tape counter and amount of
tape left will appear if there is a
tape loaded. 

3

Press 

OK

again to remove all

OSD’s

from the television screen.

To turn off the on screen displays
completely.

1

Press 

to enter the main menu. 

2

Select 

fOSD ON OFF

using 

or

then press 

OK.

3

Select 

OFF

using 

or 

4

.

Press 

to save the setting.

Resetting the digital
tape counter

The tape counter displays the play 
or recording time elapsed in hours 
minutes and seconds. Press 

CLEAR

to reset the counter to 0:00:00.
When you press 

STOP

9

and press

REW

5

, the Video will stop at

0:00:00, the point where you reset
the counter.

Lock (Child Lock)

You can turn off the buttons on the
Control Panel so that your Video can
only be operated using the Remote
Control.

1

Press the 

LOCK

on the Remote

Control. 

SAFE

will appear on the

television screen for a few 
seconds.

None of the buttons on the Control
Panel will work apart from 

EJECT

/

If any other buttons on the front of 
the Video are pressed, 

SAFE

will

appear on the television screen for a
few seconds. To unlock the Child
Lock press the 

LOCK

again on the

Remote Control.

Automatic power off

By pressing the 

POWER

while

rewinding a tape the Video will turn
off automatically when the tape
rewind has completed.

12

HH

MM

DD

MM

YY

:

.

.

-  -

- -

- -

- -

- - - -  - - - 

i

1

2

TIME

DATE

STOP
SP

 PR-01

 1. 1. 2004 THU

12:00

SAFE

GC982NW1F.BHKGLLS_ENG  3/20/09  4:46 PM  Page 12

Summary of Contents for GC470W

Page 1: ...e connecting operating or adjusting your new Video please read this user guide carefully Thank you User guide Video Model GC992NW GC982NW GC980NW GC470W G CODE R GC982NW1F BHKGLLS_ENG 3 20 09 4 46 PM Page 1 ...

Page 2: ...r hazards Ensure that your Video is placed in a position to allow a free flow of air The apparatus shall not be exposed to dripping or splashing and that no objects filled with liquids such as vases shall be placed on the apparatus Touch current is higher than recommended limit value in tropical climates but does not make delectric shock to users Cleaning 1 Unplug the Video from the mains supply 2...

Page 3: ...d a tape Select the channel you want to watch Display Panel Remote Control Sensor To record the programme you are watching To Pause a tape or view it frame by frame TV control buttons Controlling your TV with the supplied remote control See page 16 To watch one TV channel whilst recording another To display the on screen menu To reset the tape counter to zero To select the recording speed of the t...

Page 4: ...cable you need to select a Video channel on your television and tune it to the Video signal a test picture Turn on the Video and TV Select the vacant position 36 on your TV Press POWER on the Remote Control to put the Video on standby then press and hold PROG 3 or 4 on the front of your Video for more than 4 seconds If the test picture appear clearly on the television screen the position 36 is you...

Page 5: ...er of the television stations You will find it useful to have a current television programme guide to hand during this operation 1 Press to access the main menu Use 1 or 2 to select PR SET then press OK 2 Press again 3 Use either the 3 or 4 buttons to select the programme number that you wish to move Then press 2 4 Press 3 or 4 until you reach the position you wish to store the channel in 5 Press ...

Page 6: ...9 The station can be fine tuned to improve picture quality Select MFT Manual Fine Tuning using the 1 or 2 buttons Use the 3 or 4 buttons to adjust the picture 10 Select STATION by pressing 2 you can then name your station 11 Press OK 12 Use the 3 or 4 to select letters and numbers for the new station name up to a maximum of 5 13 Press 1 or 2 to move between the characters 14 Press OK 15 To confirm...

Page 7: ...n the Video to normal rewind or fast forward operation Slow Motion Playback Shuttle Using the 1 or 2 buttons it is possible to adjust playback speed during playing back or still picture Below is a list of what speeds are accessible and how to reach them 1 once slow play 1 twice still 1 three times play backwards 1 four times Reverse play 3x speed 1 five times Reverse play 7x speed 2 once 2x forwar...

Page 8: ...u wish to record The currently selected programme will be displayed on screen You can also select the programme number using the Remote Control number buttons 3 Press 0 REC ITR to begin recording On the first press REC SP or LP will appear on the television screen The Video will start recording It will continue recording until the end of the tape is reached or it is manually stopped To set the len...

Page 9: ...wish to record The Video uses a 24 hour clock 7 Press 2 to select the recording speed Use the 3 or 4 to move among Standard Play Intelligent Play and Long Play IP Intelligent Play determines how much tape is left and switches speed from SP to LP if necessary to complete recording the programme 8 Check that the timer event details are correct if they are press to save your settings If PLEASE CHECK ...

Page 10: ...ect ly but does not work it may have been printed incorrectly in the tele vision listings guide If is displayed on the PR you will have to enter the programme number that you want to record from This will only happen once for each channel once done it will be stored in the Video Recorder s memory If you wish to record from the scart socket or RCA socket press AV 6 Use the 3 or 4 buttons to choose ...

Page 11: ...ront of your Video Colour standards Your Video uses dual colour standards PAL B G I I and SECAM D K During play your Video should select the Colour System automatically however if you experience problems you may need to do it manually 1 Press to enter the main menu 2 Use 1 or 2 to select SYSTEM then press OK 3 Use 3 or 4 to select the colour system used in your recording PAL Signals Playback or re...

Page 12: ...pear if there is a tape loaded 3 Press OK again to remove all OSD s from the television screen To turn off the on screen displays completely 1 Press to enter the main menu 2 Select fOSD ON OFF using 1 or 2 then press OK 3 Select OFF using 3 or 4 Press to save the setting Resetting the digital tape counter The tape counter displays the play or recording time elapsed in hours minutes and seconds Pre...

Page 13: ...IC in the main menu to set your Video s NICAM function to operate automatically AUTO or to turn it off OFF GC470W can also set the RF AUDIO by selecting AUDIO on screen display ez Power off Press ez POWER OFF during play The Video will automatically stop the tape rewind to the beginning and eject the tape It will then turn itself to standby ez Repeat You can select a section of the video tape to r...

Page 14: ...MER PROGRAMME 2 Shows the number of timer recording programmed NEXT TIMER PROGRAMME PR 01 26 10 00 11 00 SP Shows the current status of timer recording 5 Press to remove the menu from the television screen Language selection It is possible to change the language that the on screen displays are shown in You can choose between ENGLISH DEUTSCH FRANÇAIS POLSKI and PyCCKNÑ 1 Press to display the main m...

Page 15: ...o tape cannot be inserted Check that there is not a cassette in the Video already Is the video cassette the right way round The windows should be at the top and the arrow should be pointing toward the Video The Remote Control does not work Has the Video been plugged in and switched on Check that the batteries have been inserted correctly into the Remote Control The top of the video picture is unst...

Page 16: ...Fi Track Frequency response Normal 100 Hz 10 kHz 6 3 dBm Hi Fi 20 Hz 20 kHz 3 3 dBm Signal to noise ratio Hi Fi More than 70 dB JIS A filter Dynamic range Hi Fi More than 85 dB JIS A filter You can control the sound level input source and power switch of your LG TV with the supplied remote control By pressing You can TV POWER Turn the TV on or off TV PR Scans up or down through memorized channels ...

Page 17: ...Model No GC992NW1F GC982NW1F GC980NW1F GC470W1F Part No MFL46896867 GC982NW1F BHKGLLS_ENG 3 20 09 4 46 PM Page 17 ...

Reviews: