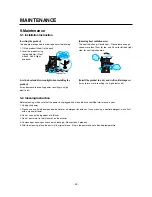
10. Handle Disassembling, Assembling Instruction
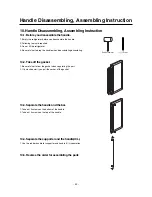
10-1. Before you disassemble the handle.
1. Empty the refrigerator before you disassemble the handle.
2. Following tools are required.
3. Do not tilt the refrigerator.
4. Be careful not to drop the handle when disassembling/assembling.
10-2. Take off the gasket.
1. Be careful not to tear the gasket when separating the part.
2. It is much easier if you pull the corner of the gasket.
10-3. Separate the handle and the bar.
1. Take out 3 screws on the bottom of the handle.
2. Take out 3 screws on the top of the handle.
10-4. Separate the supporter and the handle(U/L).
1. Use the rubber handle for supporter and handle (U/L) separation.
10-5. Reverse the order for assembling the parts
Handle Disassembling, Assembling Instruction
- 42 -
Rubber hammer (+), (-) Driver.
Summary of Contents for GC-W061 series
Page 8: ... 8 3 Exterior 3 1 Exterior GC W061 EXTERIOR ...
Page 9: ...GC W101 EXTERIOR 9 ...
Page 10: ...EXTERIOR 10 ...
Page 11: ...GC W141 EXTERIOR 11 ...
Page 12: ...EXTERIOR 12 ...
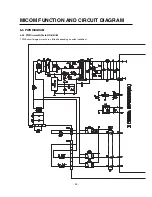
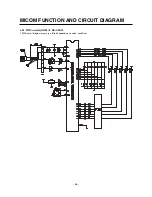
Page 14: ...CIRCUIT DIAGRAM 14 GC W101 GC W141 ...
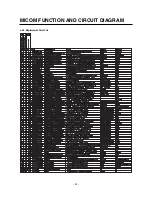
Page 32: ...6 4 2 Replacement Parts List MICOM FUNCTION AND CIRCUIT DIAGRAM 32 ...
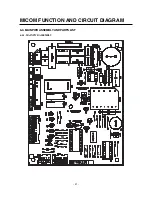
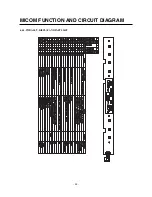
Page 33: ...6 4 3 PWB ASS Y DISPLAY AND PARTS LIST MICOM FUNCTION AND CIRCUIT DIAGRAM 33 ...
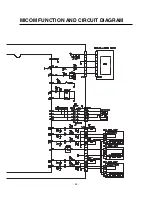
Page 35: ...MICOM FUNCTION AND CIRCUIT DIAGRAM 35 ...

