- 69 -
- 69 -
Appendix. C
※
Retrofit instructions continued
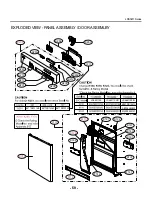
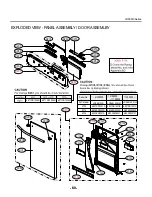
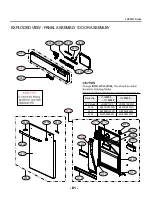
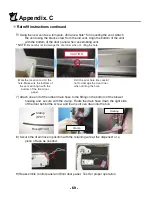
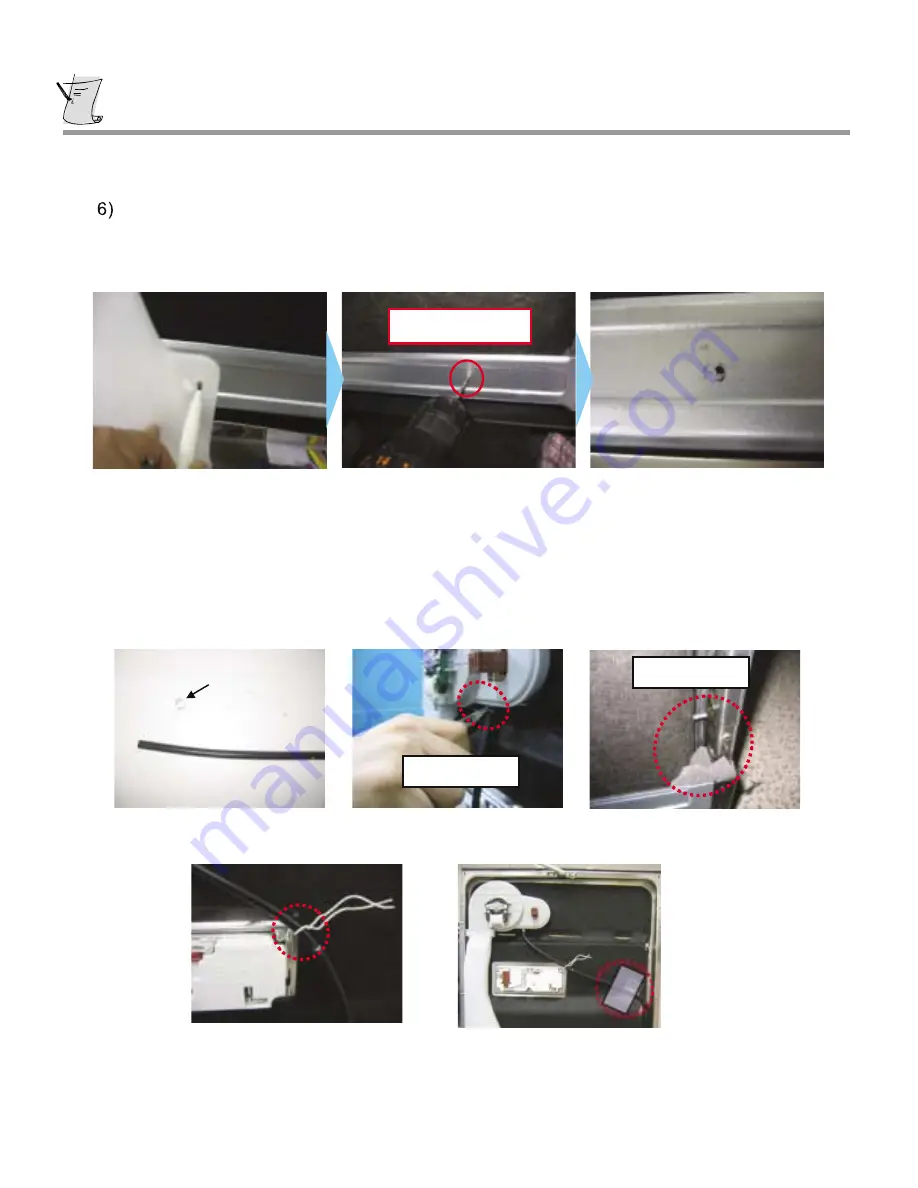
7) Attach one end of the rubber drain hose to the fitting on the bottom of the blower
housing and secure with the clamp. Route the drain hose down the right side
of the door behind the screw and foam so it can drain into the tub.
8) Secure the drain hose in position with the retaining wire at the dispenser or a
piece of tape as needed.
Clamp
(K141)
Hose(K140)
9) Reassemble control panel and front door panel. Test for proper operation.
Clamp
Routing
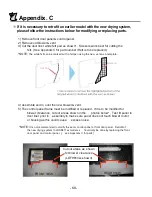
Using the new vent as a template, drill a new hole* for mounting the vent. Attach
the vent using the black screw from the old vent. Align the bottom of the vent
with the bottom of the door panel when assembling vent.
* NOTE:
Be careful not to damage the door liner w hen dr illing the hole.
Mark the loc ation to drill the
hole. Make sure the bottom of
the vent will align with the
bottom of the front door
panel.
Drill the pilot hole. Be c areful
not to damage the door liner
when drilling the hole.
CAUTION
Summary of Contents for DF6810
Page 5: ... 6 1 7811 7810 6810 serise 3 WIRING DIAGRAM 2 8812 serise ...
Page 24: ... 25 Program chart 6 4 LDF 6810 01 Series LDF 6810 02 Series ...
Page 69: ... 70 70 MEMO ...
Page 70: ... 71 MEMO ...
Page 71: ...P No MFL37554801 ...

