


Function
26
Adjusting PC Input
Screen
Auto Config.
Position
Resolution
ꔃ
Size
Phase
Reset
ꔐ
1024 x 768
1280 x 768
1360 x 768
ꔂ
Move
ꕉ
Prev.
Press the
AUTO
button on the remote control.
ꔈ
If you use AUTO for video signal from a PC, you may not be able to get
optimized picture quality. Therefore, use the AUTO function for still images.
ꔈ
You can select this function through the
MENU
button
.
Using the AUTO Function
* AUTO provides optimized picture quality by automatically calibrating the mismatch of horizontal width and picture shake
caused by clashes between the internal settings of the projector and various PC graphic signals in RGB mode.
* The AUTO function is available only for RGB input.
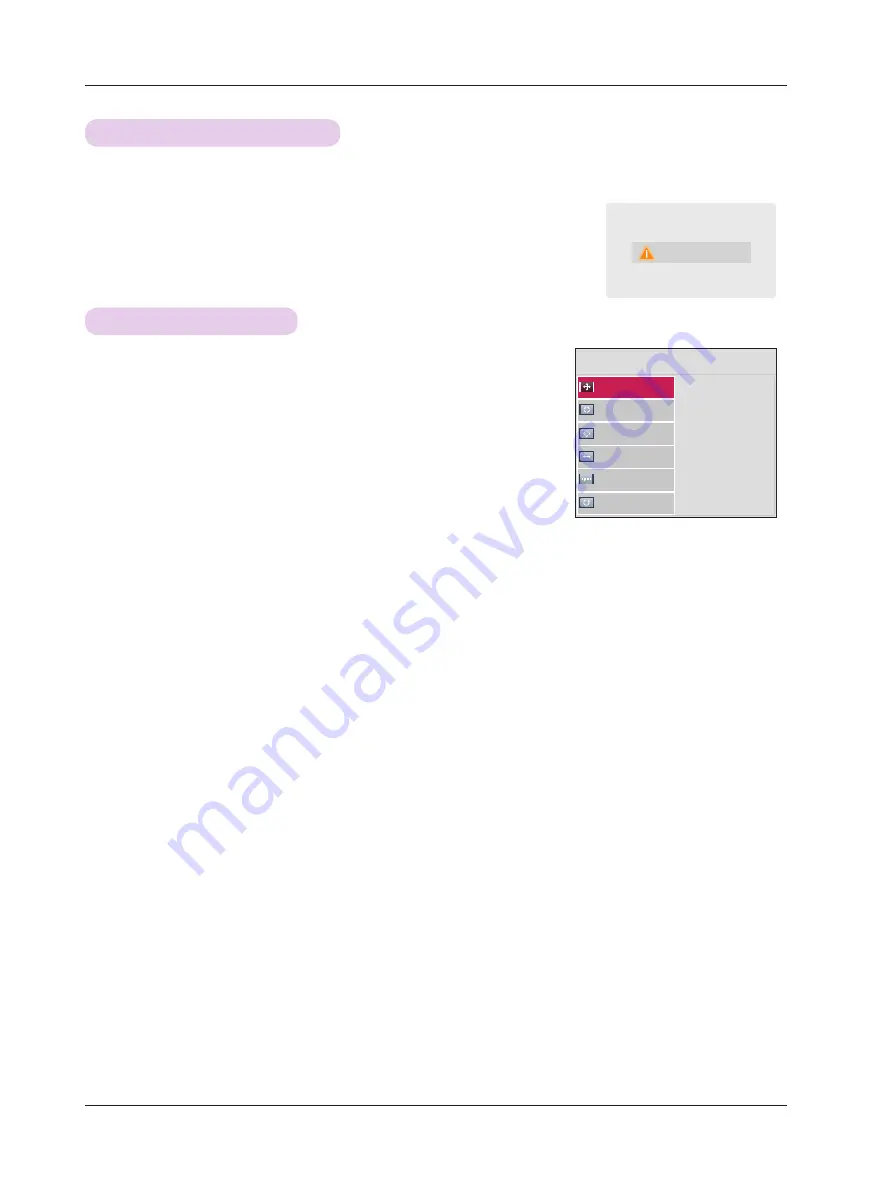
Auto Config.
1. Press the
MENU
button, then go to Screen with the
∧, ∨, <, >
buttons
and press
OK
◉
.
2. Press the
∧, ∨
buttons to go to RGB Config. and press
OK
◉
.
3. Press the
∧, ∨
buttons to select a desired option and press the
>
button.
4. Press the
∧, ∨, <, >
buttons to adjust the screen and press
OK
◉
.
ꔈ
Available resolutions are 768 resolution
(1024x768/1280x768/1360x768, 60Hz) and 1050 resolution
(1400x1050/1680x1050, 60Hz).
ꔈ
Press the
BACK
button to exit the menu screen.


