


30
Operation
Operation
4
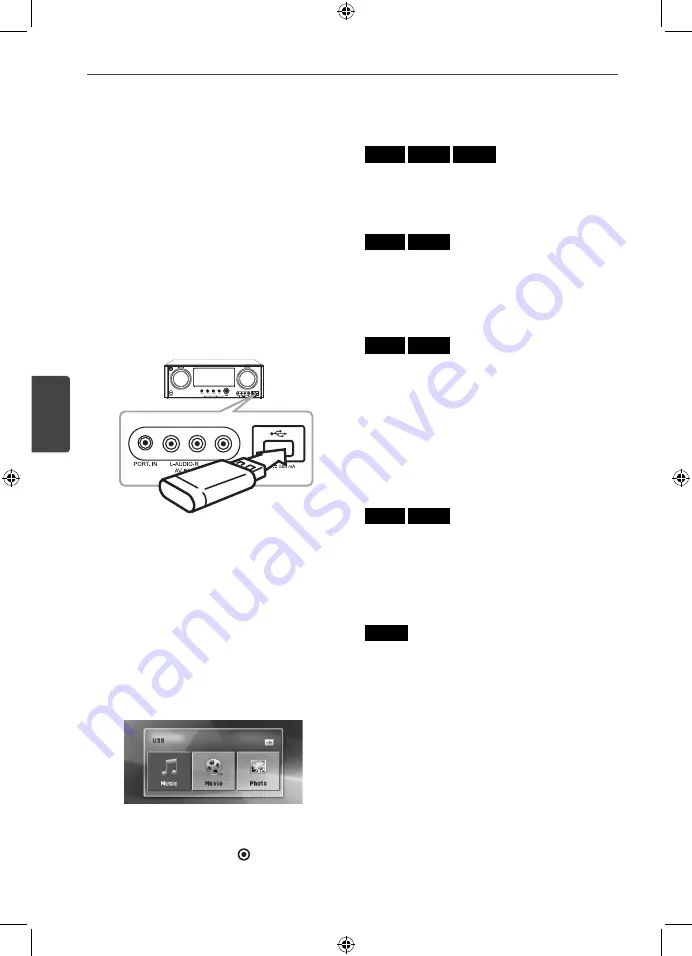
Playing the USB
device
This unit can play movie, music and photo fi les
contained in the USB device.
Basic operations
1.
Insert an USB device to the USB port until it
fi ts into place.
USB device
2.
Rotate
INPUT SELECTION
on the front
panel to select until the “USB” appears on
the display window. Or press
USB
on the
remote control.
When you connect the USB device
contained music fi les only in the USB device,
the unit plays music fi les automatically.
If the USB device is containing various types
of fi les, the [USB] menu for the fi le type
selection will appear.
[USB] menu
3.
Select [Music], [Movie] or [Photo] using
A
/
D
, and press
ENTER
( ) to play the fi le.
To stop playback
MUSIC
MOVIE
PHOTO
Press
Z
(STOP) during playback.
To pause playback
MUSIC
MOVIE
Press
M
(PAUSE) during playback.
Press
d
(PLAY) to resume playback.
To scan forward or backward
MUSIC
MOVIE
Press
c
or
v
to play fast forward or fast
reverse during playback.
You can change the various playback speeds
by pressing
c
or
v
repeatedly.
Press
d
(PLAY) to return to normal speed.
To skip to the next/previous chapter/
track/fi le
MUSIC
MOVIE
During playback, press
C
or
V
to go to
the next chapter/track/fi le or to return to the
beginning of the current chapter/track/fi le.
Press
C
twice briefl y to step back to the
previous chapter/track/fi le.
PHOTO
During playback, press
C
or
V
to go to
the previous/next fi le.
AV Receiver
System
NA9530P-FH.DZAFLLK_ENG_MFL67781456.indd 30
NA9530P-FH.DZAFLLK_ENG_MFL67781456.indd 30
2013-02-25 3:59:48
2013-02-25 3:59:48


