


Owner’s Manual 103
Operation
W
W
How to play the instant reecord to the DVHS
2
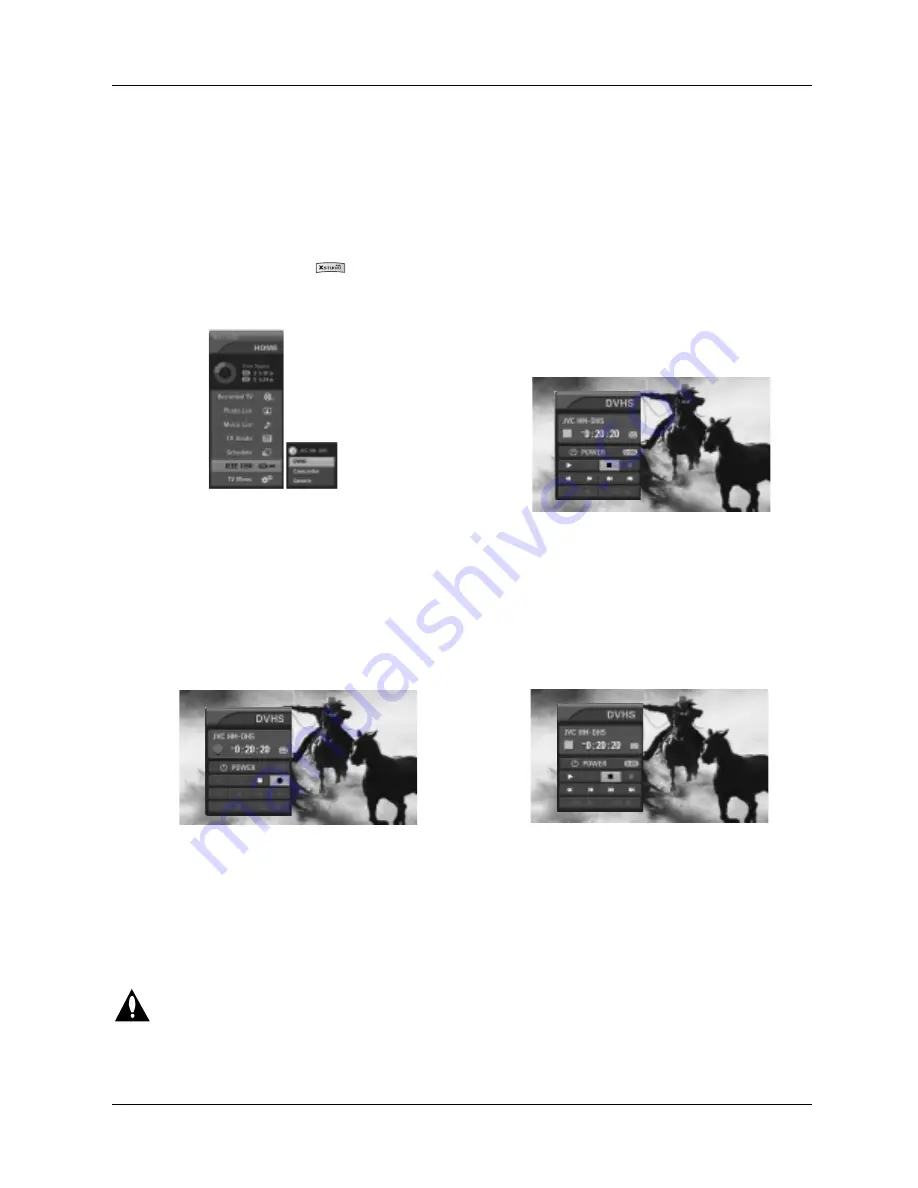
. Press the
D
/
E
buttons to select the
DVHS
and then use
the ENTER button.
• Show the control panel of DVHS.
• Show the control panel of DVHS.
The instant record function can not be used with copy-protected programs.
1
. When watching the TV, press the button to move
the
IEEE 1394
in
HOME
menu and then ENTER button.
3
. Press the
D
/
E
/
F
/
G
buttons to move to
"
and then use the
ENTER button. You can record the current program to the DVHS.
4. Press the
D
/
E
/
F
/
G
buttons to move to
#
and then
use the ENTER button.


