background image

7

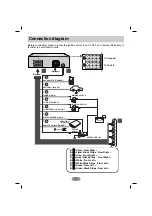
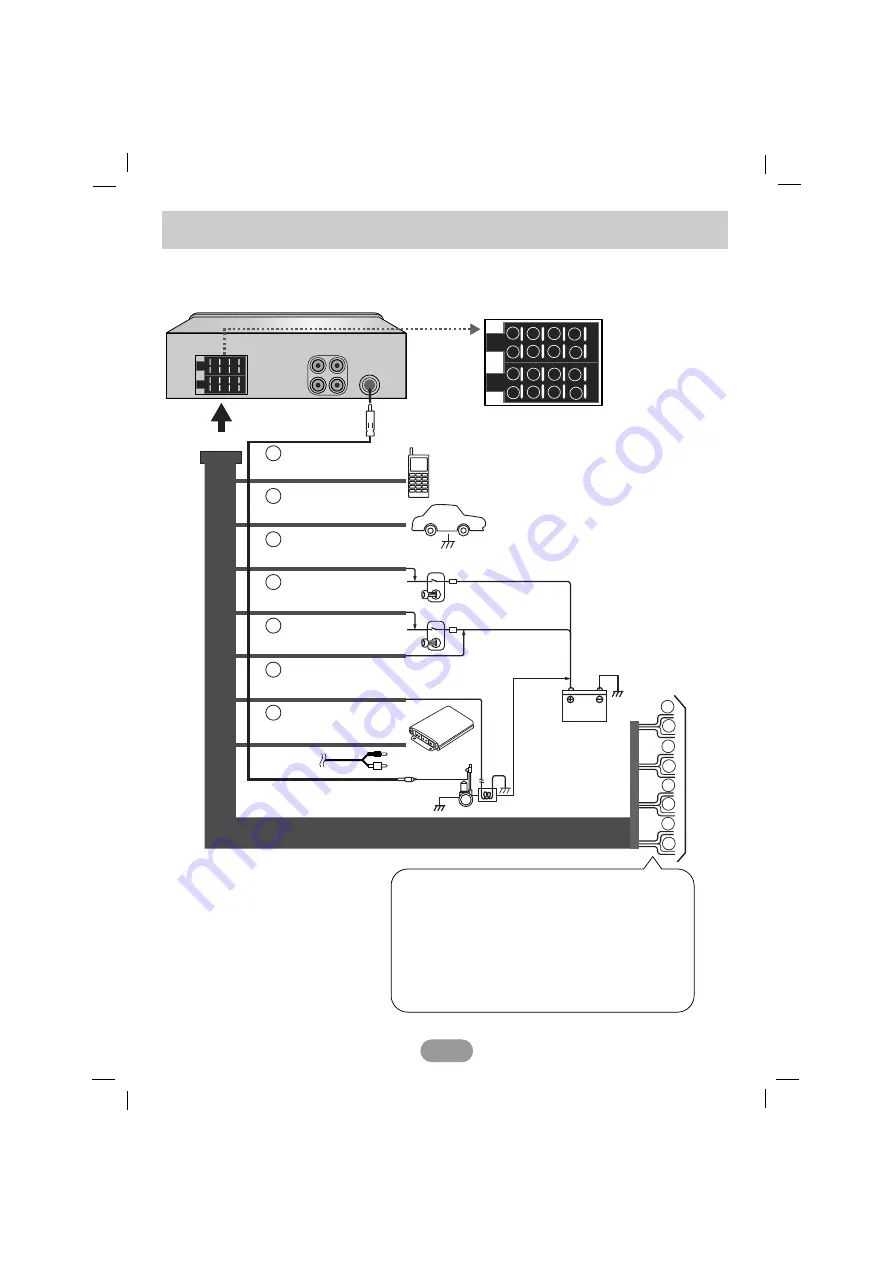
Before connecting, make sure that the ignition switch is set to OFF, and remove the battery 

#

terminal to avoid short circuits.

Connection diagram

BATTERY

POWER 

Antenna

DIMMER SWITCH 

IGNITION SWITCH 

CONTROL RELAY

REMOTE ON (BLUE/WHITE)

AMPLIFIER

(Optional)

PHONE MUTE (ORANGE)

DIMMER (PINK)

TO IGNITION (RED)

GROUND(-) (BLACK)

POWER ANTENNA (BLUE)

TO B) (YELLOW)

1

2

3

4

5

6

7

8

1

2

3

4

5

6

7

8

B

A

A

A

A

A

A

A

A

1

2

4

5

6

7

8

1

2

3

4

5

6

7

8

A

A

B

B

C

C

1

1

. Violet : Rear Right +

2

2

. Violet/ Black Stripe : Rear Right –

3

3

. Gray : Front Right +

4

4

. Gray / Black Stripe : Front Right –

5

5

. White : Front Left +

6

6

. White/Black Stripe : Front Left –

7

7

. Green : Rear Left +

8

8

. Green/ Black Stripe : Rear Left –

To Speaker

To Vehicle

(Optional)

(Optional)

r

r

Summary of Contents for 3705R

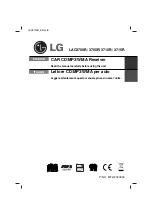
Page 1: ... LAC3700R_ENG_IS ENGLISH CAR CD MP3 WMA Receiver Read the manual carefully before using the unit LAC3700R 3705R 3710R 3715R ITALIAN Lettore CD MP3 WMA per auto Leggere attentamente questo manuale prima di usare l unità ...

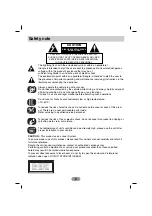
Page 2: ...cover or back of this prod uct There are no user serviceable parts inside Refer servicing to qualified service personnel To reduce the risk of fire or electric shock do not expose this product to dripping or splashing water rain or moisture The temperature of unit s outside can be extremely high please use the unit after proper installation in your vehicle CAUTION TO REDUCE THE RISK OF ELECTRIC SH...

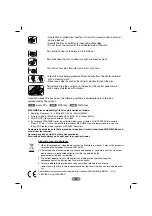
Page 3: ...3 WMA files using software which cannot create a FILE SYSTEM for example Direct CD etc it will not be possible to playback MP3 WMA files We recommend that you use Easy CD Creator which creates an ISO9660 file system Customers should also note that permission is required in order to download MP3 WMA files and music from the Internet Our company has no right to grant such permission Permission shoul...

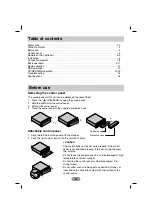
Page 4: ...n 14 15 Troubleshooting 16 Specifications 16 Table of contents Before use Attachable control panel 1 Align the left side of the panel with the stopper 2 Push the right side or panel into the unit until it clicks 1 2 Protective Case 4 3 Control panel 2 1 Caution The control buttons may not work properly if the control panel is not attached properly If this occurs gently press the display Do not lea...

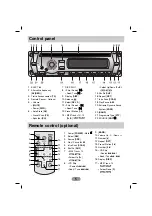
Page 5: ...T 17 Intro Scan SCAN 18 Play Pause B X 19 Extreme Dynamic Sound System XDSS 20 BAND 21 Programme Type PTY 22 SOURCE SRC S S WMA MP3 WMA MP3 1 Power POWER Mute 2 Select SEL 3 Source SRC 4 Play Pause B X 5 Intro Scan SCAN 6 Shuffle SHF 7 MP3 Track 10 Folder Up F 8 CD Skip Search m m Seek Tune m m 9 BAND 10 Volume Up Down 11 Number 12 Repeat RPT 13 Preset Station 1 6 14 Number 0 9 15 CD Skip Search M...

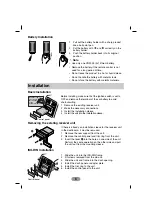
Page 6: ...he installation sleeve 4 Install the unit into the installation sleeve A A Bend the claws according to the thickness of the dashboard Control panel If there is already an installation sleeve for the receiver unit in the dashboard it must be removed 1 Remove the rear support from the unit 2 Remove the control panel and trim ring from the unit 3 Insert the lever A into the hole on one side of the un...

Page 7: ...TE ORANGE DIMMER PINK TO IGNITION RED GROUND BLACK POWER ANTENNA BLUE TO BATTERY YELLOW 1 2 3 4 5 6 7 8 1 2 3 4 5 6 7 8 B A A A A A A A A 1 2 4 5 6 7 8 1 2 3 4 5 6 7 8 A A B B C C B 1 1 Violet Rear Right B 2 2 Violet Black Stripe Rear Right B 3 3 Gray Front Right B 4 4 Gray Black Stripe Front Right B 5 5 White Front Left B 6 6 White Black Stripe Front Left B 7 7 Green Rear Left B 8 8 Green Black S...

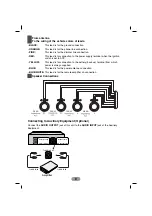
Page 8: ... This lead is for connection to the battery back up terminal from which power is always supplied BLUE This lead is for the power antenna connection BLUE WHITE This lead is for the remote amplifier on connection L L R R 1 2 3 4 5 6 7 8 REAR REAR FRONT FRONT C C Speaker Connections Connecting to Auxiliary Equipment Optional Connect the AUDIO OUTPUT jack of this unit to the AUDIO INPUT jack of the Au...

Page 9: ...unit back on it will operate at the memorized volume level Mute 1 Press MUTE PWR POWER on the remote control to cut the sound 2 To cancel it press again Checking the clock You can see the clock pressing DISP DISP on the remote control Note If the unit is receiving RDS broadcasting with CT Clock Time information the clock will be shown automatically in the display window Unless NO CLOCK appears in ...

Page 10: ...a key is long pressed 1 sec BEEP ALL The beep is generated when any key is pressed RDS AF REG FUNCTION To switch on or off the AF function Network Tracking shortly press the AF REG button To switch on or off the REG function Regional Network Tracking press the AF REG button longer than 2 seconds AF Alternative frequency ON OFF When the reception quality worsens the tuner automatically changes to a...

Page 11: ...the sound level 1 Press SEL S SEL on the remote control repeatedly to select the mode you want to adjust from volume bass middle treble balance and fader The indicator lights up in the following order VOL t BAS t MID t TRB t BAL t FAD 2 Rotate the MUTE PWR Press VOLUME on the remote control to adjust the sound quality Note When EQ and XDSS is set to Off you can adjust the sound level BAS MID TRB s...

Page 12: ...on frequency has been stored in memory 4 Repeat steps 1 3 to preset other stations The next time you press the same preset button the radio station frequency is recalled from the memory Note Up to 18 FM stations 6 for each of three FM bands and 6 MW AM stations can be stored in the memory When a station is stored on the preset numbers on which another station of the same band has already been pres...

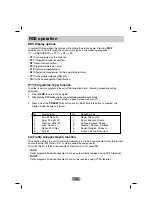
Page 13: ...e by one activated as selecting each mode music grouptspeech grouptsearch off 3 Press one of the PRESET 1 6 button shortly Each time this button is pressed the display mode changes as follow TA Traffic Announcement function TA reception allows the unit to switch temporarily to a Traffic Announcement from the current source another FM station CD or other connected components To switch the TA Traffi...

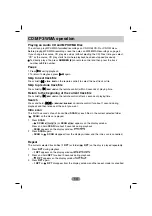
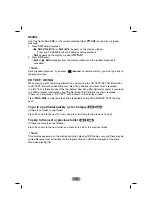
Page 14: ...ack file Press briefly b b m m on the remote control after 4 seconds of playing time Search Press and hold b b B B m m M M on remote control for about 1 second during playback and then release at the point you want Intro scan The first 10 seconds of each tracks files SCAN or each files in the current selected folder SCAN on the disc are played 1 Press SCAN SCAN or SCAN appears on the display windo...

Page 15: ...AG information about the file Alburm title Song title Performer name is recorded In a WMA Content information about the file Song title Performer name is recorded If there is no information NO TEXT will be shown in the display window Press DISP DISP on the remote control repeatedly during MP3 WMA CD TEXT file play back To go to a particular quickly 10 10 steps If there is no folder or one folder P...

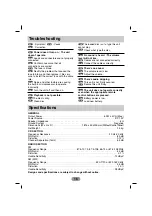
Page 16: ...perly connected Confirm once more that all connections are correct The fuse is blown Rectify the problem that caused the fuse to blow and then replace it Be very sure to install the correct fuse with the same rate Noise and other factors are causing the built in microprocessor to operate incorrectly Turn the unit off and then on Playback is not possible The disc is dirty Clean disc The loaded disc...

Reviews: