


Other functions
Child lock
The TV can be set so that the remote control handset is needed to
control it. This feature can be used to prevent unauthorized view-
ing.
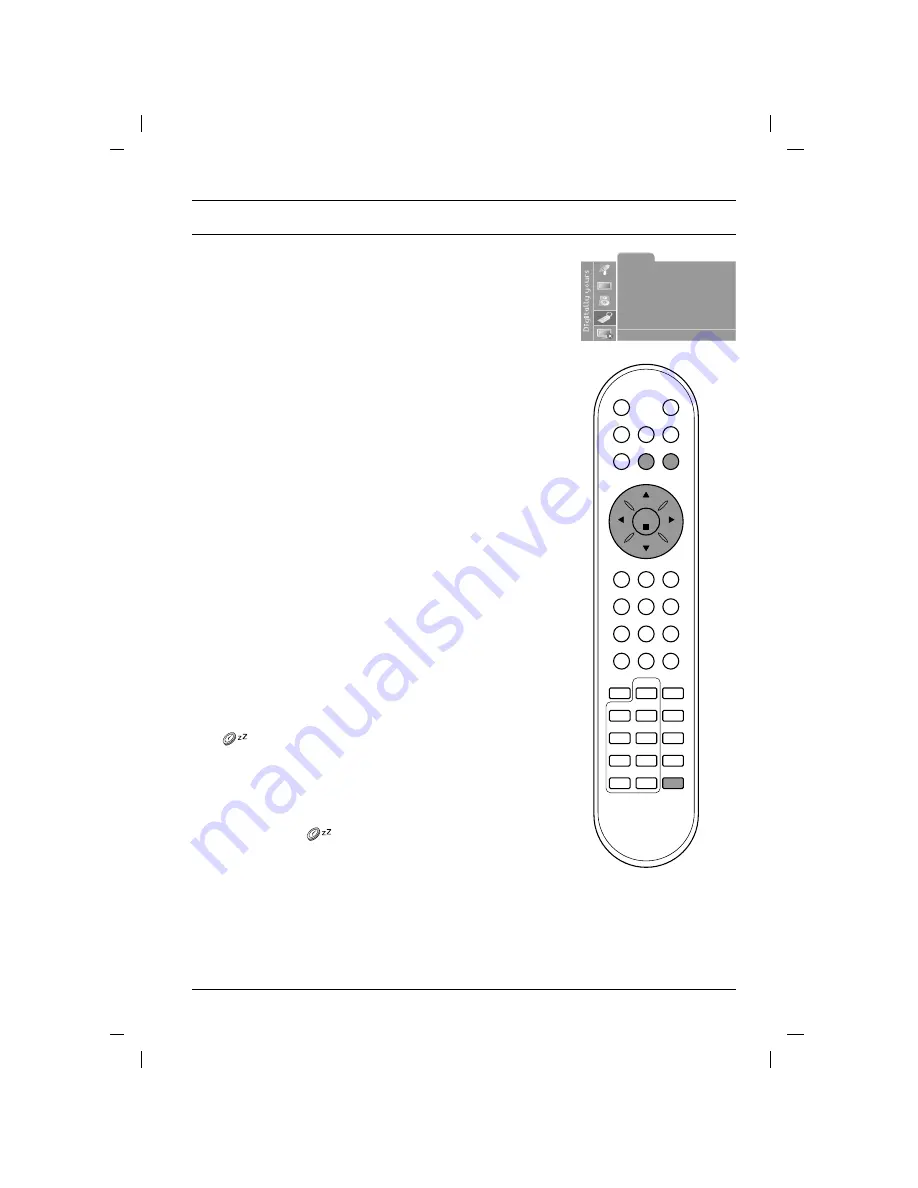
1. Press
the
MENU button and then
D
D
/
E
E
button to select the
Special menu.
2. Press the OK or
G
G
button and then
D
D
/
E
E
button to select
Child
lock
.
3. Press the
F
F
/
G
G
button to select
On
or
Off
on the
Child lock
menu.
4. Press the EXIT button to return to normal TV viewing.
With the lock on, the display
Child lock On
appears on the screen
if any button on the top panel is pressed while viewing the TV.
Note : The display
Child lock On
will not appear on the screen if
any button on the top panel is pressed while displaying the menus.
Auto sleep
If you select
On
on the
Auto sleep
menu, the set will automatical-
ly switch itself to standby mode approximately ten minutes after a
TV station stops broadcasting.
1. Press
the
MENU button and then
D
D
/
E
E
button to select the
Special menu.
2. Press the OK or
G
G
button and then
D
D
/
E
E
button to select
Auto
sleep
.
3. Press the
F
F
/
G
G
to select
On
or
Off
on the
Auto sleep
menu.
4. Press the EXIT button to return to normal TV viewing.
Sleep timer
You don’t have to remember to switch the set off before you go to
sleep. The sleep timer automatically switches the set to standby
after the preset time has elapsed.
Press the SLEEP button to select the number of minutes. The dis-
play ‘
---
’ will appear on the screen, followed by
10
,
20
,
30
,
60
,
90
,
120
,
180
and
240
. The timer begins to count down from the
number of minutes selected.
Note :
a. To view the remaining sleep time, press the SLEEP button
once.
b. To cancel the sleep time, repeatedly press the SLEEP button
until the display ‘
---
’ appears.
c. When you switch the set off, the set releases the preset sleep
time.
19
PR
PR
VOL
OK
1
2
3
4
5
6
7
8
9
SSM
0
VOL
EXIT
MENU
SLEEP
?
i
Input
TV
Child lock
Off
Auto sleep
Off
Language
English
Special
Special menu
DE F G
OK MENU EXIT


