24
Setting up TV stations
Setting up TV stations
- All stations that can be received
are stored by this method. It is
recommended that you use auto
programme during installation of
this set.
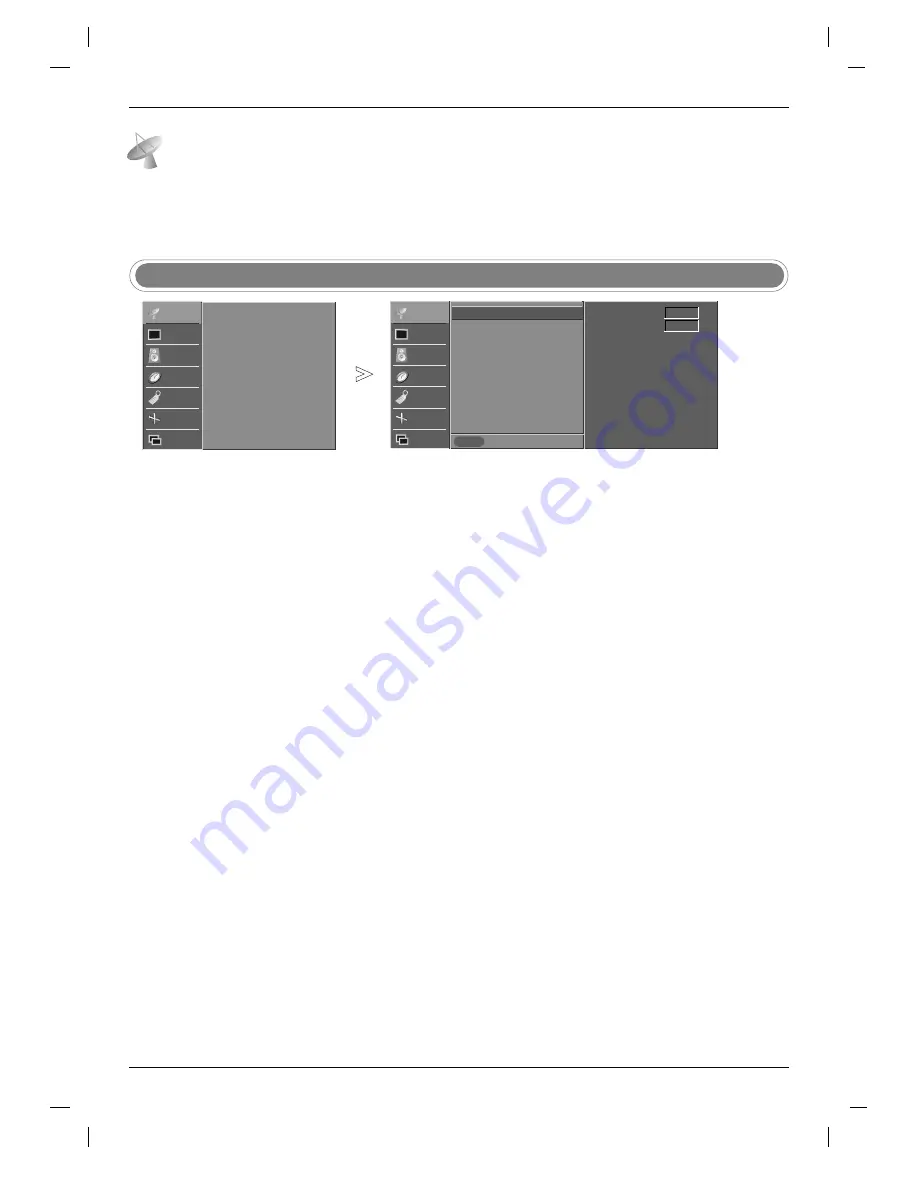
Auto programme tuning
STATION
PICTURE
SOUND
TIME
SPECIAL
SCREEN
PIP/DW
Prev.
Menu
Auto programme
Manual programme
Programme edit
Favourite programme
System BG
Storage from 1
Start
Press the
MENU
button and then
D
D
/
E
E
button to select the
STATION
menu.
Press the
G
G
button and then
D
D
/
E
E
button to select
Auto programme
.
Press the
G
G
button and then
D
D
/
E
E
button to select
System
.
Press the
F
F
/
G
G
button to select a TV system menu;
BG
: PAL B/G, SECAM B/G (Europe/East Europe)
I
: PAL I/II (U.K./Ireland)
DK
: PAL D/K, SECAM D/K (East Europe)
M
: (USA/Korea/Philippines)
Press the
D
D
/
E
E
button to select
Storage from
.
Press the
F
F
/
G
G
button or NUMBER buttons to select the beginning pro-
gramme number. If you use NUMBER buttons, any number under 10 is
entered with a numeric ‘0’ in front of it, i.e.‘
05
’ for 5.
Press the
D
D
/
E
E
button to select
Start
.
Press the
G
G
button to begin auto programming.
All receivable stations are stored.
Option:
In Australia, if no station name can be assigned to a station,
the channel number is assigned and stored as
- - - - -
followed by a num-
ber see ‘Assigning a station name’ section to assign the station name.
To stop auto programming, press the
MENU
button.
When auto programming is completed, the
Programme edit
menu appears
on the screen. See the
Programme edit
section to edit the stored pro-
gramme.
Press the
EXIT
button to return to normal TV viewing.
1
2
3
4
5
6
7
8
9
Up to 100 TV stations can be stored by programme numbers (0 to 99). Once you have preset the stations,
you will be able to use the
D
D
/
E
E
or NUMBER buttons to scan the stations you have programmed.
Stations can be tuned using automatic or manual modes.
Auto programme
G
G
STATION
G
PICTURE
SOUND
TIME
SPECIAL
SCREEN
PIP/DW
Auto programme
Manual programme
Programme edit
Favourite programme
Summary of Contents for 26LX1R Series
Page 64: ......


