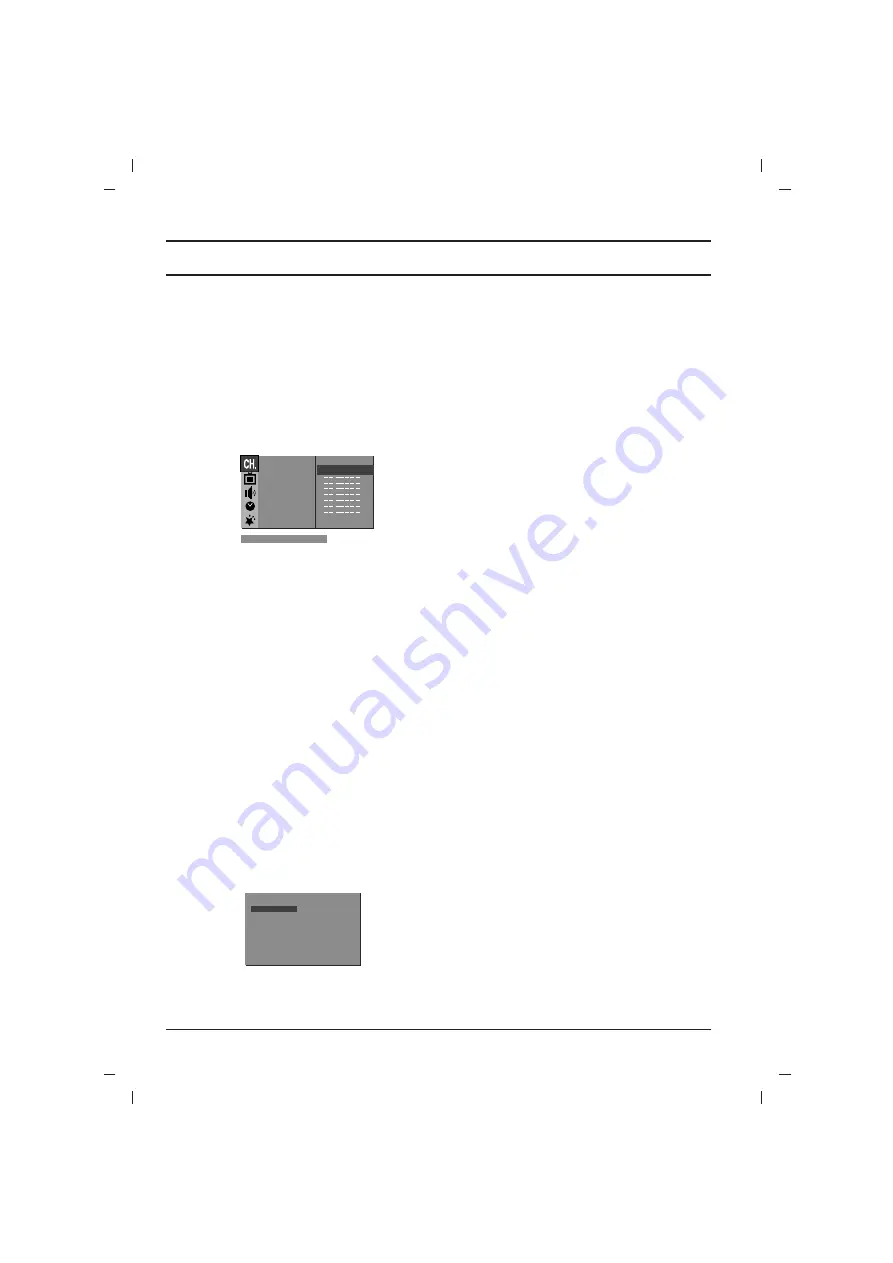
background image

Favourite programme

This function lets you select your favourite pro-
grammes directly.

1. Press 

the 

MENU 

button to select the Station

menu.

2. Press 

the 

G

G

button and then

D


E


button to

select 

Favourite

.

3. Press the 

G

G

button to display the 

Favourite

menu.

4. Press 

the 

D


E


button to select 

-- -----

.

5.  Select a desired programme with the 

F


G

G

button.

6. To store another programme, repeat steps 4

to 5.
You can store up to 8 programmes.

7. Press 

the 

OK 

button.

8. Repeatedly press the 

MENU 

button to return

to normal TV viewing.

Repeatedly press the

FAVOURITE

button to

select stored favourite programmes.

Calling the programme table

You can check the programmes stored in the
memory by displaying the programme table.

Displaying programme table

Press the 

LIST

button to display the 

Programme

table

menu.

The programme table appears on the screen.
One programme table contains ten programmes
as below.

Note :

a. You may find some blue programmes. They

have been set up to be skipped by auto pro-

gramming or in the programme edit mode.

b. Some programmes with the channel number

shown in the programme table indicate there
is no station name assigned.

Selecting a programme in the programme
table 

Select a programme with the 

D


E


or 

F


G


but-

ton. 
Then press the 

OK

button.

The set switches to the chosen programme num-

ber.

Paging through a programme table

There are 10 (or 20) programme table pages
which contain 100 (or 200) programmes.

Pressing the 

D


E


or 

F


G

G

button repeatedly

turns the pages.

Press the 

LIST 

button to return to normal TV

viewing.

Setting up TV stations

11

Auto

O

prog.{

Manual

{

Prog.

O

edit {

Favourite {

56

0

C

0

0 5

)

O

}

i

{

O

0_9

O

OK

O

MENU

(

O

O

OO

C

O

1D

OOOO

5

OO

S

O

69

O

1

OO

C

O

03

O

OOO

6

OO

S

O

17

O

2

OO

C

O

12

OOOO

7

OO

S

O

22

O

3

OO

S

O

66

OOOO

8

OO

C

O

09

O

4

OO

S

O

67

OOOO

9

OO

C

O

11

)

O

}

i

{

O

OK

O

MENU

(

Summary of Contents for 21FC2RB

Page 1: ...fore operating your set Retain it for future reference Record model number and serial number of the set See the label attached on the back cover and quote this infor mation to your dealer when you require service Model number Serial number P NO MFL39582020 MC059B 124D TX ...

Page 2: ...moisture Do not place anything containing liquid on top of the set this may cause a fire or could give an electric shock Service Never remove the back cover of the set as this can expose you to very high voltage and other hazards If the set does not operate properly unplug it and call your dealer Aerial Connect the aerial cable to the socket marked 75 Ω on the back cover For the best reception an ...

Page 3: ... to select A V or A V1 The VCR playback picture appears on the screen You can also record programmes received by the TV on video tape Note Signal type RGB i e the signals red green and blue can only be selected for the Euro scart socket These signals are transmitted for exam ple by a pay TV decoder game machine or photo CD unit etc S video Audio in sockets S AV option When connecting the S video s...

Page 4: ...tion on or off 5 Programme Up Down selects a programme or a menu item switches the set on from standby scans programmes automatically F F G G Volume Up Down adjusts the volume adjusts menu settings OK accepts your selection or displays the current mode 6 Q VIEW returns to the previously viewed programme 7 PSM Picture Status Memory recalls your preferred picture setting 8 FAVOURITE selects a favori...

Page 5: ...NS These buttons are used for teletext only TELETEXT models or programme edit Battery installation The remote control handset is powered by two AAA type batteries To load the batteries turn the remote control handset over and open the battery compartment Install two batteries as indicated by the polarity symbols and marked inside the compartment Note To avoid damage from possible battery leakage r...

Page 6: ... VOL PR 1 2 3 4 5 VIDEO AUDIO AV 7 6 17 21FB7 series 1 2 3 4 5 VIDEO L MONO R AUDIO AV2 7 6 ON OFF MENU OK VOL PR VIDEO AUDIO L R AV 21FB5 series 2 3 4 7 5 1 8 6 17 21FX5 series 2 3 5 4 1 8 ON OFF MENU OK VOL PR 21FB2 series 1 2 3 4 8 5 VIDEO L MONO R AUDIO AV2 7 6 21FX6 series 1 4 5 3 8 2 1 15 21FC2 series 2 4 5 3 PR VOL ON OFF MENU OK PR VOL 4 21FC9 21FD6 series 5 1 2 5 3 8 1 21FG1 series 2 4 5 ...

Page 7: ...option selects a programme or a menu item switches the set on from standby 6 AUDIO or AUDIO L R VIDEO IN SOCKETS AV or AV2 option Connect the audio video out sockets of external equipment to these sockets 7 HEADPHONE SOCKET option Connect the headphone plug to this socket 8 EYE option adjusts picture according to the sur rounding conditions 9 TURBO SOUND PICTURE option switches Turbo sound or Turb...

Page 8: ...U button and then D D E E but ton to select the Special menu 2 Press the G G button to select Language 3 Press the G G button and then D D E E button to select your desired language All the on screen displays will appear in the selected language Press the OK or F F button to select the Special menu 4 Repeatedly press the MENU button to return to normal TV viewing 8 The dialogue between you and you...

Page 9: ...TV viewing Auto programme scan To automatically scan the pictures of stored pro grammes press theD D or E E button for about 3 seconds The picture of stored pro grammes appears on the screen one by one To stop auto programme scanning press any but ton except VCR buttons Manual programme tuning Manual programme lets you manually tune and arrange the stations in whatever order you desire Also you ca...

Page 10: ...E but ton to select the Station menu 2 Press the G G button and then D D E E button to select Prog edit 3 Press the G G button to display the Prog edit menu Deleting a programme 1 Select a programme to be deleted with the D D E E or F F G G button 2 Press the RED button twice The selected programme is deleted all the following programmes are shifted up one position Copying a programme 1 Select a p...

Page 11: ...he Programme table menu The programme table appears on the screen One programme table contains ten programmes as below Note a You may find some blue programmes They have been set up to be skipped by auto pro gramming or in the programme edit mode b Some programmes with the channel number shown in the programme table indicate there is no station name assigned Selecting a programme in the programme ...

Page 12: ...nd then D D E E button to select Contrast Brightness Colour or Sharpness 3 Press the G G button and then F F G G button to make appropriate adjustments on the each sub menu 4 Press the OK button to store it for the picture user 5 Repeatedly press the MENU button to return to normal TV viewing Eye option Eye is an optional function Only a set with eye option can perform this function In some models...

Page 13: ...ng X WAVE Wireless Sound option You can also listen to the sound through the FM receiver 1 Press the MENU button and then D D E E but ton to select the Sound menu 2 Press the G G button and then D D E E button to select X WA VE 3 Press the G G button and then D D E E button to tune in a frequency on the X WA VE pull down menu 4 Match the TV s frequency and the FM receiv er s Some models are displa...

Page 14: ... loudspeakers DUAL II sends the secondary broadcast lan guage to the loudspeakers DUAL I II sends a separate language to each loudspeaker NICAM reception option If your set is equipped with the receiver for NICAM reception the high quality NICAM Near Instantaneous Companding Audio Multiplex digi tal sound can be received Sound output can be selected according to the type of received broadcast as f...

Page 15: ...ton and then D D E E button to adjust programme number and volume level 6 Press the OK button 7 Repeatedly press the MENU button to return to normal TV viewing Note a On time works only in standby mode b To view the remaining on off time select the Time menu c When you switch the main power off the Clock is reset d Two hours after the set is switched on by the on time function it will automaticall...

Page 16: ...matically switched to A V or A V1 mode when an AV signal is input But if you want to keep on watching TV mode press the D D E E or NUMBER buttons Press the TV AV but ton to return to AV modes Child lock The TV can be set so that the remote control handset is needed to control it This feature can be used to prevent unauthorized viewing 1 Press the MENU button and then D D E E but ton to select the ...

Page 17: ...o the normal TV viewing b If you want a new game press the RED but ton to start during the game Sleep timer You don t have to remember to switch the set off before you go to sleep The sleep timer automati cally switches the set to standby after the preset time elapses Press the SLEEP button to select the number of minutes The display r r will appear on the screen followed by 10 20 30 60 90 120 180...

Page 18: ...18 NOTE ...

Page 19: ...ur Remote control does not work The mains plug plugged in and switched on Is the TV switched on Try another channel weak signal Check aerial plugged into TV Check aerial broken lead Check aerial Check for local interference Adjust contrast Adjust brightness Adjust colour Adjust volume Check the batteries in remote control Check Audio Video sockets VCR only Check these items and try to adjust these...

Page 20: ......

Reviews: