38
Connection of PC
PC Setup
You can adjust auto configure, manual configure and reset as you
prefer.
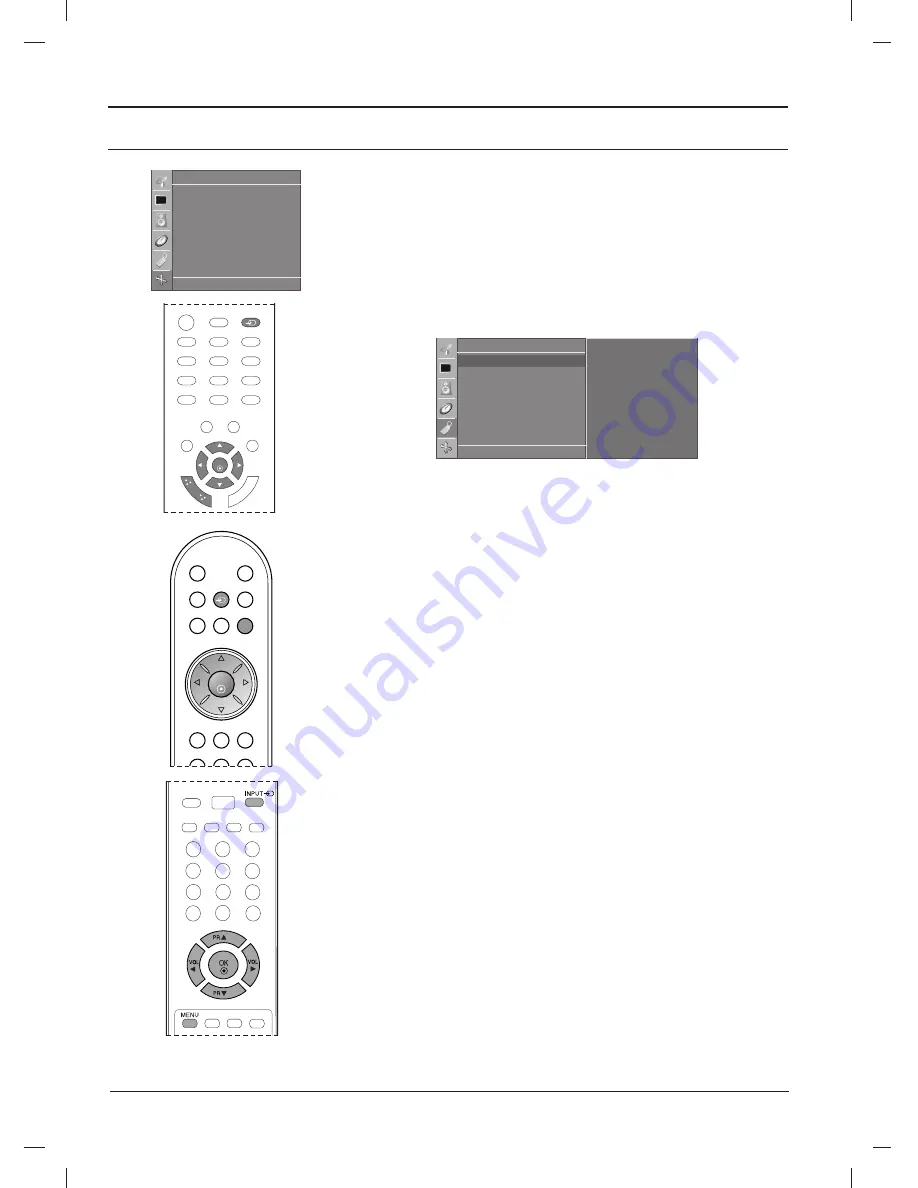
1. Press the
INPUT
button and then
D
D
/
E
E
button to select the
RGB [PC]
.
2. Press
the
MENU
button and then
D
D
/
E
E
button to select the
Screen
menu.
3. Press the
G
G
button and then
D
D
/
E
E
button to select the desired
screen function.
4. Make appropriate adjustments.
Auto configure
This function is for the automatic adjustment of the screen posi-
tion, clock and phase. The displayed image will disappear for a
few seconds while the Auto-configuration is in progress.
Manual configure
This function is for the manual adjustment of the screen posi-
tion, clock and phase. Press the
F
F
/
G
G
button to make appro-
priate adjustments.
• H-Position / V-Position
This function is to adjust picture to left/right and up/down as you
prefer.
• Clock
This function is to minimize any vertical bars or stripes visible on
the screen background. And the horizontal screen size will also
change.
• Phase
This function allows you to remove any horizontal noise and
clear or sharpen the image of characters.
Reset
This function allows you to return to the good picture reproduc-
tion programmed at the factory and cannot be changed.
Note :
Some signal from some graphics boards may not func-
tion properly. If the results are unsatisfactory, adjust your moni-
tor’s position, clock and phase manually.
5. Press the
OK
button to store it for the PC monitor picture.
Screen
DE F G
OK MENU
Auto config.
G
Manual config.
XGA Mode
ARC
Reset
To set
Screen
DE F G
OK MENU
Auto config.
Manual config.
XGA Mode
ARC
Reset
1
2
3
4
5
6
8
7
9
0
OK
LIST
MUTE
VOL
VOL
PR
PR
TEXT
PSM
SSM
Q.VIEW
POWER
TV
INPUT
M
ENU
SL
EE
P
I/II
*
PR
PR
VOL
OK
VOL
INPUT
MENU
Summary of Contents for 15LC1R Series
Page 44: ......


