Introduction / Important Safety Precautions
17
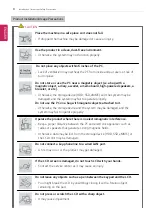
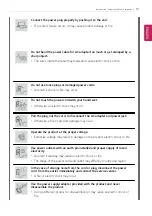
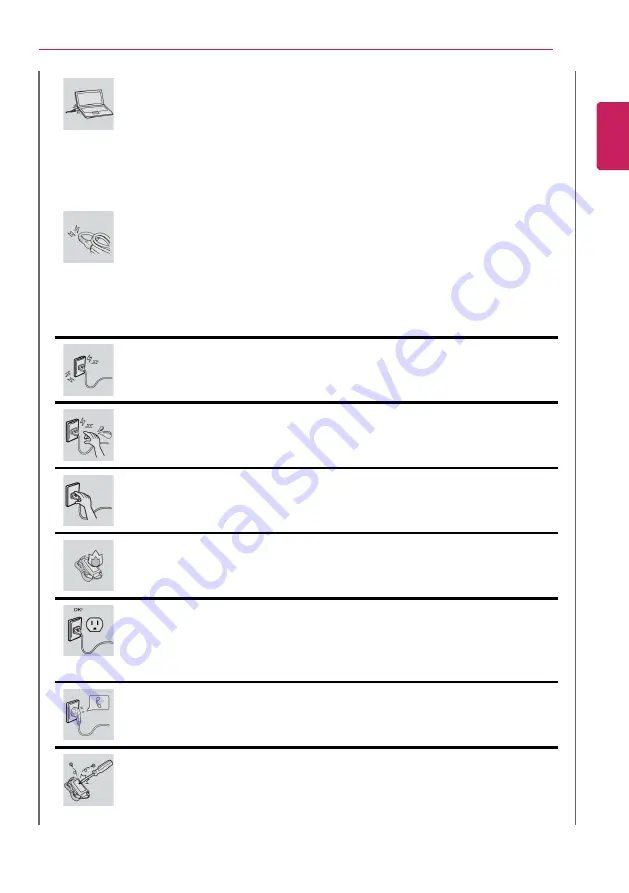
Connect the power plug properly by pushing it to the end.
•
If a contact failure occurs, it may cause product damage or fire.
Do not bend the power cable for AC adapter too much or get stamped by a
sharp object.
•
The wires inside the cable may break and cause electric shock or fire.
Do not use loose plugs or damaged power cords.
•
An electric shock or fire may occur.
Do not touch the power cord with your hands wet.
•
Otherwise, an electric shock may occur.
Pull the plug, not the cord, to disconnect the AC adapter and power jack.
•
Otherwise, a fire or product damage may occur.
Operate the product at the proper voltage.
•
Excessive voltage may result in damage on the product, electric shock or fire.
Use power outlets with an earth pin installed and proper supply of rated
electricity.
•
An electric leakage may cause an electric shock or fire.
•
The shape of the power cord and outlet may differ by country and region.
In the case of strange noise from the cord or plug, disconnect the power
cord from the outlet immediately and contact the service center.
•
A fire or electric shock may occur.
Use the power supply/adapter provided with the product and never
disassemble the product.
•
Using a different product or disassembling it may cause an electric shock or
fire.
ENGLISH
Summary of Contents for 14Z90N Series
Page 22: ...22 Introduction Important Safety Precautions Regulatory Notices ENGLISH ...
Page 23: ...Introduction Important Safety Precautions 23 ENGLISH ...
Page 24: ...24 Introduction Important Safety Precautions ENGLISH ...
Page 25: ...Introduction Important Safety Precautions 25 ENGLISH ...
Page 26: ...26 Introduction Important Safety Precautions ENGLISH ...
Page 27: ...Introduction Important Safety Precautions 27 ENGLISH ...
Page 28: ...28 Introduction Important Safety Precautions ENGLISH ...
Page 29: ...Introduction Important Safety Precautions 29 ENGLISH ...
Page 30: ...30 Introduction Important Safety Precautions ENGLISH ...
Page 31: ...Introduction Important Safety Precautions 31 ENGLISH ...
Page 32: ...32 Introduction Important Safety Precautions ENGLISH ...
Page 33: ...Introduction Important Safety Precautions 33 ENGLISH ...
Page 34: ...34 Introduction Important Safety Precautions ENGLISH ...
Page 35: ...Introduction Important Safety Precautions 35 ENGLISH ...
Page 36: ...36 Introduction Important Safety Precautions ENGLISH ...
Page 37: ...Introduction Important Safety Precautions 37 ENGLISH ...
Page 38: ...38 Introduction Important Safety Precautions ENGLISH ...
Page 39: ...Introduction Important Safety Precautions 39 ENGLISH ...
Page 40: ...40 Introduction Important Safety Precautions ENGLISH ...
Page 41: ...Introduction Important Safety Precautions 41 ENGLISH ...
Page 42: ...42 Introduction Important Safety Precautions ENGLISH ...
Page 43: ...Introduction Important Safety Precautions 43 ENGLISH ...
Page 44: ...44 Introduction Important Safety Precautions ENGLISH ...
Page 45: ...Introduction Important Safety Precautions 45 ENGLISH ...
Page 46: ...46 Introduction Important Safety Precautions ENGLISH ...
Page 47: ...Introduction Important Safety Precautions 47 ENGLISH ...
Page 48: ...48 Introduction Important Safety Precautions ENGLISH ...
Page 49: ...Introduction Important Safety Precautions 49 ENGLISH ...
Page 50: ...50 Introduction Important Safety Precautions ENGLISH ...
Page 51: ...Introduction Important Safety Precautions 51 ENGLISH ...
Page 52: ...52 Introduction Important Safety Precautions ENGLISH ...
Page 53: ...Introduction Important Safety Precautions 53 ENGLISH ...
Page 54: ...54 Introduction Important Safety Precautions ENGLISH ...
Page 55: ...Introduction Important Safety Precautions 55 ENGLISH ...
Page 56: ...56 Introduction Important Safety Precautions ENGLISH ...
Page 101: ...Using the PC 101 3 Go to Keyboard Backlight and select your desired options ENGLISH ...
Page 133: ...Using the PC 133 2 When the Settings screen appears select Devices ENGLISH ...
Page 137: ...Using the PC 137 2 Connect the wired LAN cable to the LAN port ENGLISH ...
Page 139: ...Using the PC 139 4 Select Network Internet Status Change adapter options ENGLISH ...
Page 140: ...140 Using the PC 5 Right click Ethernet and select the Properties menu ENGLISH ...
Page 145: ...Using the PC 145 3 Select the Access Point you want to connect to and press Connect ENGLISH ...
Page 159: ...Using Software 159 1 Select the All List Update needed menu item ENGLISH ...
Page 164: ...164 Using Software 1 Press the icon on the taskbar ENGLISH ...
Page 176: ...176 Restoring the System 1 Select Keep my files ENGLISH ...
Page 177: ...Restoring the System 177 2 Check the current settings ENGLISH ...
Page 180: ...180 Restoring the System 1 Select Remove everything ENGLISH ...
Page 181: ...Restoring the System 181 2 Check the current settings ENGLISH ...
Page 183: ...Restoring the System 183 4 Press Next to proceed with installation as guided ENGLISH ...
Page 208: ...208 Setup and Upgrade 3 Boots using the selected device ENGLISH ...
Page 210: ...210 Setup and Upgrade 2 Select System Display ENGLISH ...
Page 217: ...FAQ 217 2 Select System Display ENGLISH ...
Page 222: ...222 FAQ 1 Select Keep my files ENGLISH ...
Page 223: ...FAQ 223 2 Check the current settings ENGLISH ...
Page 226: ...226 FAQ 1 Select Remove everything ENGLISH ...
Page 227: ...FAQ 227 2 Check the current settings ENGLISH ...
Page 229: ...FAQ 229 4 Press Next to proceed with installation as guided ENGLISH ...
Page 235: ...FAQ 235 3 Select the Access Point you want to connect to and press Connect ENGLISH ...

