–
Have bent corners.
–
Have rough, cockle, or laid finishes.
•
Adjust the width guides to fit the width of the envelopes.
•
Before loading the envelopes on the tray, flex the stack of envelopes back and forth to loosen them, and
then fan them. Straighten the edges on a level surface.
Note:
A combination of high humidity (over 60%) and high printing temperature may wrinkle or seal envelopes.
Tips on using labels
•
From the printer control panel, set the paper size, type, texture, and weight in the Paper menu to match the labels
loaded in the tray.
•
Print samples on labels being considered for use before buying large quantities.
•
For more information on label printing, characteristics, and design, see the
Card Stock & Label Guide
on the Lexmark
Web site at
.
•
Use labels designed specifically for laser printers.
•
Do not use labels with slick backing material.
•
Do not use labels with exposed adhesive.
•
Use full label sheets. Partial sheets may cause labels to peel off during printing, resulting in a jam. Partial sheets
also contaminate the printer and the cartridge with adhesive, and could void the printer and toner cartridge
warranties.
•
Before loading labels on the tray, flex and fan labels to loosen them. Straighten the edges on a level surface.
Tips on using letterhead
•
Use letterhead specifically for laser printers.
•
Print samples before buying large quantities.
•
Before loading letterhead, flex and fan the sheets.
•
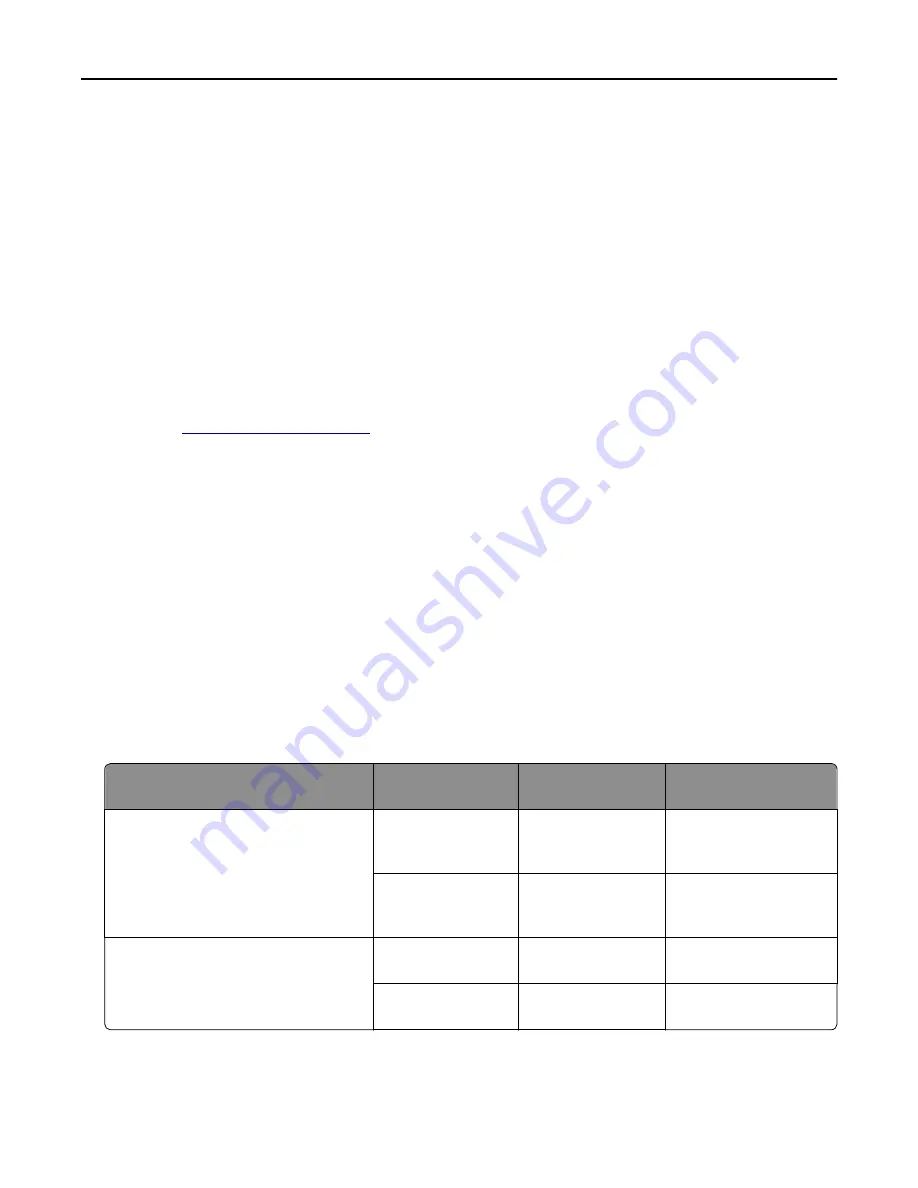
When printing on letterhead, take note of the page orientation.
Source
Printing
Side with the
letterhead
Paper orientation
Trays
One
‑
sided
Faceup
Load the sheet with the
top edge toward the back
of the tray.
Two
‑
sided
Facedown
Load the sheet with the
top edge toward the front
of the tray.
Multipurpose feeder
One
‑
sided
Facedown
Load the sheet with the
top edge on the left side.
Two
‑
sided
Faceup
Load the sheet with the
top edge on the right side.
Paper and specialty media guide
59
Summary of Contents for MX910 Series
Page 1: ...MX910 Series User s Guide June 2014 www lexmark com Machine type s 7421 Model s 036 236 436...
Page 230: ...5 Locate the rollers Maintaining the printer 230...
Page 246: ...Fuser area Below the fuser area Duplex area Above the duplex area Clearing jams 246...
Page 267: ...Area H8 Area H9 Clearing jams 267...
Page 270: ...7 Close the door 8 Close the scanner cover Clearing jams 270...


