LEXIBOOK DJ021 series Instruction Manual Download Page 11

11

ENGLISH

NAVIGATING WITHIN THE MENU

TAKING PHOTOS / VIDEOS

DISPLAYING YOUR PHOTOS / VIDEOS

TURNING THE CAMERA ON AND OFF

1. Press the 

POWER/MENU

 button to turn the camera on.  

2. Press and hold the 

POWER/MENU

 button for a few seconds again to turn it off.

Note :

 The camera will auto power off after 30 seconds of inactivity.

Once the camera has been turned on, press 

POWER/MENU

 to get to its menu. Press 

UP

 to select 

one of the menu functions, then press the shutter button to scroll the various options of the selected 

function, and finally press 

POWER/MENU

 once again to confirm your choice. 

Once the camera has been turned on, press 

POWER/MENU

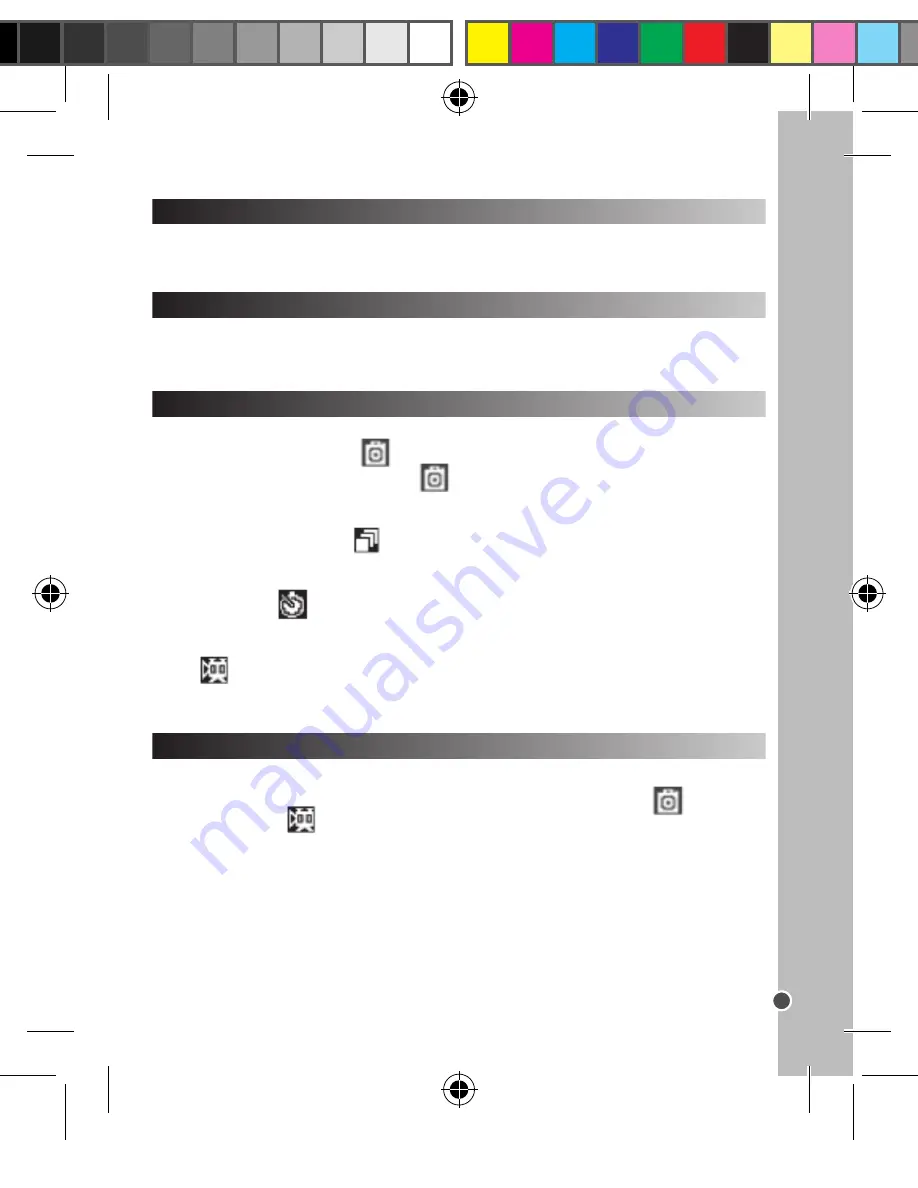
 to get to its menu. Select the “photo/

video” function, symbolized by the

icon. This function gives you access to the following options:

Photo – Single shooting (default mode – 

icon) 

After the confirmation of this option, press the shutter button to take a photo. The remaining number 

of photos that you can still take is displayed on the LCD screen.

Photo – Continuous shooting (

icon)

After the confirmation of this option, press the shutter button to take 3 photos continuously. The 

remaining number of photos that you can still take is displayed on the LCD screen.

Photo – self-timer (

icon)

After the confirmation of this option, press the shutter button to turn on the self-timer function. The 

digital camera will take a photo 10 seconds later.

Video (

icon)

After the confirmation of this option, press the shutter button to start shooting a video. Press it once 

again to stop the video shooting. The video will be automatically saved in AVI format.

Once the camera has been turned on, press 

PLAYBACK

 to display the photos and videos stored in 

the camera’s built-in memory. Use 

UP

 to scroll them (photos are symbolized by the

icon, videos 

are symbolized by the

icon). These icons are displayed in the top left corner of the LCD screen.

1. Insert the CD Software (included) into your CD-ROM drive. 

2. In the main menu, first install the driver by clicking “Install Driver” and wait until the end of the 

installing process. 

3. In the main menu, click “Install MAGIX Photo Manager 10” and wait during the extraction. 

4. Select your language and click “OK”. 

5. “The MAGIX Photo Manager 10 configuration” window displays. Follow the onscreen instructions 

and press “Install” to begin the installation. 

6. Once you have finished installing, the “MAGIX Photo Manager 10” shortcut will appear on the desk 

of your computer. 

7. To start using “MAGIX Photo Manager 10”, double click on the shortcut. The pictures taken with the 

camera automatically appear on the home screen. 

System requirements (minimum configuration): 

Microsoft® Windows® 2000 XP I Vista® I 7. PC 

with Intel® Pentium® or AMD® Athlon® 700 MHz or higher, 256 MB RAM, 120 MB hard disk space 

for program files, SVGA graphics card with min. 4 MB RAM, (min. resolution 1024 x 600, 16-bit high-

color), Microsoft® compatible mouse.

Note:

 To enjoy unlimited use of “MAGIX Photo Manager 10” and “MAGIX Video easy SE”, you need 

to register first. 

INSTALLING THE VIDEO SOFTWARE (Magix Video easy SE)

INSTALLING THE PHOTO SOFTWARE (Magix Photo Manager 10)

1. Insert the CD Software (included) into your CD-ROM drive. 

2. In the main menu, first install the driver by clicking “Install Driver” and wait until the end of the 

installing process.

3. In the main menu, click “Install MAGIX Video easy SE” and wait during the extraction.

4. Select the language and then click “OK”.

5. The “MAGIX Video easy SE configuration” window displays. Follow the onscreen instructions and 

click “Install” to begin the installation. 

6. Once you have finished installing, the “MAGIX Video easy SE” shortcut will appear on the desk of 

your computer.

7. To start using “MAGIX Video easy SE”, double click on the shortcut.

System requirements:

Intel® Pentium 4 or AMD® Athlon® 1 GHz and higher, 512 MB RAM, 400 

MB free hard disk memory and a DVD drive for program installation, graphics card with a screen 

resolution of at least 1024 x 768, sound card.

Supported devices:

 Video, TV, or graphics cards with video input. 

DJ021IM1202_15May_V04.indb   11

16/05/2012   10:55 AM

Summary of Contents for DJ021 series

Page 1: ...DJ021series Appareil photo num rique Digital Camera MODE D EMPLOI INSTRUCTION MANUAL DJ021IM1202_15May_V04 indb 1 16 05 2012 10 55 AM...

Page 2: ...DJ021IM1202_15May_V04 indb 2 16 05 2012 10 55 AM...

Page 3: ...rger les accumulateurs que sous la surveillance d un adulte Ne pas m langer diff rents types de piles ou accumulateurs ou des piles et accumulateurs neufs et usag s Les piles et accumulateurs doivent...

Page 4: ...1024x768 carte son Appareils support s cartes graphiques t l viseurs et autres appareils vid o pourvus d une entr e vid o 1 Ins rez le CD des logiciels inclus dans votre lecteur de CD ROM 2 Dans le m...

Page 5: ...an LCD Photo Prise en continu ic ne Apr s avoir confirm la s lection de cette option appuyez sur le d clencheur pour prendre 3 photos en continu Le nombre de photos que vous pouvez encore prendre s af...

Page 6: ...s en marche appuyez sur POWER MENU pour acc der au menu de l appareil S lectionnez la fonction r solution symbolis e par l ic ne puis appuyez sur le d clencheur pour choisir une des deux options de r...

Page 7: ...ouvez utiliser MAGIX Photo Manager pour entre autres les visualiser num riser graver imprimer cr er des albums 1 Connectez l appareil photo un ordinateur l aide du c ble USB fourni 2 Double cliquez su...

Page 8: ...ez vous adresser votre revendeur muni de votre preuve d achat Notre garantie couvre les vices de mat riel ou de montage imputables au constructeur l exclusion de toute d t rioration provenant du non r...

Page 9: ...chargeable batteries are not to be recharged Rechargeable batteries are to be removed from the product before being charged Rechargeable batteries are only to be charged under adult supervision Differ...

Page 10: ...AM 120 MB hard disk space for program files SVGA graphics card with min 4 MB RAM min resolution 1024 x 600 16 bit high color Microsoft compatible mouse Note To enjoy unlimited use of MAGIX Photo Manag...

Page 11: ...number of photos that you can still take is displayed on the LCD screen Photo Continuous shooting icon After the confirmation of this option press the shutter button to take 3 photos continuously The...

Page 12: ...turned on press POWER MENU to access the menu Select the delete the photos function symbolized by the icon Press the shutter button use UP to select Yes and then confirm your choice by pressing the s...

Page 13: ...e folder in which the selected photo s and video s will be saved Using MAGIX Photo Manager Once you have saved your photo s and video s in your computer you can use MAGIX Photo Manager to display them...

Page 14: ...act your distributor and present a valid proof of purchase Our warranty covers any manufacturing material and workmanship defect with the exception of any deterioration arising from the non observance...

Page 15: ...alla LCD 9 Orificio para tr pode no incluido 10 Compartimento de las pilas 11 Puerto de conexi n USB Las pilas no recargables no deben ser recargadas Retirar las pilas recargables del aparato antes de...

Page 16: ...IX Video easy SE INSTALACI N DEL SOFTWARE PARA EDICI N DE FOTOGRAFIAS 1 Inserte el CD de software incluido en la unidad de CD ROM de su ordenador 2 En el men principal instale primero el controlador h...

Page 17: ...ontinuo icono Una vez seleccionada esta opci n pulse el bot n obturador para tomar 3 fotos El n mero restante de fotos que todav a puede tomar se mostrar en la pantalla LCD Foto Autodisparador icono U...

Page 18: ...r el icono Pulse el bot n obturador para seleccionar una de las dos resoluciones disponibles resoluci n baja o resoluci n alta SELECCIONAR LA RESOLUCI N Una vez encendida la c mara pulse POWER MENU pa...

Page 19: ...da a las fotos y v deos seleccionando el lugar donde han sido guardadas 4 En funci n de lo que quiera hacer siga las instrucciones correspondientes del programa C mo publicar fotos en los sitios de re...

Page 20: ...r el manual de instrucciones porque contiene informaci n importante Referencia DJ021series Dise ado y desarrollado en Europa Fabricado en China 2012 Lexibook MANTENIMIENTO Y GARANT A Advertencia para...

Page 21: ...orta de liga o USB CONTE DO DA CAIXA N o recarregue pilhas n o recarreg veis As pilhas recarreg veis devem ser retiradas do produto antes de serem recarregadas As pilhas recarreg veis s devem ser reca...

Page 22: ...ficheiros do programa placa gr fica SVGA com um m nimo de 4 MB RAM resolu o m nima de 1024 x 600 high color de 16 bits rato compat vel com a Microsoft Nota Para desfrutar do uso ilimitado do MAGIX Ph...

Page 23: ...mero restante de fotos que ainda pode tirar apresentado no ecr LCD Foto Disparo cont nuo cone Depois da confirma o desta op o prima o obturador para tirar 3 fotografias continuamente O n mero restant...

Page 24: ...fun o resolu o simbolizada pelo cone Prima o obturador para escolher uma das duas resolu es dispon veis baixa resolu o ou alta resolu o Quando a c mara for ligada prima POWER MENU para aceder ao menu...

Page 25: ...a no ambiente de trabalho e clique duas vezes no cone PCCam para ver imagens em tempo real gravadas pela webcam De modo a aumentar a resolu o das suas fotos siga as instru es seguintes 1 Abra a pasta...

Page 26: ...guarde a caixa para futuras refer ncias Num esfor o para melhorar constantemente os nossos servi os podemos efectuar modifica es nas cores e pormenores do produto apresentado na caixa Nota Por favor g...

Page 27: ...on ricaricabili non vanno ricaricate Rimuovere le batterie ricaricabili dal prodotto prima di ricaricarle Le batterie ricaricabili vanno ricaricate unicamente con la supervisione di un adulto Non misc...

Page 28: ...o 1024 x 768 scheda audio Dispositivi supportati Video TV o schede grafiche con input video 1 Inserire il CD col software incluso nel drive del CD ROM del computer 2 Dal men principale installare prim...

Page 29: ...to questa opzione premere l otturatore per cominciare a girare un video Premere di nuovo l otturatore per fermare la registrazione del video Il video sar salvato automaticamente in formato AVI Una vol...

Page 30: ...are le foto e i video Uso del MAGIX Photo Manager Una volta salvati i file di foto e video sul computer usare MAGIX Photo Manager per visualizzarli numerarli stamparli creare album 1 Collegare la foto...

Page 31: ...eb services poi secondo il caso Carica file su Flickr Upload media to Flickr o Carica file su Facebook Upload media to Facebook 4 Sullo schermo appare la finestra Carica Upload Completa i diversi camp...

Page 32: ...azioni sconsiderate cui stato sottoposto il prodotto quali smontaggio esposizione a calore e umidit ecc Si raccomanda di conservare la confezione per eventuali riferimenti futuri Nel nostro impegno vo...

Page 33: ...r unter Aufsicht von Erwachsenen entfernt werden Keine unterschiedlichen Batterietypen oder neue und gebrauchte Batterien gleichzeitig verwenden Nur Batterien desselben oder equivalenten empfohlenen T...

Page 34: ...cut Die mit der Kamera aufgenommenen Bilder erscheinen automatisch auf dem Startbildschirm Systemanforderungen Minimalkonfiguration Microsoft Windows XP I Vista Win 7 PC mit Intel Pentium oder AMD Ath...

Page 35: ...der Kamera dr cken Sie auf PLAYBACK um die in dem Kameraspeicher geladenen Photos und Videos anzuzeigen Mit UP scrollen Sie durch die Photos und Videos Photos werden durch Symbol dargestellt Videos we...

Page 36: ...f das Symbol Jetzt werden die in dem Kameraspeicher geladenen Photos und Videos auf dem Display angezeigt 4 W hlen Sie das die Photo s und Video s aus das die Sie speichern m chten Klicken Sie auf das...

Page 37: ...ia to Facebook 4 Das Fenster Hochladen Upload wird auf dem Bildschirm angezeigt F llen Sie die verschiedenen Felder aus Dateiname Beschreibung Stichw rter 5 Klicken Sie auf Hochladen Upload um zu best...

Page 38: ...iner fahrl ssiger Behandlung dieses Produkts sind wie beispielsweise Demontage Aussetzung gegen ber Hitze und Feuchtigkeit etc Es empfiehlt sich die Verpackung f r weitere Ausk nfte zu bewahren Um uns...

Page 39: ...pparaat dienen weggegooid te worden NIEUWE BATTERIJEN PLAATSEN 1 Zorg dat de zender is uitgeschakeld 2 Open het batterijvak onderaan het apparaat met behulp van een schroevendraaier 3 Plaats 2 x AAA L...

Page 40: ...ugen op uw harde schijf en een dvd drive om de software te installeren Grafische kaart met een schermresolutie van minstens 1024 x 768 Geluidskaart Ondersteunende apparaten Video TV of grafische kaart...

Page 41: ...er pictogram Na het bevestigen van deze optie druk op de sluiterknop om de zelftimerfunctie in te schakelen De digitale camera zal 10 seconden later een foto nemen Video pictogram Na het bevestigen va...

Page 42: ...knop om een van de twee beschikbare frequentie opties te selecteren 50 Hz of 60 Hz Alle foto s video s wissen Eenmaal de camera is ingeschakeld druk op POWER MENU om het menu te openen Selecteer de fo...

Page 43: ...e wordt de startpagina van Facebook of Flickr geopend 7 Volg vervolgens de aanwijzingen die op het scherm worden weergegeven om het uploaden te voltooien Om de resolutie van uw foto s te verhogen volg...

Page 44: ...van deze gebruiksaanwijzing of onachtzaam gebruik van dit apparaat zoals uit elkaar halen blootstelling aan hitten en vochtigheid enz Bewaar de verpakking voor latere naslag Ter verbetering van onze s...

Reviews: