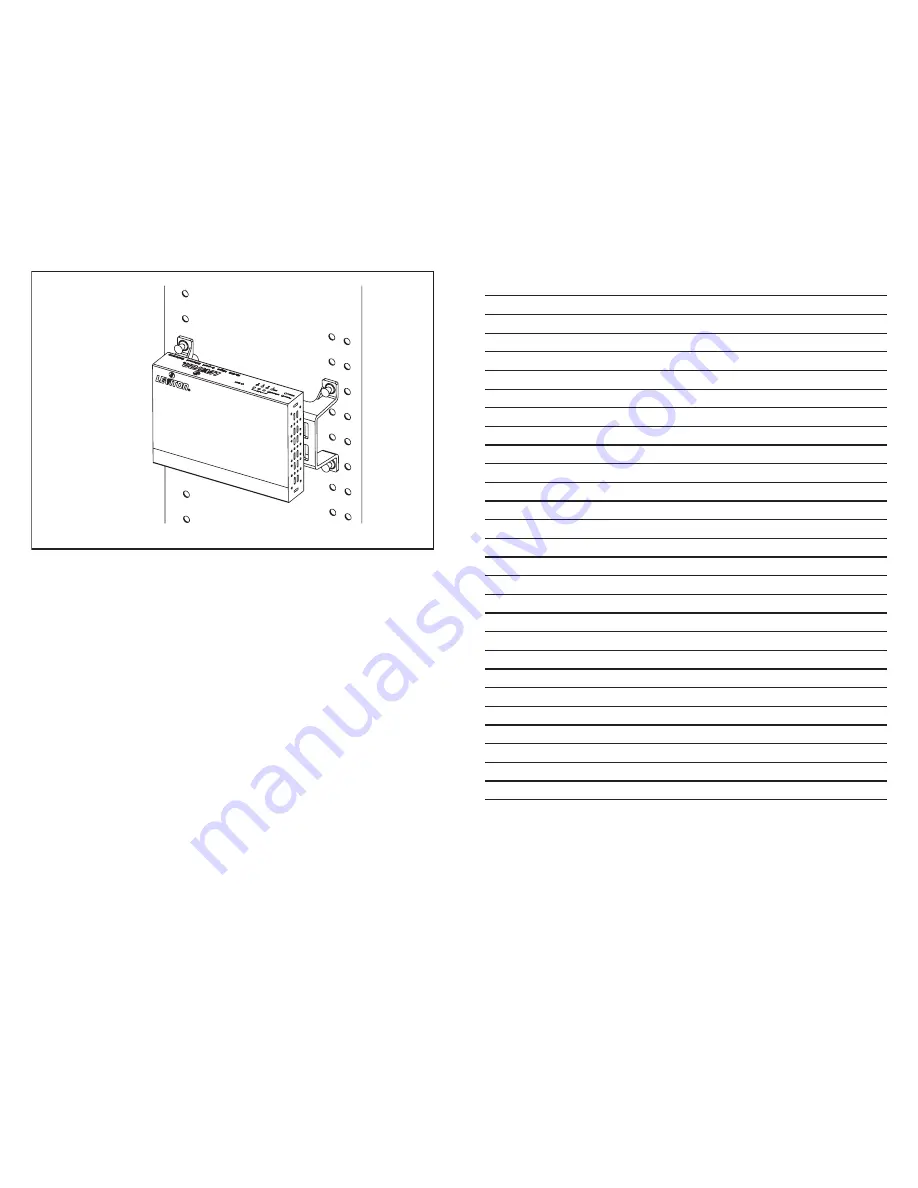
Installation:
Align the mounting pins with the grid holes on the back of the enclosure. With the
mounting pin plungers in the “out” position, press the unit into the grid in the desired
location, secure by pushing the plungers in.
(Figure 1)
NOTE:
To remove the bracket from the Router, loosen the nuts underneath the Router
and bracket combination, then slide the units apart.
NOTE:
For information on installing the SMC or the Leviton Category 5e Voice and
Data Module, please see the instructions for those devices.
Cabling the Gigabit Router:
The Router has four network ports. The ports numbered 1-4 can be used to connect
a variety of equipment including: computers, printers, scanners or other network
peripherals. Additionally, the Router features a WAN port. The Router can replace an
existing hub or switch that has no more than four devices connected, or that hub/switch
can be cascaded with the Router (see the instruction sheet for your hub or switch). Any
of the ports numbered 1-4 can be used as an Uplink port.
1.
Complete the Pre-Installation Checklist on page 1. Ensure you have wired at
least two connectors back to the Category 5e Voice and Data Module in the SMC
with Category 5e cable, and you have marked these two connectors and their
corresponding Voice & Data Module ports “A” and “B”.
(Figure 2, page 5)
2.
Shutdown and power off your computer and modem.
3.
Unplug the Cable/DSL modem’s patch cord from the Ethernet port in your computer.
Use it to connect the modem to the data connector marked “A”.
10/100
/1000 Mb
ps 4-port
Gigab
it Router
Figure 1
DI-045-47611-05A
7
DI-045-47611-05A
2
Client Notes


