45
PVID:
Enter the PVID number of the port.
LAG:
Displays the LAG to which the port belongs.
VLAN:
Click the Detail button to view the information of the VLAN to
which the port belongs.
Click the
Detail
button to view the information of the corresponding VLAN
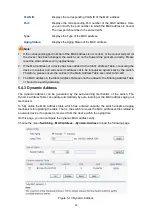
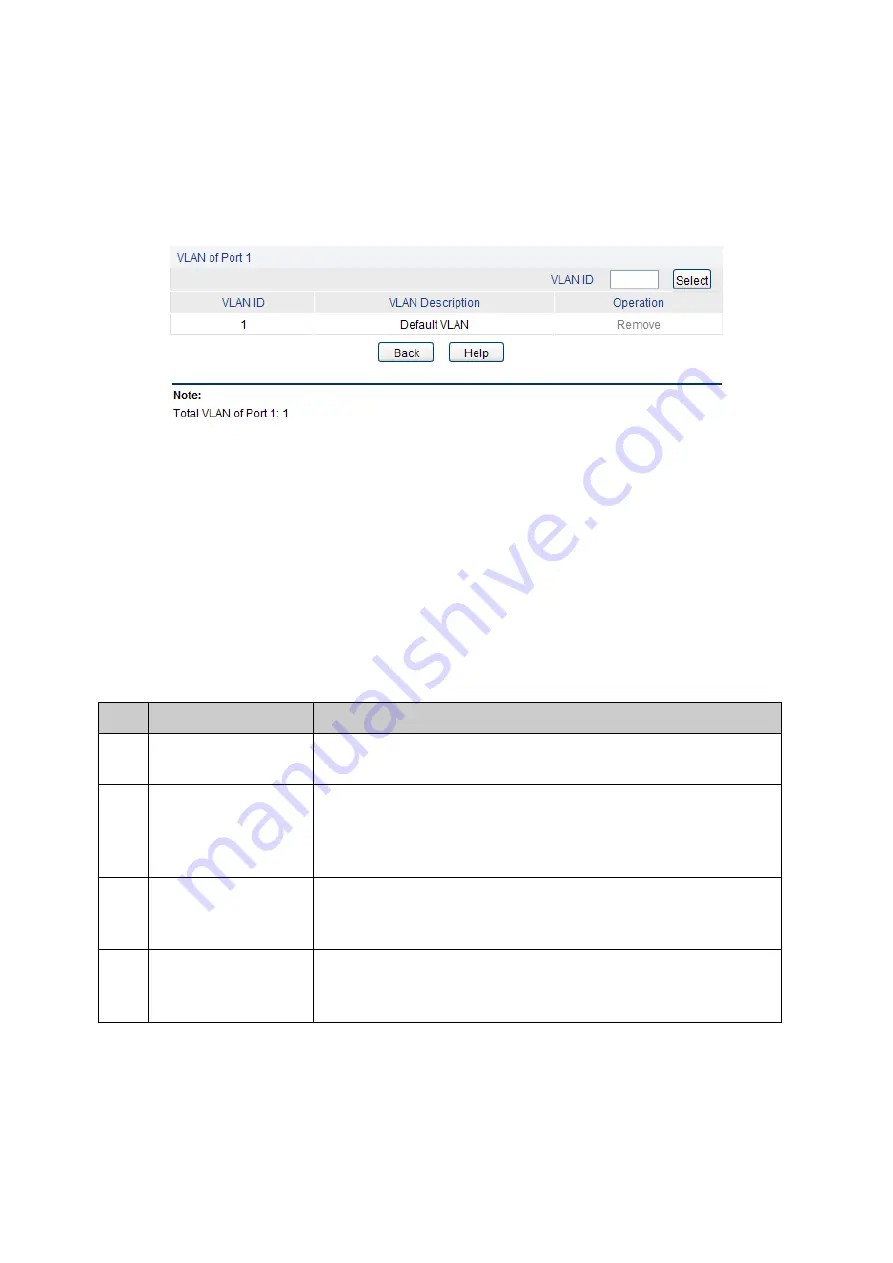
Figure 6-6 View the Current VLAN of Port
The following entries are displayed on this screen:
VLAN of Port
VLAN ID Select:
Click the Select
button to quick-select the corresponding entry
based on the VLAN ID number you entered.
VLAN ID
:
Displays the ID number of VLAN.
VLAN Description:
Displays the user-defined description of VLAN.
Operation:
Allows you to remove the port from the current VLAN.
Configuration Procedure:
Step Operation
Description
1
Set the link type for
port.
Required. On the
VLAN
→802.1Q VLAN→Port Config
page, set
the link type for the port based on its connected device.
2
Create VLAN.
Required. On the
VLAN
→802.1Q VLAN→VLAN Config
page,
click the Create button to create a VLAN. Enter the VLAN ID and
the description for the VLAN. Meanwhile, specify its member
ports.
3
Modify/View VLAN.
Optional. On the
VLAN
→802.1Q VLAN→VLAN Config
page,
click the
Edit/Detail
button to modify/view the information of the
corresponding VLAN.
4
Delete VLAN
Optional. On the
VLAN
→802.1Q VLAN→VLAN Config
page,
select the desired entry to delete the corresponding VLAN by
clicking the Delete button.
6.2 Application Example for 802.1Q VLAN
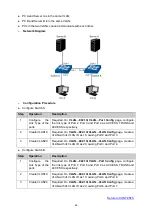
Network Requirements
Switch A is connecting to PC A and Server B;
Switch B is connecting to PC B and Server A;


