77
4. Copy USB Ports Data Directly
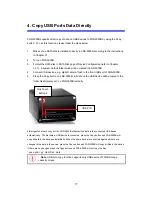
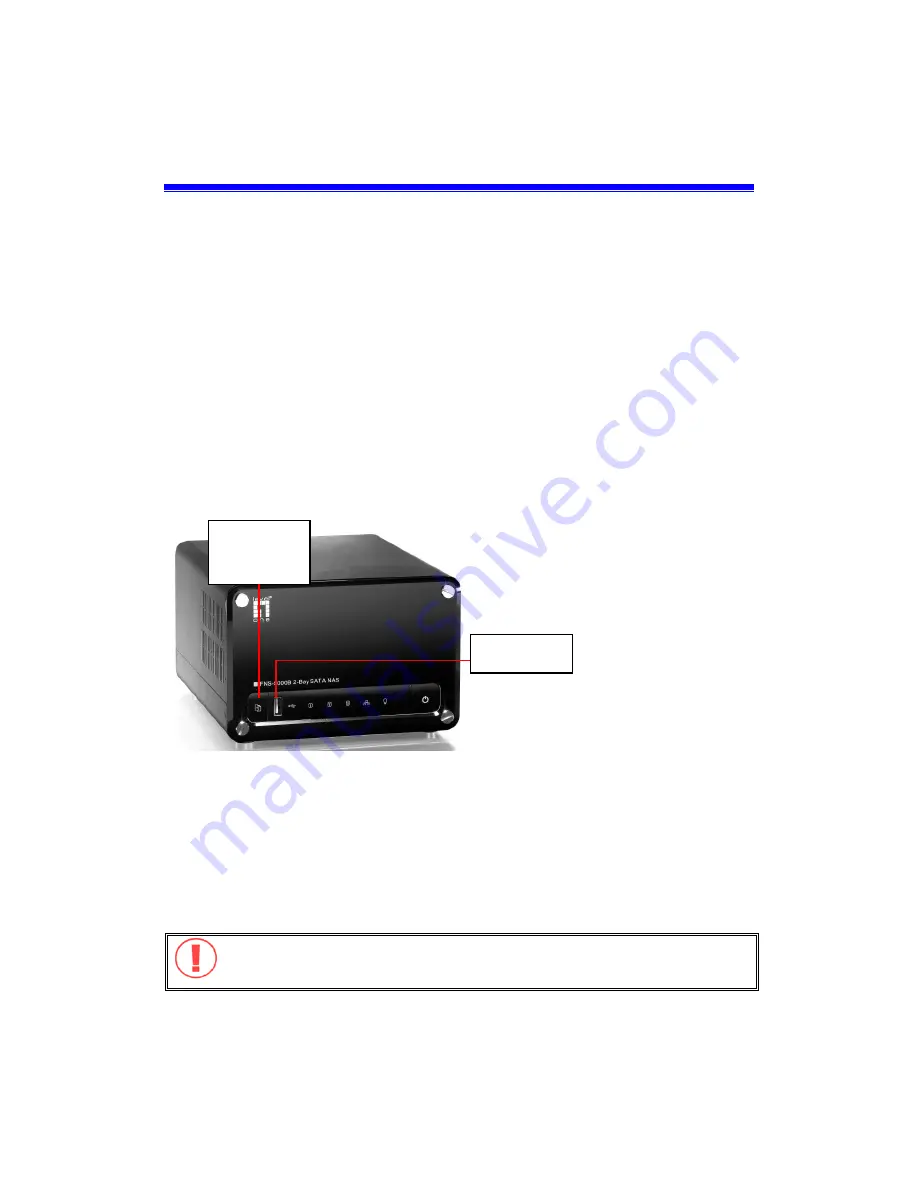
FNS-5000B supports direct copy of data on USB devices to FNS-5000B by using the Copy
button. To use this function, please follow the steps below:
1.
Make sure a SATA disk is installed correctly in FNS-5000B according to the instructions
in Chapter 2.1.
2.
Turn on FNS-5000B.
3.
Format the SATA disk in SATA Disk page of Device Configuration (refer to Chapter
3.5.1). A system default folder Qusb will be created in FNS-5000B.
4.
Connect USB devices, e.g. digital camera, flash to the front USB port of FNS-5000B.
5.
Press the Copy button on FNS-5000B. All data on the USB device will be copied to the
folder Qusb/(xxxxyyzz)* on FNS-5000B instantly.
#Intelligent one touch copy button: FNS-5000B will detect the data in the connected USB device
automatically. The first time a USB device is connected, press the Copy button and FNS-5000B will
copy all data in the device automatically. When the same device is connected again and there are
changes to the data in the device, press the Copy button and FNS-5000B will copy all files in the device.
If there are no changes, press the Copy button and FNS-5000B will not copy the files.
*
xxxx: year; yy: month; zz: date
Note:
USB auto copy function supports only USB device of 10GB storage
capacity or less.
USB Port
One Touch
Button
#
Summary of Contents for FNS-5000B
Page 1: ...FNS 5000B Network Attached Storage 2 Bay SATA HDD w Gigabit Ethernet User Manual Ver 1 00 0608...
Page 31: ...31 3 1 Server Administration There are 8 main sections in server administration...
Page 35: ...35 Step 7 When FNS 5000B is initialized the basic settings will be shown...
Page 108: ...108 Enter the homepage Double click on NAS to enter the administration page...

