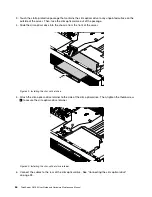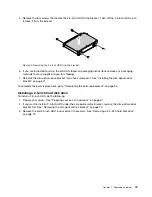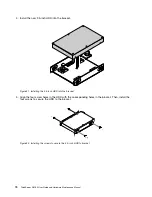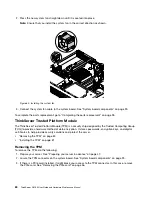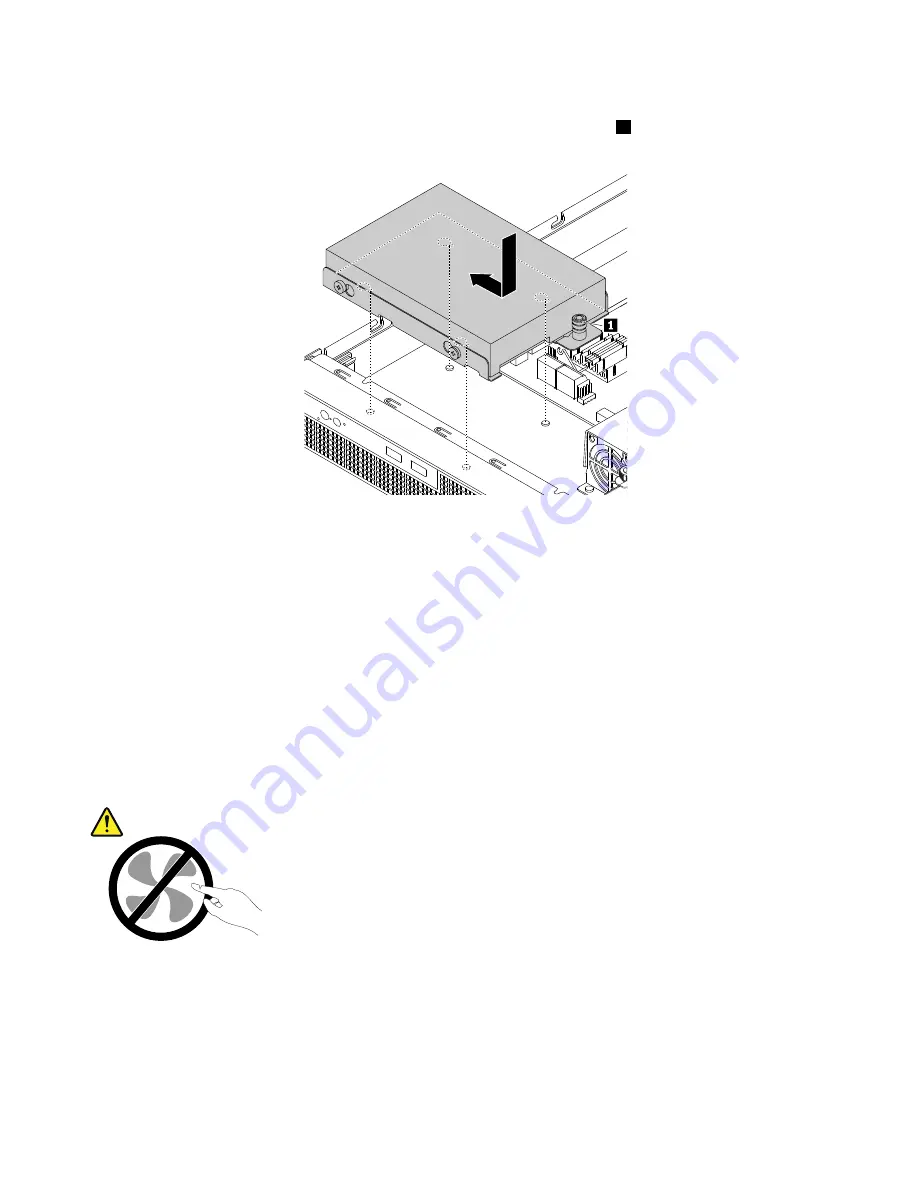
6. Align the four slots in the bracket with the mounting studs on the chassis. Position the 3.5-inch HDD
and its bracket into the server. Then, slide the drive as shown until the pin
1
snaps into place.
Figure 58. Installing the 3.5-inch HDD and its bracket
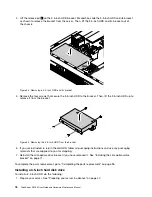
7. Connect the cables for the 3.5-inch HDD. See “Connecting the cables” on page 19.
8. Reinstall the slim-optical-drive bracket if you have removed it. See “Installing the slim-optical-drive
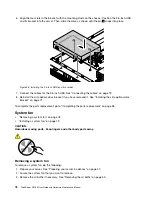
To complete the parts replacement, go to “Completing the parts replacement” on page 95.
System fan
•
“Removing a system fan” on page 78
•
“Installing a system fan” on page 79
CAUTION:
Hazardous moving parts. Keep fingers and other body parts away.
Removing a system fan
To remove a system fan, do the following:
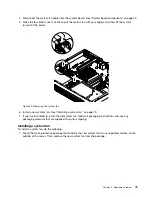
1. Prepare your server. See “Preparing your server in advance” on page 47.
2. Locate the system fan that you want to remove.
3. Remove the air baffle if necessary. See “Removing the air baffle” on page 50.
78
ThinkServer RS160 User Guide and Hardware Maintenance Manual
Summary of Contents for ThinkServer RS160
Page 14: ...xii ThinkServer RS160 User Guide and Hardware Maintenance Manual ...
Page 18: ...4 ThinkServer RS160 User Guide and Hardware Maintenance Manual ...
Page 42: ...28 ThinkServer RS160 User Guide and Hardware Maintenance Manual ...
Page 58: ...44 ThinkServer RS160 User Guide and Hardware Maintenance Manual ...
Page 118: ...104 ThinkServer RS160 User Guide and Hardware Maintenance Manual ...
Page 130: ...116 ThinkServer RS160 User Guide and Hardware Maintenance Manual ...
Page 141: ......
Page 142: ......

