Note:
Carefully handle the M.2 SSD by its edges.
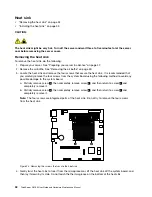
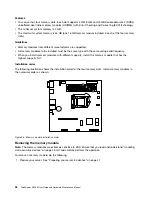
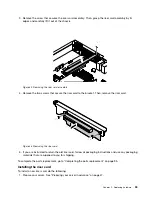
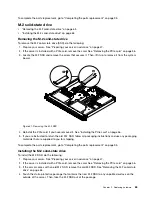
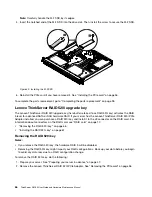
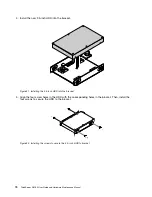
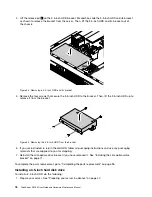
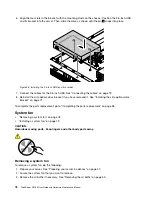
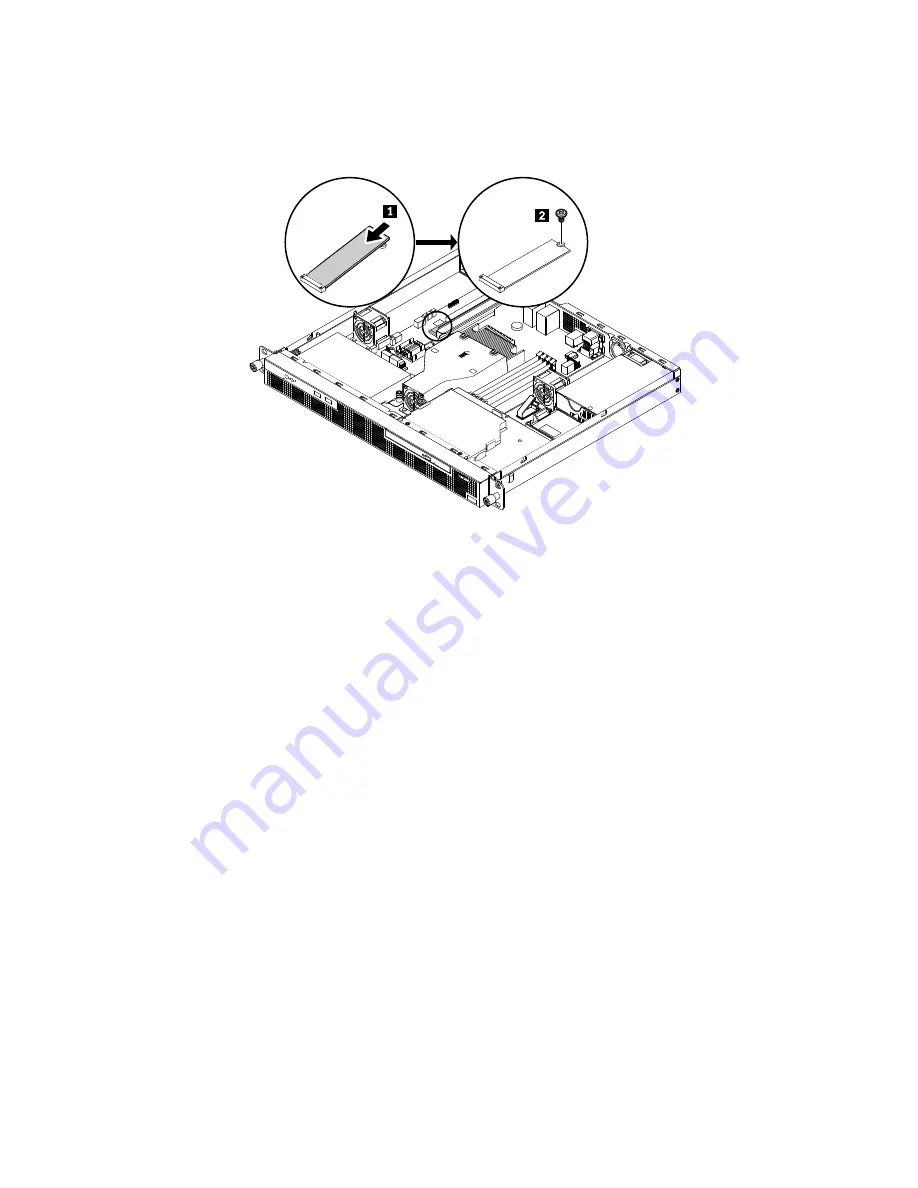
5. Insert the notched end of the M.2 SSD into the drive slot. Then, install the screw to secure the M.2 SSD.
Figure 42. Installing the M.2 SSD
6. Reinstall the PCIe card if you have removed it. See “Installing the PCIe card” on page 56.
To complete the parts replacement, go to “Completing the parts replacement” on page 95.
Lenovo ThinkServer RAID 520i upgrade key
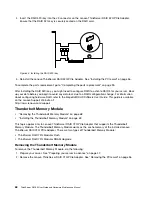
The Lenovo ThinkServer RAID 520i upgrade key (hereinafter referred to as RAID 520i key) activates the RAID
5 level for advanced SATA or SAS hardware RAID. If your server has the Lenovo ThinkServer RAID 520i PCIe
Adapter installed, you can purchase a RAID 520i key and install it to the J3 connector on the RAID card. For
information about connectors on the RAID card, see “RAID card” on page 17.
•
“Removing the RAID 520i key” on page 66
•
“Installing the RAID 520i key” on page 67
Removing the RAID 520i key
Notes:
• If you remove the RAID 520i key, the hardware RAID 5 will be disabled.
• Removing the RAID 520i key might impact your RAID configurations. Back up your data before you begin
to avoid any data loss due to a RAID configuration change.
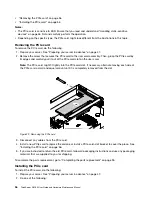
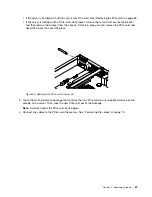
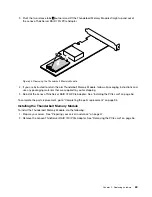
To remove the RAID 520i key, do the following:
1. Prepare your server. See “Preparing your server in advance” on page 47.
2. Remove the Lenovo ThinkServer RAID 520i PCIe Adapter. See “Removing the PCIe card” on page 56.
66
ThinkServer RS160 User Guide and Hardware Maintenance Manual
Summary of Contents for ThinkServer RS160
Page 14: ...xii ThinkServer RS160 User Guide and Hardware Maintenance Manual ...
Page 18: ...4 ThinkServer RS160 User Guide and Hardware Maintenance Manual ...
Page 42: ...28 ThinkServer RS160 User Guide and Hardware Maintenance Manual ...
Page 58: ...44 ThinkServer RS160 User Guide and Hardware Maintenance Manual ...
Page 118: ...104 ThinkServer RS160 User Guide and Hardware Maintenance Manual ...
Page 130: ...116 ThinkServer RS160 User Guide and Hardware Maintenance Manual ...
Page 141: ......
Page 142: ......

