


3.
Press
the
up
or
down
cursor
buttons
to
move
to
the
User
Color
menu
and
then
press
the
Enter
button.
4.
Press
the
up
or
down
cursor
buttons
to
move
up
and
down
in
the
User
Color
menu.
Press
the
left
or
right
cursor
buttons
to
change
values
for
settings.
Press
the
up
or
down
cursor
buttons
to
select
a
different
User
Color
menu
item
for
change.
5.
If
you
wish
to
cancel
all
changes
made
within
the
User
Color
menu,
select
Cancel
and
press
the
Enter
button.
Press
Menu
to
confirm
the
new
settings
and
leave
the
User
Color
menu.
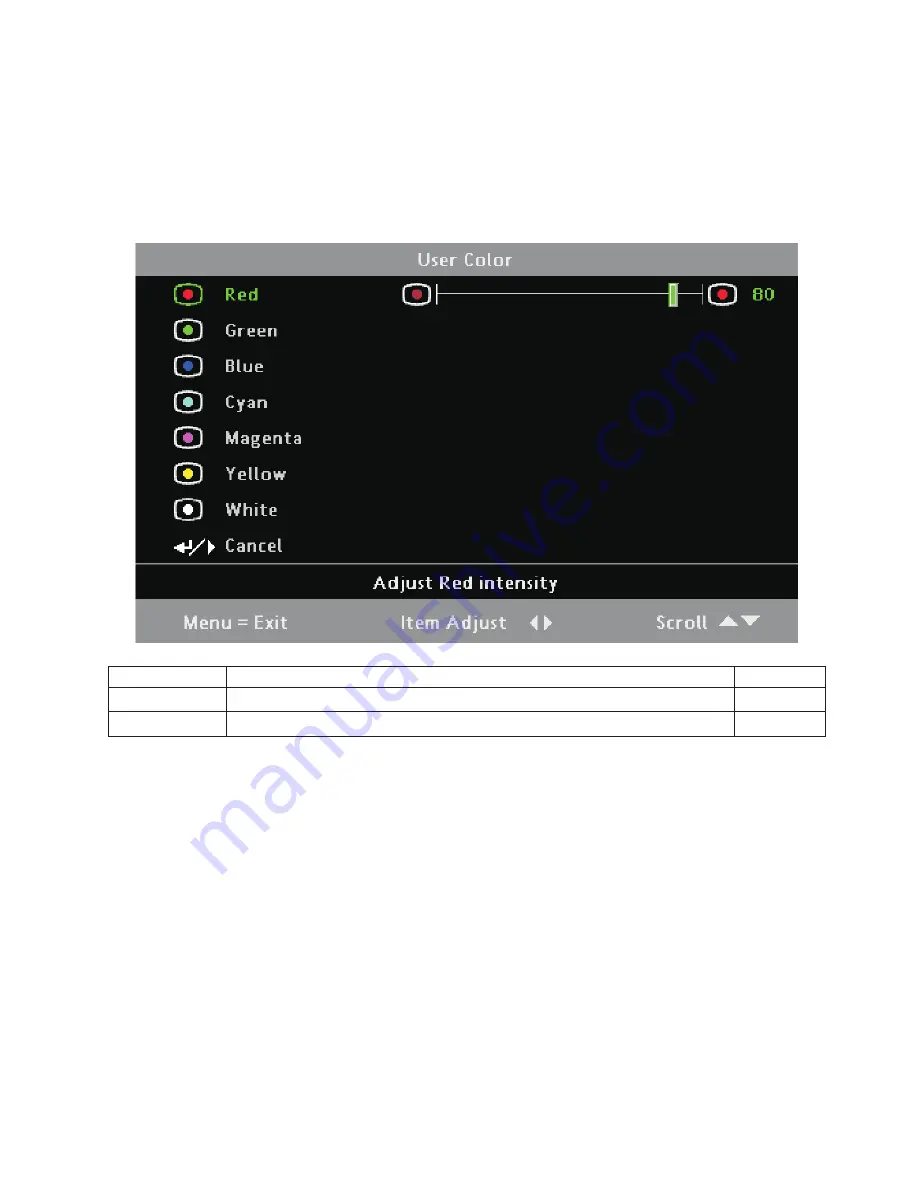
Item
Description
Default
Colors
Press
the
left
or
right
cursor
button
to
adjust
the
color
levels.
(Range:
0
-
100)
80
Cancel
Return
to
previous
menu
n/a
Chapter
3.
On-screen
display
(OSD)
menu
settings
3-9
Summary of Contents for M500
Page 1: ...M500 Projector User s Guide ...
Page 2: ......
Page 3: ...M500 Projector User s Guide ...
Page 4: ...ii M500 Projector User s Guide ...
Page 6: ...iv M500 Projector User s Guide ...
Page 12: ...x M500 Projector User s Guide ...
Page 14: ...xii M500 Projector User s Guide ...
Page 24: ...1 10 M500 Projector User s Guide ...
Page 54: ...B 4 M500 Projector User s Guide ...
Page 58: ...C 4 M500 Projector User s Guide ...
Page 60: ...D 2 M500 Projector User s Guide ...
Page 84: ...G 4 M500 Projector User s Guide ...
Page 85: ......
Page 86: ...Part Number 40Y7881 Printed in USA 1P P N 40Y7881 ...


