


3. If you have removed the front bezel, reinstall it. See “Removing and reinstalling the front bezel” on
page 70.
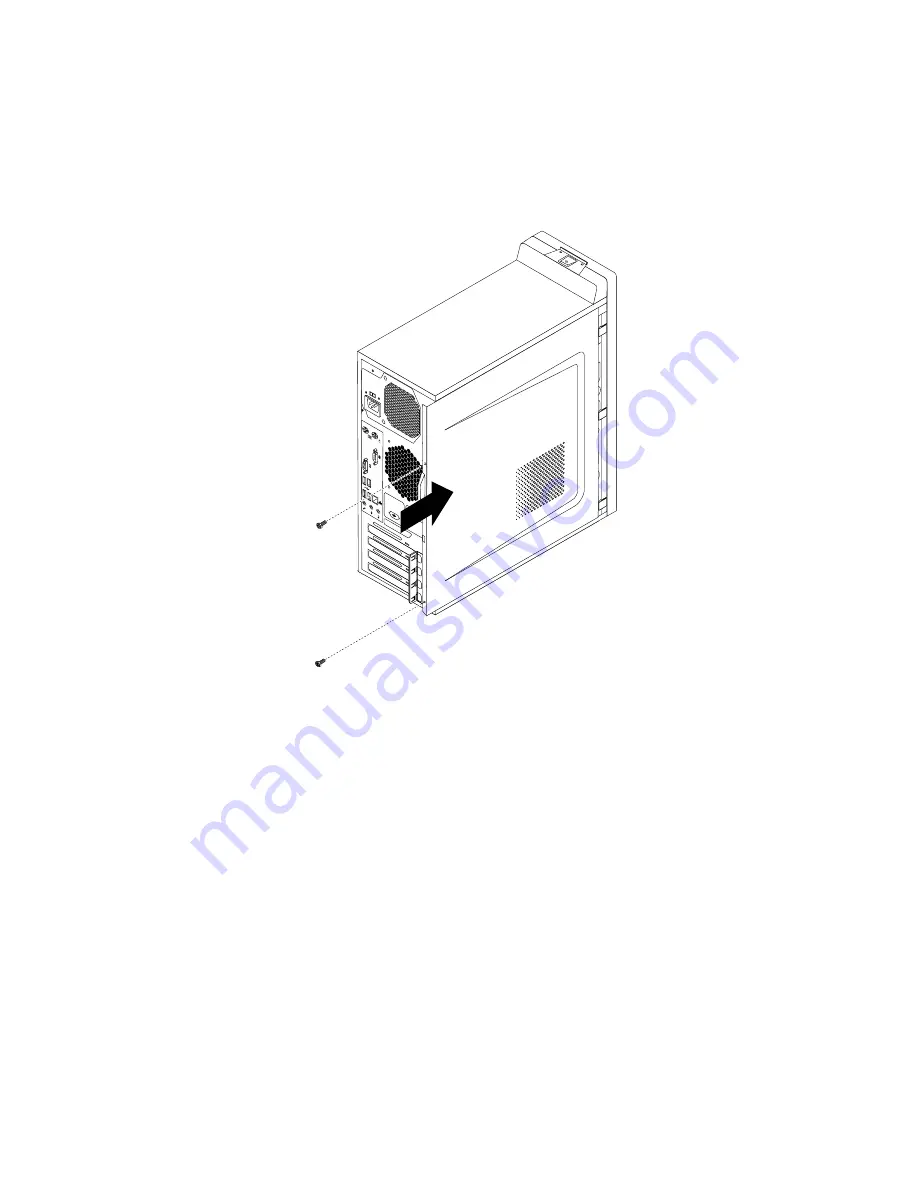
4. Position the computer cover on the chassis so that the rail guides on the bottom of the computer
cover engage the rails on the chassis. Then, push the cover to the front of the computer until it snaps
into position.
Figure 48. Reinstalling the computer cover
5. If there is a padlock available, lock the computer cover.
6. If there is an integrated cable lock available, lock the computer.
7. Reconnect the external cables and power cords to the computer. See “Locating connectors on the
rear of your computer” on page 62.
8. To update your configuration, refer to Chapter 5 “Using the Setup Utility program” on page 49.
Note:
In most areas of the world, Lenovo requires the return of the defective Customer Replaceable Unit
(CRU). Information about this will come with the CRU or will come a few days after the CRU arrives.
104
Lenovo M4350 Hardware Maintenance Manual
Summary of Contents for M4350
Page 1: ...Lenovo M4350 Hardware Maintenance Manual Machine Types 90AG and 10154 ...
Page 6: ......
Page 13: ...Chapter 1 Safety information 7 ...
Page 17: ...Chapter 1 Safety information 11 ...
Page 18: ...1 2 12 Lenovo M4350 Hardware Maintenance Manual ...
Page 19: ...1 2 Chapter 1 Safety information 13 ...
Page 24: ...1 2 18 Lenovo M4350 Hardware Maintenance Manual ...
Page 25: ...1 2 Chapter 1 Safety information 19 ...
Page 28: ...22 Lenovo M4350 Hardware Maintenance Manual ...
Page 32: ...26 Lenovo M4350 Hardware Maintenance Manual ...
Page 54: ...48 Lenovo M4350 Hardware Maintenance Manual ...
Page 60: ...54 Lenovo M4350 Hardware Maintenance Manual ...
Page 74: ...68 Lenovo M4350 Hardware Maintenance Manual ...
Page 119: ......
Page 120: ......


