

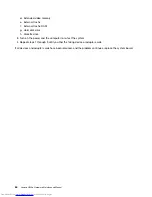

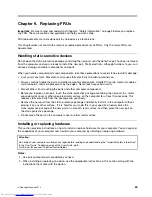


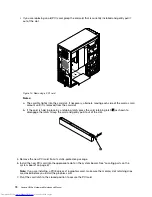

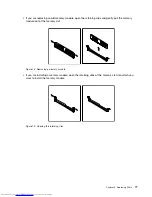


3. At the rear of the computer, remove the screw that secures the PCI card latch.
Figure 9. Removing the screw that secures the PCI card latch
4. Depending on whether you are installing or replacing a PCI card, do one of the following:
• If you are installing a PCI card, remove the appropriate metal slot cover.
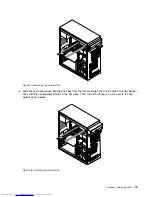
Chapter 9
.
Replacing FRUs
73
Summary of Contents for ideaCentre H520e
Page 1: ...Lenovo H520e Hardware Maintenance Manual ideaideaideaCentreidea Machine Types 90AM ...
Page 6: ...2 Lenovo H520e Hardware Maintenance Manual ...
Page 13: ...Chapter 2 Safety information 9 ...
Page 17: ...Chapter 2 Safety information 13 ...
Page 18: ...1 2 14 Lenovo H520e Hardware Maintenance Manual ...
Page 19: ...1 2 Chapter 2 Safety information 15 ...
Page 24: ...1 2 20 Lenovo H520e Hardware Maintenance Manual ...
Page 25: ...1 2 Chapter 2 Safety information 21 ...
Page 28: ...24 Lenovo H520e Hardware Maintenance Manual ...
Page 32: ...28 Lenovo H520e Hardware Maintenance Manual ...
Page 56: ...52 Lenovo H520e Hardware Maintenance Manual ...
Page 62: ...58 Lenovo H520e Hardware Maintenance Manual ...
Page 96: ...92 Lenovo H520e Hardware Maintenance Manual ...
Page 109: ......
Page 110: ......