26
EN4093R 10 Gb Scalable Switch User’s Guide
Removing an SFP+ Module
To remove the SFP+ module, complete the following steps.
1. Read the safety information that begins on
page 5
and
“Installation Guidelines”
on page 16
.
2. Read the information in
“Handling Transceiver Modules” on page 23
.
3. Remove the fiber optic cable from the module that you want to replace. For
more information about removing the cable, see
“Disconnecting a Fiber Optic
Cable” on page 25
.
Attention:
To avoid damage to the cable or the SFP+ module, make sure that
you remove the fiber-optic cable before you remove the module from the switch
port.
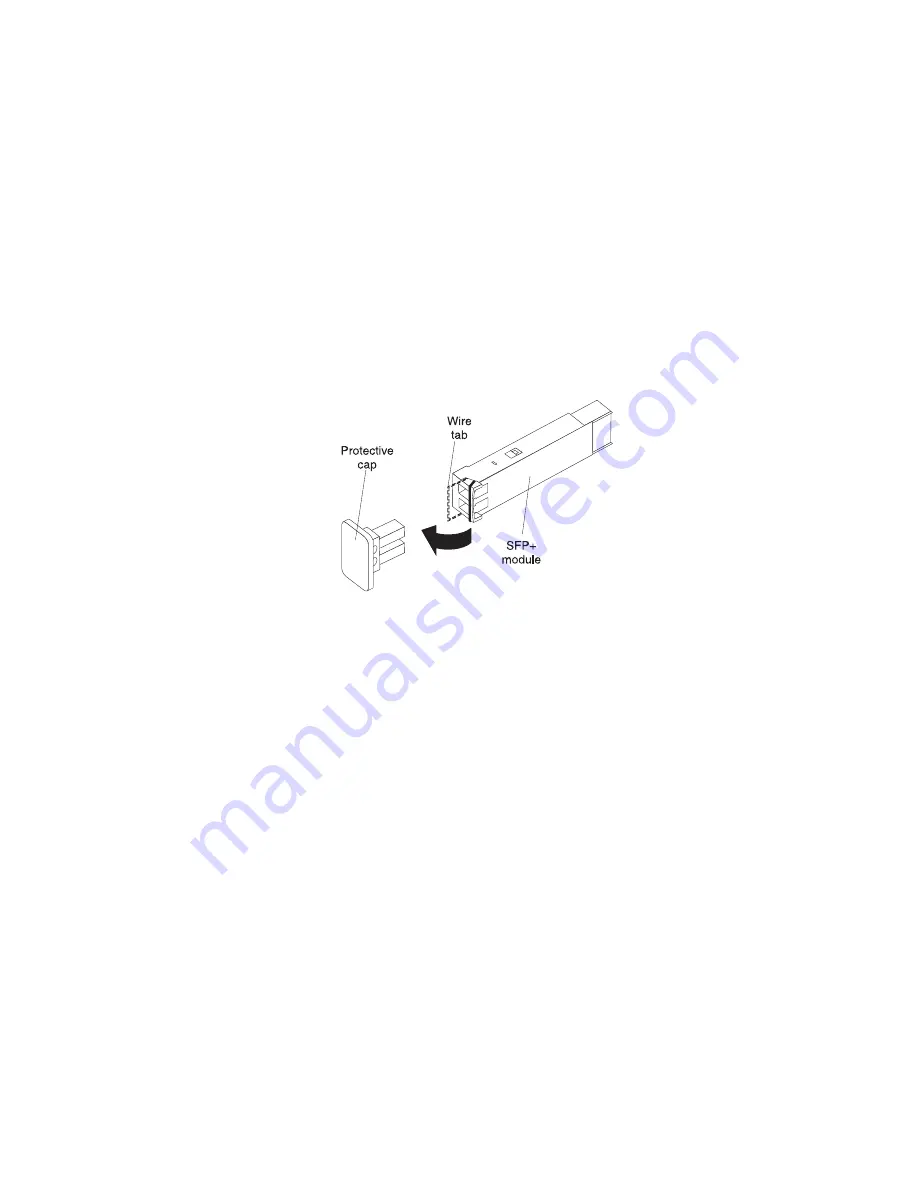
4. Unlock the SFP+ module by pulling the wire tab straight out, as shown in the
following illustration.
5. Grasp the wire tab on the module and pull it out of the switch port.
6. Replace the protective caps on the module and the switch SFP+ port.
7. Place the module into a static-protective package.
QSFP+ Ports
The QSFP+ ports accept supported QSFP+ modules. The QSFP+ module provides
an MTP cable connector for connecting to external devices.
Installing a QSFP+ Module
To install a QSFP+ module in a QSFP+ port on the switch, complete the following
steps.
Note:
To avoid damage to the cable or the QSFP+ module, do not connect the
cable before the QSFP+ module is installed in the switch port.
1. Remove the safety cap from the module and pull the locking lever into the down
(unlocked) position.
2. Insert the QSFP+ module into the switch QSFP+ port until it clicks into place.
Use minimal pressure when you insert the module into the port. Do not use
excessive force when you insert the module; you can damage the module or
the QSFP+ port.
The module has a mechanical guide key to prevent you from inserting the
module incorrectly.
3. Pull up the locking lever to lock the module into place.
4. Connect the fiber-optic cable.


