Step 4.
Locate the blade expansion connector on the blade server system board or the expansion unit and
remove the cover if one is installed (see “Blade server connectors” on page 14).
Step 5.
Touch the static-protective package that contains the optional expansion unit to any
unpainted
metal surface on the BladeCenter unit or any
unpainted
metal surface on any other grounded rack
component; then, remove the optional expansion unit from the package.
Step 6.
Orient the optional expansion unit as shown in the illustration.
Step 7.
Lower the expansion unit so that the slots at the rear slide down onto the cover pins at the rear of
the blade server; then, pivot the expansion unit down onto the blade server.
Step 8.
If the expansion unit has an extraction device (such as a thumbscrew or a lever), use it to fully
engage the expansion unit on the blade server; otherwise, press the expansion unit firmly into the
closed position until it clicks into place. To install an optional GPU adapter into a GPU expansion
unit, see “Installing a GPU adapter in the BladeCenter GPU expansion unit” on page 30. To install
an option into another type of expansion unit, refer to the documentation provided with the
expansion unit.
Step 9.
If additional expansion units are being installed, repeat steps 4 through 8 for each expansion
blade; otherwise continue with step 11.
Step 10. Follow the instructions provided with the expansion unit to install an option in the expansion unit.
Step 11. If you have other devices to install or remove, do so now; otherwise, go to “Completing the
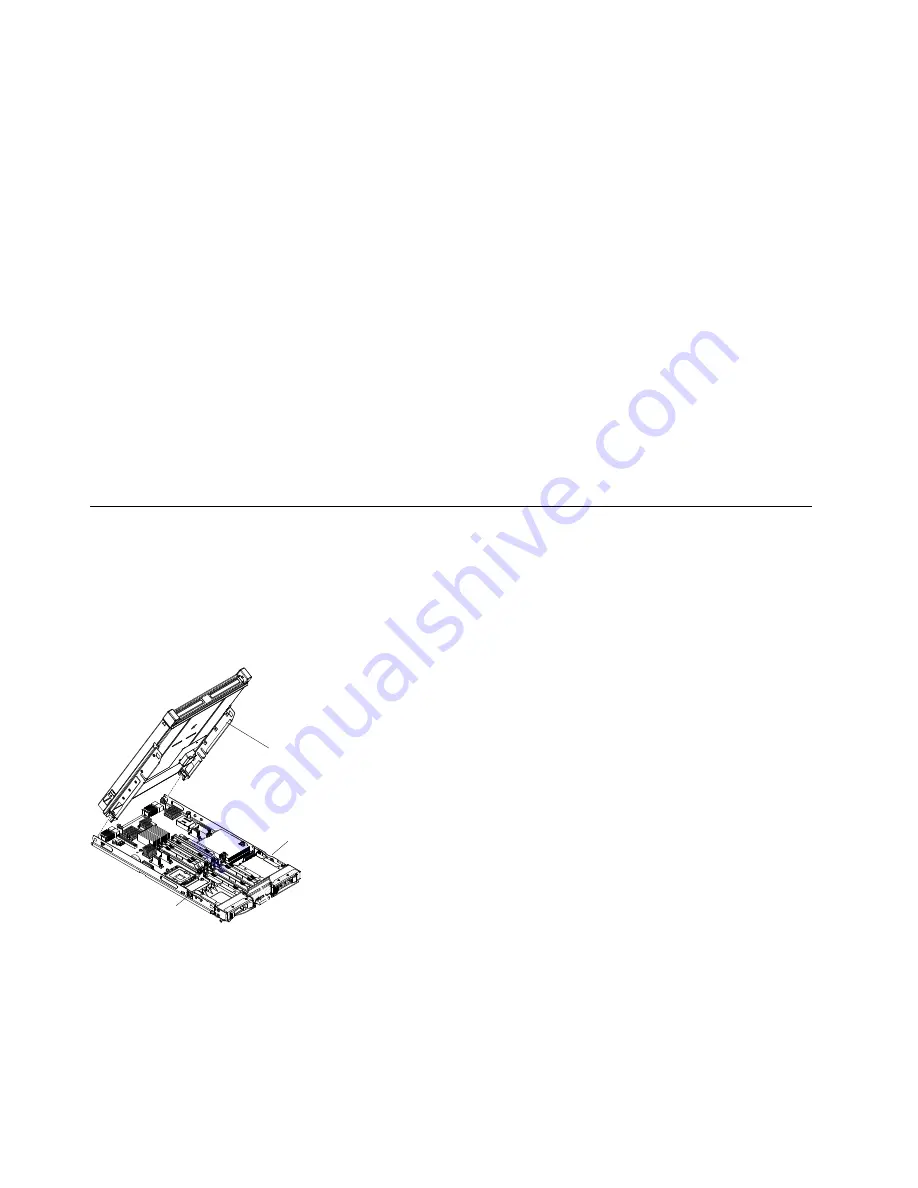
Removing an optional expansion unit
Use these instructions to remove the optional expansion unit from the blade server.
Note:
For instruction on removing an expansion unit from the the IBM WebSphere DataPower Integration
Blade XI50B Type 4195 appliance, see the
Installation and User's Guide
that came with the blade appliance.
To remove an optional expansion unit, complete the following steps:
000
000
000
000
0000
0000
0000
Blade server
cover release
Expansion unit
Blade server
cover release
Step 1.
Before you begin, read “Safety” on page iii and “Installation guidelines” on page 17.
Step 2.
If the blade server is installed in a BladeCenter unit, remove it (see “Removing the blade server
from the BladeCenter unit” on page 19 for instructions).
Step 3.
Carefully lay the blade server on a flat, static-protective surface, with the cover side up.
Step 4.
Remove the blade server cover, if one is installed (see “Removing the blade server cover” on page
20 for instructions).
22
BladeCenter HS22 Blade ServerInstallation and User's Guide
Summary of Contents for BladeCenter HS22
Page 1: ...BladeCenter HS22 Blade Server Installation and User s Guide Machine Types 7870 1936 1911 ...
Page 26: ...16 BladeCenter HS22 Blade ServerInstallation and User s Guide ...
Page 62: ...52 BladeCenter HS22 Blade ServerInstallation and User s Guide ...
Page 82: ...72 BladeCenter HS22 Blade ServerInstallation and User s Guide ...
Page 89: ...Taiwan Class A compliance statement Appendix B Notices 79 ...
Page 90: ...80 BladeCenter HS22 Blade ServerInstallation and User s Guide ...
Page 95: ......
Page 96: ...Part Number 00D9283 Printed in China 1P P N 00D9283 1P00D9283 ...


