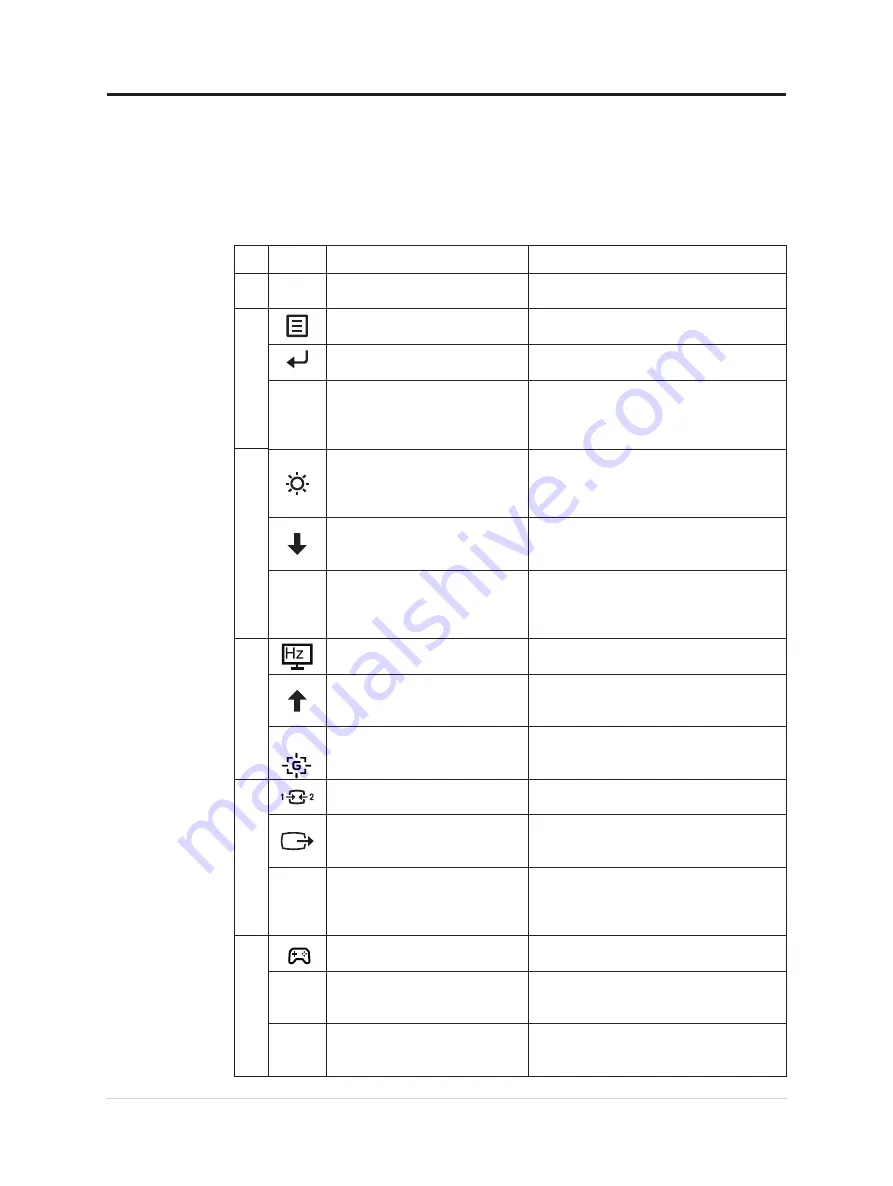
Adjusting your monitor image
This section describes the user control features used to adjust your monitor image.
Using the direct access controls
The direct access controls can be used when the On Screen Display (OSD) is not displayed.
Icon
Control
Description
1
Power
(Under any situation)
DC Off / On
2
Menu
(No menu on the screen)
Opens the main menu
Enter
(Main menu)
Enters the next menu
OK
Right
L&R Increase
(Latency frame adjustment
screen)
Moves the frame to the right
Enlarges the frame horizontally
3
Brightness
(No menu on the screen)
Quickly enters the Peak white (nits)
adjustment page
(If Brightness is grayed out, this button
has no effect)
Down
Decrease
(Main menu)
Moves the cursor down
Decreases the value
Down
U&D Decrease
(Latency frame adjustment
screen)
Moves the frame down
Shrinks the frame vertically
4
Refresh Rate
(No menu on the screen)
Quickly enters the Refresh Rate num
adjustment page
Up
U&D Increase
(Main menu)
Moves the cursor up
Increases the value
Up UD Increase
(Latency frame adjustment
screen)
Moves the frame up
Enlarges the frame vertically
5
Input Source
(No menu on the screen)
Quickly enters the Input Source
adjustment page
Back
Exit
(Main menu)
Returns to the previous menu
Exits the menu
Left
L&R Decrease
(Latency frame adjustment
screen)
Moves the frame to the left
Shrinks the screen horizontally
6
Game Mode
(No menu on the screen)
Quickly enters the Game Mode
adjustment page
Esports
(Main menu)
Enable/Disable Esport Mode
(To display the Lot5 warning, direct to the
Esport page first)
Back
(Latency frame adjustment
screen)
Returns to the main menu
Chapter 1.Getting started 2-3


