Use the USB repair shim
Step 1. Tap
in the system tray to shut down the Chromebook.
Step 2. Press the power button, and the two ends of the volume button together to enter the recovery
mode.
Step 3. Press the two ends of the volume button together, and then the Chrome OS recovery menu is
displayed. Use the two ends of the volume button to navigate and the power button to select
Confirm Disabling OS Verification
.
Step 4. After the Chromebook enters the developer mode, wait 30 seconds for the Chromebook to restart.
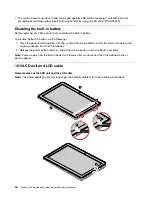
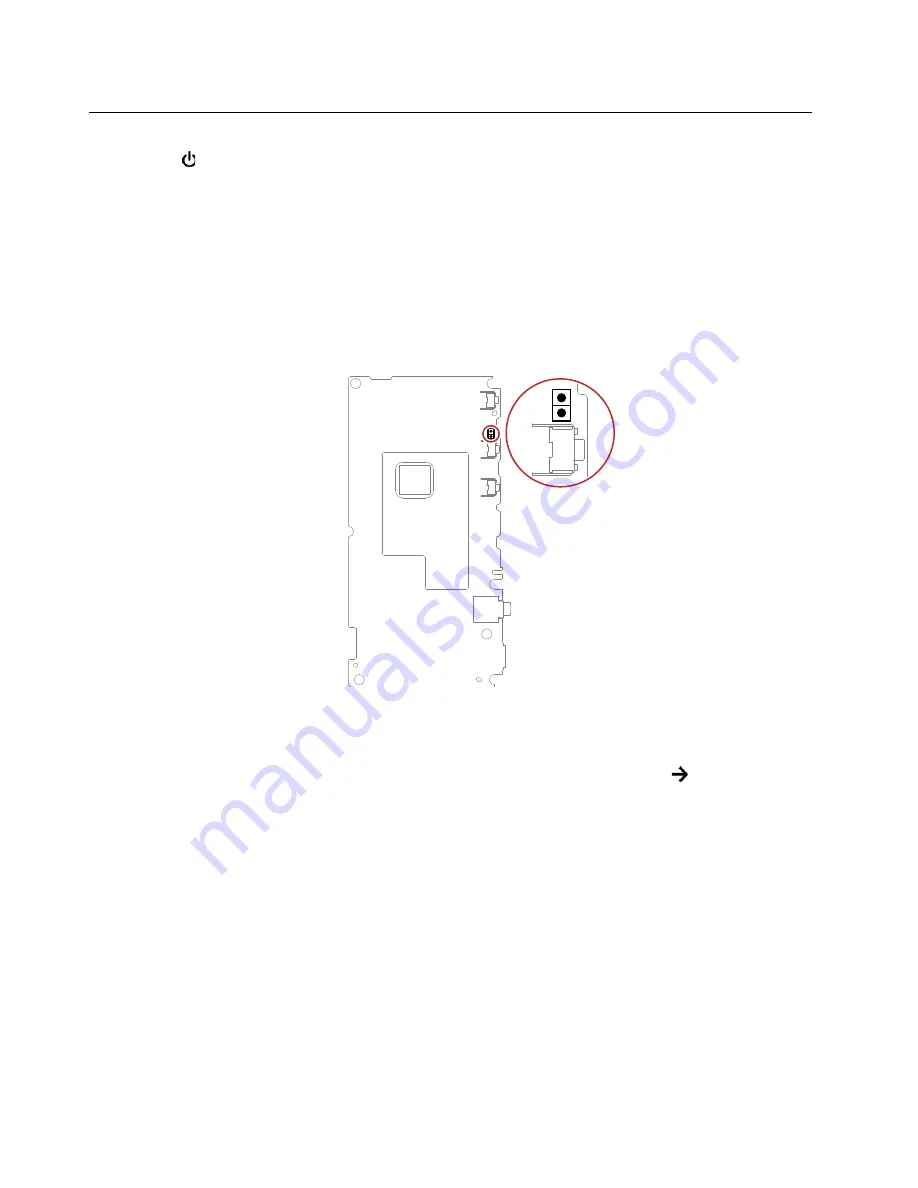
Step 5. Depart the LCD unit from the base cover assembly (see “1010 LCD unit and LCD cable” on page
34) until the pins are exposed. Short-circuit the pins on the system board and keep them short-
circuited until the image is installed.
Step 6. Connect the Chromebook to a conventional keyboard through a compatible USB dongle. Press
Ctrl + Alt + F2
to open the Developer Console. Type
root
to log in, and then type
enable_dev_usb_
boot
to enable USB booting.
Note:
If the Chromebook is connected to a Keyboard Folio, press
Ctrl + Alt +
to open the
Developer Console.
Step 7. Type
reboot
to restart the Chromebook.
Step 8. Connect the prepared USB repair shim to the Chromebook. After the OS verification screen is
displayed, press
Ctrl + U
. The Chromebook will install the image automatically.
Step 9. After the process is completed, press
Enter
to restart the Chromebook.
Step 10. Remove the USB repair shim from the Chromebook and reinstall the LCD unit.
Step 11. Follow the on-screen instructions to start the FFT.
Note:
If the FFT detects a defective component, turn off the Chromebook, detach the ac power
adapter, and then replace the defective component.
Step 12. Start the RunIn and FAT (this is an optional operation).
Step 13. Follow the on-screen instructions to start the GRT. If the tests finish successfully, all data stored on
the Chromebook is deleted and the Chromebook is turned off. If the GRT fails, they might result
26
Lenovo 10e Chromebook Tablet Hardware Maintenance Manual
Summary of Contents for 10e Chromebook
Page 1: ...Lenovo 10e Chromebook Tablet Hardware Maintenance Manual ...
Page 4: ...ii Lenovo 10e Chromebook Tablet Hardware Maintenance Manual ...
Page 6: ...iv Lenovo 10e Chromebook Tablet Hardware Maintenance Manual ...
Page 11: ...DANGER DANGER DANGER DANGER DANGER DANGER Chapter 1 Safety information 5 ...
Page 12: ...DANGER 6 Lenovo 10e Chromebook Tablet Hardware Maintenance Manual ...
Page 13: ...PERIGO Chapter 1 Safety information 7 ...
Page 14: ...PERIGO PERIGO PERIGO PERIGO 8 Lenovo 10e Chromebook Tablet Hardware Maintenance Manual ...
Page 15: ...PERIGO PERIGO PERIGO DANGER DANGER Chapter 1 Safety information 9 ...
Page 17: ...DANGER VORSICHT VORSICHT VORSICHT VORSICHT Chapter 1 Safety information 11 ...
Page 19: ...Chapter 1 Safety information 13 ...
Page 20: ...14 Lenovo 10e Chromebook Tablet Hardware Maintenance Manual ...
Page 21: ...Chapter 1 Safety information 15 ...
Page 22: ...16 Lenovo 10e Chromebook Tablet Hardware Maintenance Manual ...
Page 23: ...Chapter 1 Safety information 17 ...
Page 24: ...18 Lenovo 10e Chromebook Tablet Hardware Maintenance Manual ...
Page 25: ...Chapter 1 Safety information 19 ...
Page 26: ...20 Lenovo 10e Chromebook Tablet Hardware Maintenance Manual ...
Page 30: ...24 Lenovo 10e Chromebook Tablet Hardware Maintenance Manual ...
Page 34: ...28 Lenovo 10e Chromebook Tablet Hardware Maintenance Manual ...
Page 38: ...32 Lenovo 10e Chromebook Tablet Hardware Maintenance Manual ...
Page 41: ...Chapter 5 Removing or replacing a FRU 35 ...
Page 50: ...44 Lenovo 10e Chromebook Tablet Hardware Maintenance Manual ...
Page 56: ...50 Lenovo 10e Chromebook Tablet Hardware Maintenance Manual ...
Page 59: ......
Page 60: ...Part Number SP40G76889 Printed in China 1P P N SP40G76889 ...
Page 61: ... 1PSP40G76889 ...

