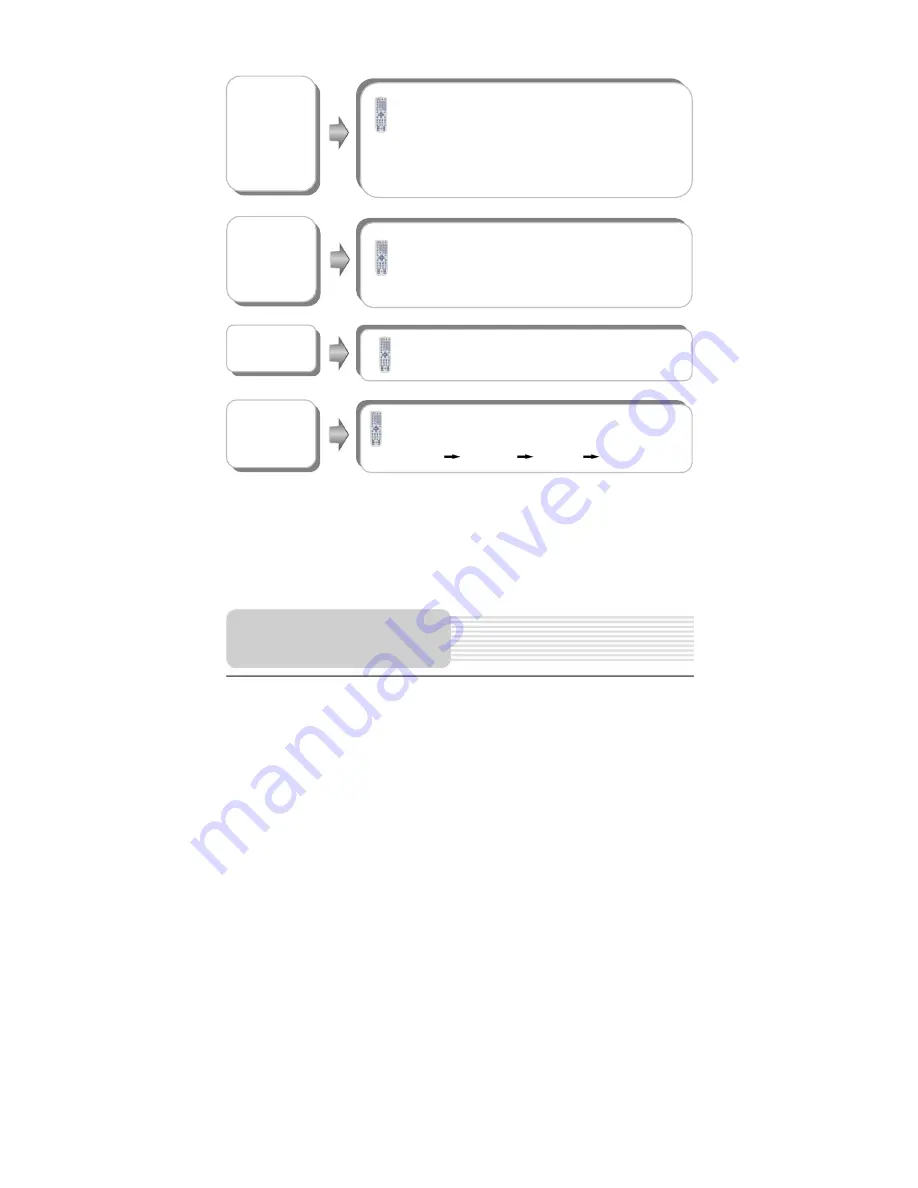
LENCO DVT-1001 Operation Manual Download Page 28


27 


REPEAT 
button 


GOTO button 


Press  the  GOTO  button  to  select  desired  disc  starting 

time, track starting time or track. During playback, press it 

repeatedly and the screen will display as follows:   

Disc Go To:--:-- Track Go To:--:-- Select Track:--/N                               

N refers to the total track number of the disc.   

Use 0-9 buttons to select directly. 


INFO. button 


Press  the  INFO.  button  for  detailed  information  during 

playback. 


 Press the REPEAT button to repeat a Track, All or cancel   

repeat in sequence.


AUDIO button 


Press the AUDIO button to select desired sound effect.   

Press it repeatedly and the display will be as follows: 

Mono Left

Mono Right

Mix-Mono

Stereo 


Playback Operation


Summary of Contents for DVT-1001

Page 1: ...s Power Supply Preparation Rechargeable Battery TV Operations LCD TV Setup Notes on Discs Playback Operation DVD Playback CD Playback JPEG Playback MPEG4 Playback USB and SD MS MMC Card DVD System Set...

Page 2: ...titutions and modifications of the product without authorization from the manufacturer or authorized unit 4 Danger of explosion if battery is incorrectly replaced Replace only with the same or equival...

Page 3: ...e installed near the apparatus and the mains plug shall remain readily operable 12 Protect the power cord from being walked on or pinched particularly at plugs convenience receptacles and the point wh...

Page 4: ...disc The region code of this unit is 2 The images in this manual are only for reference and they may be different from the actual ones If at any time in the future you should need to dispose of this...

Page 5: ...l for Remote Control 1 Power Supply Cord with AC Adapter 1 Audio Video Cable 1 DC Adapter Car Adapter 1 CATV Communicator with PAL SECAM 1 Operation Manual 1 NOTE Accessories and their parts numbers a...

Page 6: ...ECT button Press to eject the disc in DVD mode 7 Stop button In DVD mode press to stop playback Then press the button to resume playback from the stopped spot Press the button twice to stop playback c...

Page 7: ...up menu 12 SETUP button Press to enter or exit the system setup menu Press it longer to change the aspect ratio between 16 9 and 4 3 13 DVD TV button Press to select DVD or TV mode In DVD mode press a...

Page 8: ...isc or output an AV signal note the AV output contains the DVD USB SD signals 4 SD MS MMC Card Slot Insert SD MS MMC card 5 L R Audio Input Output Jack Connect an external amplifier or audio input sou...

Page 9: ...UDIO button In DVD mode press to select different languages when playing a DVD disc that contains multiple audio languages is played press to select a different audio track when a CD disc is played 6...

Page 10: ...ck Then press the button to resume playback from the stopped spot Press this button twice to stop playback completely 15 button In DVD or SD MS MMC mode press to search backward fast 16 button In DVD...

Page 11: ...DVD mode press to realize various zoom effects 26 SLOW button In DVD mode press to activate slow playback during normal playback 27 button In DVD or SD MS MMC mode press to forward to the next list t...

Page 12: ...te control sensor and within about 60 degrees of the front of the unit Note Under normal use the battery will last for six months Improper use of the battery may cause overheating explosion or ignitio...

Page 13: ...and video cables Connecting to the Connecting Line of CATV Connecting to the headphones Connect your connecting line of CATV signal source to the TV signal input jack on the left side of the player as...

Page 14: ...ut jacks on the left side of the unit as show below Connecting to An Amplifier Refer to your audio equipment s manual before connection Use the AV cables to connect the external amplifier to the AV in...

Page 15: ...he unit or view video software while driving a vehicle Place the unit in a proper position for viewing Detach battery pack when using the AC or car adapter as power source Disconnect the player from t...

Page 16: ...tore in hot sunny place Maintain well ventilated conditions around the product to avoid overheating Don t put the product on a bed sofa or anything that may block ventilation to the product Do not sho...

Page 17: ...the item you want to setup Press the SETUP button again to exit TV SETUP 1 SYSTEM Press the or button to select the available items include PAL B G SECAM L L PAL D K or PAL I 2 CHANNEL Press the or bu...

Page 18: ...Searching Highlight AUTO Press the button and then the player will search for available TV channels from the lowest channel to the highest channel in the standard channel list automatically The player...

Page 19: ...econd arrow points Use 0 9 buttons and 10 button to enter the channelnumber you want to watch Press the SETUP button to confirm and the channel will skip to the channelnumber of choice 2 COPY You can...

Page 20: ...s that reduce the viewing quality Press the CH button to highlight the item you want to adjust Press the or button to adjust the value FUNCTION menu Press the CH button to highlight the item you want...

Page 21: ...tton again to exit Note the PICTURE SETUP menu and the FUNCTION menu are the same with those in DVD mode TV SETUP menu Press the CH button to highlight the item you want to set up Press the or button...

Page 22: ...or removing discs try not to touch their playing surfaces as the right figure Fingerprints or stain on the disc may affect the quality of sound and picture To clean your discs use a soft clean cloth...

Page 23: ...ed side facing the front of the unit insert vertically into the disc tray Referring to the right picture 5 Gently push the disc into the disc tray and it will be automatically be pulled into the disc...

Page 24: ...ormal playback press the A B button to select the segment that you want to play repeatedly Press once to select the beginning point A press again to select the ending point B and play the segment repe...

Page 25: ...s pressed Press the button twice repeatedly to stop playback completely Press the button to go to the previous chapter Press the button to play the next chapter Press the MENU button during playback T...

Page 26: ...le off A DVD disc can be recorded with at most 32 subtitles NOTE This function is available for discs recorded with multi subtitles Press the INFO button for detailed information during playback AUDIO...

Page 27: ...tons button During playback press the button once to stop and then press the button to resume normal playback from the place where the button is pressed Press the button twice repeatedly to stop playb...

Page 28: ...t Track N N refers to the total track number of the disc Use 0 9 buttons to select directly INFO button Press the INFO button for detailed information during playback Press the REPEAT button to repeat...

Page 29: ...the buttons to select desired file Then press the ENT or button to confirm your selection 4 Press the button to return to senior folder or directory button Press the button to preview the pictures be...

Page 30: ...ying the whole folder the play will be stopped automatically Single refers to only playing the current file As soon as it comes to an end play will be stopped Repeat One refers to repeating the curren...

Page 31: ...While viewing a picture use the direction buttons to rotate the picture Press the button to rotate the current picture clockwise Press the button to rotate the current picture anti clockwise Picture...

Page 32: ...Use the buttons to select desired folder Then press the ENT or button to confirm your selection button During playback press the button to return to the root folder Then press the button to play the f...

Page 33: ...ay current file As soon as it comes to an end play will be stopped Repeat One refers to repeat current file Repeat All refers to repeat all files of current folder according to original order Repeat O...

Page 34: ...n DVD mode press button 1 repeatedly for 1 2 seconds to shift among DVD SD MS MMC and USB modes if the SD MS MMC card and USB device are inserted The default state is disk playback Please see the belo...

Page 35: ...u want to set up 3 Press the SETUP button again to exit the setup menu at any time during set up 1 TV Display This item is used to set TV Display mode Press the button to highlight this item Press the...

Page 36: ...Language This item is used to set the OSD language Press the button to highlight this item Press the ENT or button to enter and press the button to select the desired language Press the ENT button to...

Page 37: ...u stopped last time Press the button to highlight this item and press the ENT or to enter the item Press the button to select on or off Press the ENT button to confirm your selection 5 Screen Saver Th...

Page 38: ...utton to confirm your selection Press the button to exit 1 Downmix This item is used to set Downmix mode Press the button to highlight this item Press the ENT or button to access It includes LT RT and...

Page 39: ...on to confirm your selection Press the button to exit 1 Audio This item is used to set the audio output language Press the button to highlight this item Press the ENT or button access Press the button...

Page 40: ...ess the button to choose the preferred language Press the ENT button to confirm your selection Press the button to exit 3 Disc Menu This item is used to set the language of the Disc Menu Press the but...

Page 41: ...c altogether Press the button to highlight this item Press the ENT or button to access Press the button to choose the proper one Press the ENT button to confirm your selection and you should enter the...

Page 42: ...r some small sections chapters Each section is numbered these numbers are called Title number or Chapter number Title 1 Title 2 Chapter1 Chapter 1 Chapter2 Track CD CDs are divided into some sections...

Page 43: ...the disc in with the label pointing towards you The disc may be dirty or warped Clean or change the disc The player s region code may not as the same as the region code of DVD disc Make sure the playe...

Page 44: ...e system connection may be not correct Connect the system correctly The unit may be not in AV out mode Switch AV IN OUT Switch to OUT enter AV output status Poor AV performance The disc may be dirty o...

Page 45: ...ange 80dB 1kHz Audio Out Out Level 2V 0 2 1 0 Load 10k Video Out Out Level 1VP P 0 2 Load 75 Unbalanced Negative Power AC100 240V 50 60Hz Dimensions 268 120 257mm Weight Approximate 2 2 Kg DESIGN AND...

Reviews: