


Record buttons
Recording menu
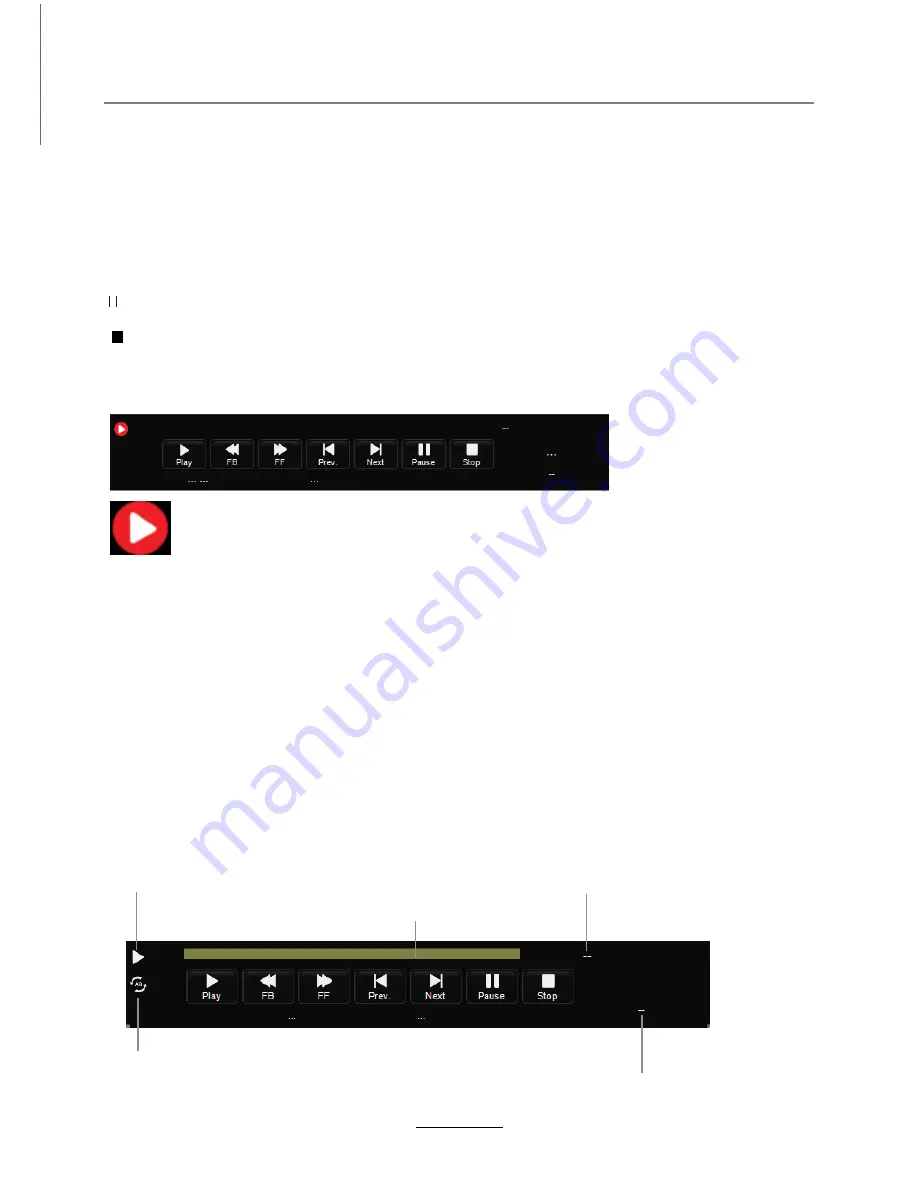
Timeshift
REC(Recording):
Press to enter the recording mode.
Note: a. You could change the mode of Recording menu by REC/Exit button.
b. Press STOP button to exit the recording mode.
c. Press PLAY button to play the program you are recording from the beginning.
d. Press Recording list button to display the Recorder list, and you could play the
program you selected. The recording will be going on, and the Recording menu
will display when you exit the Recorder list.
Note: a. You could change the mode of Timeshift menu by
REC
/Exit button.
b. Press STOP button to exit the Timeshift mode.
c. Press PLAY button to play the program you are recording from the beginning.
5) Record Start
PAUSE:
Press to enter the timeshift mode.
When you press
REC
button, the screen will display the recording menu as below:
Press PAUSE button to enter the Timeshift mode, and the picture will be paused, the
recording will begin.
Playback
Recording list:
Press to display the recording list.
Stop:
Press to stop recording.
Full mode
Simple mode
The current state of the program
The current time
The name and number
of the program
The process of the program
A-B mark
When you finish the settings above, you could start recording by select
Start Recording
in the
menu and press OK button in DTV mode. (You can also start recording by press the
REC
button
on the remote control)
Recording Operation
22
Summary of Contents for DVL-2750
Page 1: ...68 5cm 27 LED TV with DVD DVBT Model No DVL 2750 For information and support www lenco eu...
Page 26: ...24 DVD Operation...
Page 27: ...25 DVD Operation...
Page 28: ...26 Spdif Setup DVD Operation...
Page 29: ...27 or NO disc DVD Operation...
Page 30: ...28 DVD Operation...
Page 31: ...29 DVD Operation...
Page 32: ...30 DVD Operation...
Page 35: ...I LENCO II DVL 2750 27 68 5 58 40...
Page 36: ......