background image

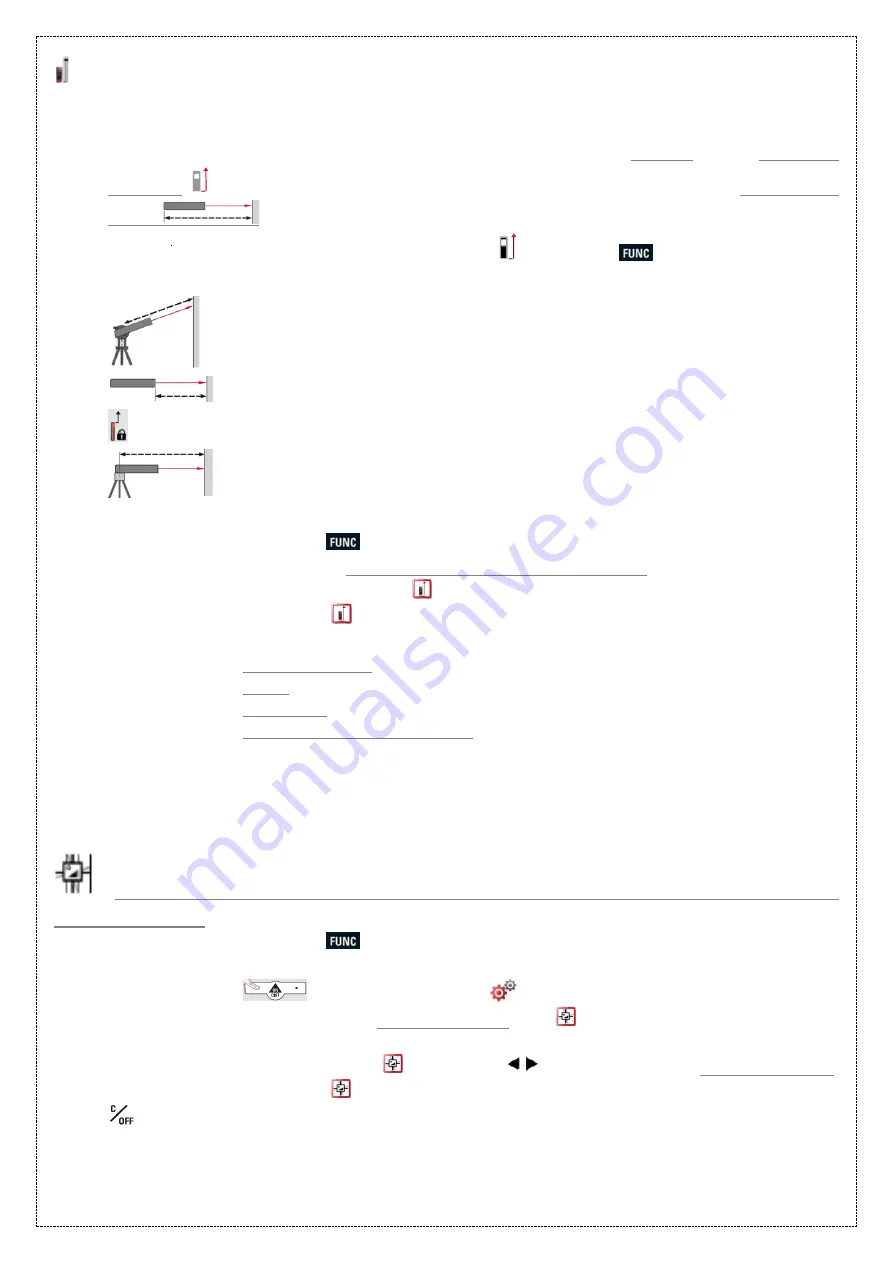
Adjusting measuring reference/tripod 

Custom  your  D410  to  measure  the  distance  from  its 

front,  rear,  middle  or  the  tripod 

thread of the device

.  

1.


Each time the device is switched on, the display shows the 

default

 or the 

standard


mode as


 which means that the distance is being measured from the 

back of the 

device

.  

You  can  further  change  the  settings  by  pressing 

  under  the 

  screen  to  adjust  the 

mode to either 

2.


 - Measurement from the Leica Disto Adapter FTA 360. 

3.


 - Measurement from the front of the device,  

 - 

Lock icon = permanently


4.


 - Measurement from the tripod thread of the device.  

How to adjust the measuring reference 


Press the 

 key once to reach the application screen.  


Select  the 

Adjust  measurement  application

  from  the 

top  right


section by pressing  . 


Select the   icon using 

=

 key.  


Choose from provided: 

from the front,  
back,  
middle or 
tripod thread of the device. 


* Once the device is switched off, reference goes back to standard setting (i.e. rear of the 
device) 


  Adjusting/Standardising/Calibration  of  tilt  sensor  (Tilt 

Calibration)


Press the 

 key once to reach the application screen.  


Select  the  Settings  option  from  this  screen  by  pressing  the  soft  key

 underneath the icon 


On this screen, 

Tilt calibration

 icon   is located at the 

bottom left 

of 

the display.  


Navigate to the 

 icon using 

 keys to select for 

Tilt calibration

Select the   icon using 

=


key.  

Press 

to exit settings.


Summary of Contents for DISTO D410

Page 1: ...tance or Press and hold for 2 seconds to activate continuous laser measurement Tracking Press once quickly to switch off tracking Press and hold the button for 2 seconds to switch off the 410 The 410...

Page 2: ...application screen Select the settings option from this screen by pressing the soft key underneath the icon On this screen brightness adjustment illumination icon is located at the the bottom right o...

Page 3: ...ser is activated The delayed release is recommended for precise aiming e g for long distances as it avoids shaking of the device while pressing the measurement key To set the Timer press the key once...

Page 4: ...sing the soft key underneath the icon On this screen Personalized favourites a star shaped icon is loacted at the bottom centre of the display Navigate to the icon using keys to select for Personalize...

Page 5: ...ow to adjust the measuring reference Press the key once to reach the application screen Select the Adjust measurement application from the top right section by pressing Select the icon using key Choos...

Page 6: ...ress Next rotate it by 180 and place the device on the surface as it was and press again Next stand the device up on a horizontal surface and press As indicated rotate the device 18o in its vertical p...

Page 7: ...maximum value or horizontal distance minimum value To activate permanent measuring press and hold the key for 2 seconds This will activate the continuous laser Aim the laser at wall corners maximum v...

Page 8: ...as the area icon will indicate on display Once this process is completed the device automatically calculates the area for you Adding and subtracting areas You can measure two separate areas and add or...

Page 9: ...ure the length of an object indirectly just by focusing on 2 points Press the Function key ocne Move to the second page of the application screen using keys On this screen 2 point indirect length meas...

Reviews: