


74 / Detailed guide /
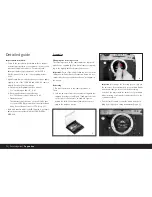
Preparation
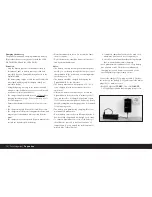
Removing the battery compartment/
an attached motor
Like the Motor-Winder-R8/R9 / Motor-Drive-R8/R9,
the power unit for the Digital-Modul-R has its own inte-
grated grip section. The battery compartment or any
motor attached must therefore be removed from the
camera.
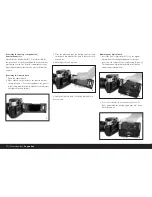
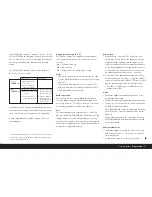
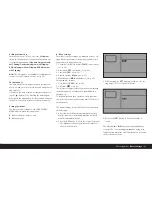
Removing the camera back
1. Open the camera back.
2. Place slider B on the inside of the camera back, as
shown in Figure 1. For correct guidance, the grooves
in the slider must be aligned with the vertical strip to
the right of the axis (arrow).
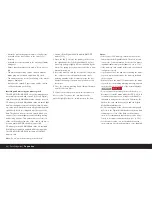
3. Press the slider and thus the moving upper joint pin
on the back downwards. The back is thus unlocked
and can be
4. tilted (Figure 2) and removed.
To attach the camera back, follow this procedure in
reverse order.
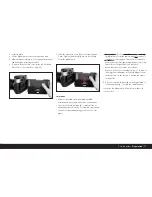
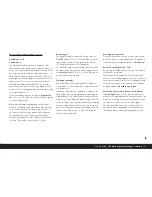
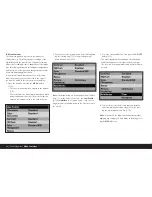
Attaching the digital back
1. Insert the lower rigid joint pin (1.1) on the digital
back, which is held slightly diagonal for this pur-
pose, into the camera’s lower cap bearing (Figure 3).
The camera and digital back should be held at an
angle of approximately 90°.
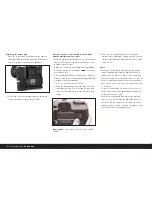
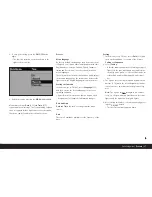
2. Press the red slider (Cb) on the protective cover
(Ca) – and with it the moving upper joint pin – down-
wards (Figure 4),
2
3
4
1