Chapter 4: Connecting External Equipment (Optional)
58
Introduction to Asset Tags
You need both asset strips and asset tags for tracking IT devices.
Asset tags provide an ID number for each IT device. The asset tags are
adhered to an IT device at one end and plugged in to an asset strip at the
other.
The asset strip is connected to the SRC, and the asset tag transmits the
ID and positioning information to the asset strip.
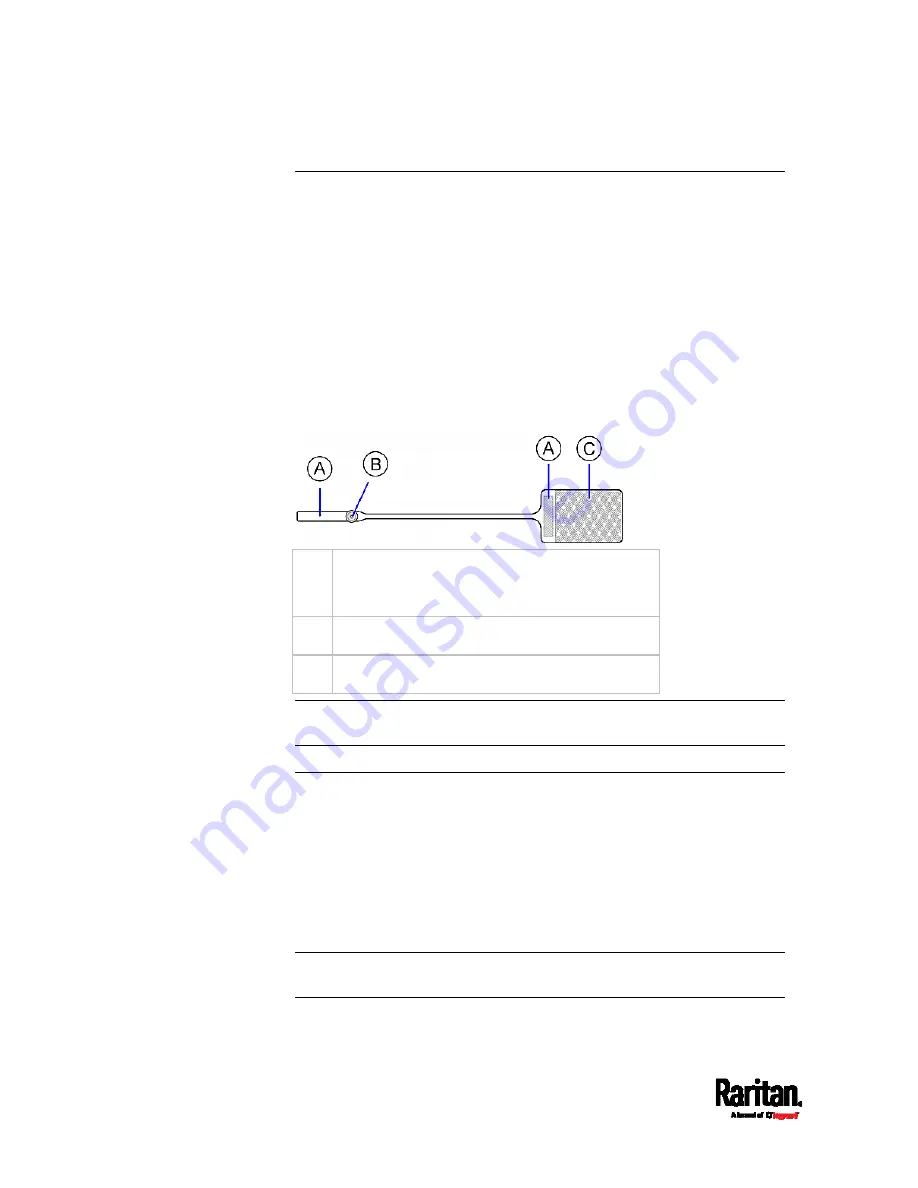
The following diagram illustrates an asset tag. Note that there are two
types of asset tags: non-programmable and programmable tags. The
only difference is that programmable asset tags allow you to customize
each tag's ID or barcode number while non-programmable ones have
factory default ID or barcode numbers, which you cannot change.
A
Barcode (ID number), which is available on
either end of the "non-programmable" asset
tag
B
Tag connector
C
Adhesive area with the tape
Note: The barcode of each "non-programmable" asset tag is unique and
is displayed in the SRC device's web interface for identification.
Connecting Regular Asset Strips to SRC
The cabling distance between an asset strip assembly and the SRC can
be up to 10 meters.
The SRC supplies power to the connected asset strips.
After powered by the SRC, all LEDs on the asset strip may cycle through
different colors if the asset strip's firmware is being upgraded by the
SRC. When the power-on or firmware upgrade process completes, all
LEDs show solid colors.
Note: To configure asset strips after finishing the asset strip connection,
see
Asset Strip
(on page 139).
Summary of Contents for Raritan SRC-0100
Page 114: ...Chapter 6 Using the Web Interface 102...
Page 291: ...Chapter 6 Using the Web Interface 279...
Page 301: ...Chapter 6 Using the Web Interface 289 6 Click Create to finish the creation...
Page 311: ...Chapter 6 Using the Web Interface 299...
Page 312: ...Chapter 6 Using the Web Interface 300 Continued...
Page 625: ...Appendix H RADIUS Configuration Illustration 613 Note If your SRC uses PAP then select PAP...
Page 630: ...Appendix H RADIUS Configuration Illustration 618 14 The new attribute is added Click OK...
Page 631: ...Appendix H RADIUS Configuration Illustration 619 15 Click Next to continue...


