


6/8 GPU Open Air Assembly Instructions
5
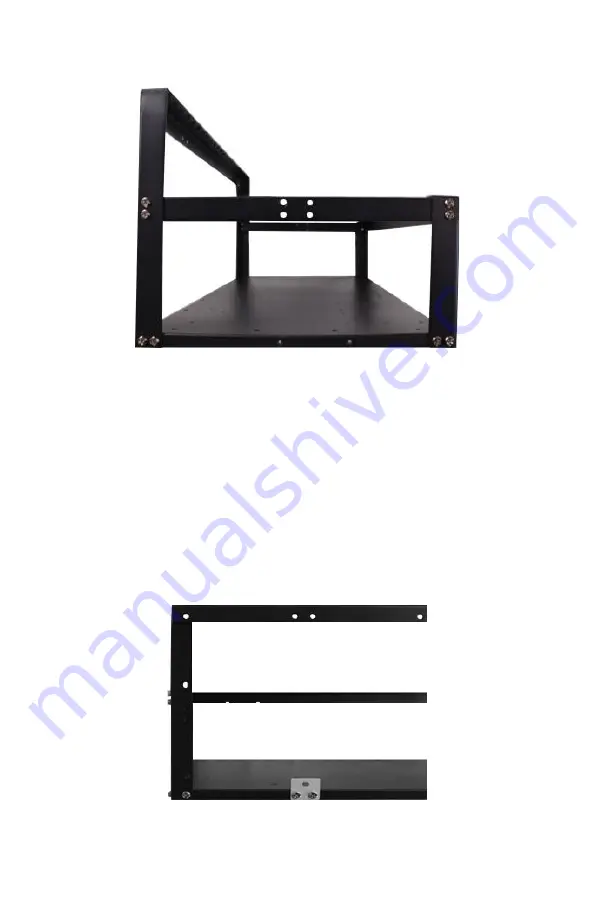
4.
Power Supply Bracket
There are two PSU bracket locations on the front
of the base. Using 2 screws, attach the power
mount bracket to the holes on the front of the base
as show below. The location on the left (as shown
below) allows the PSU to sit lower and leaves more
room for GPU’s (this is the recommended
location).