background image


6


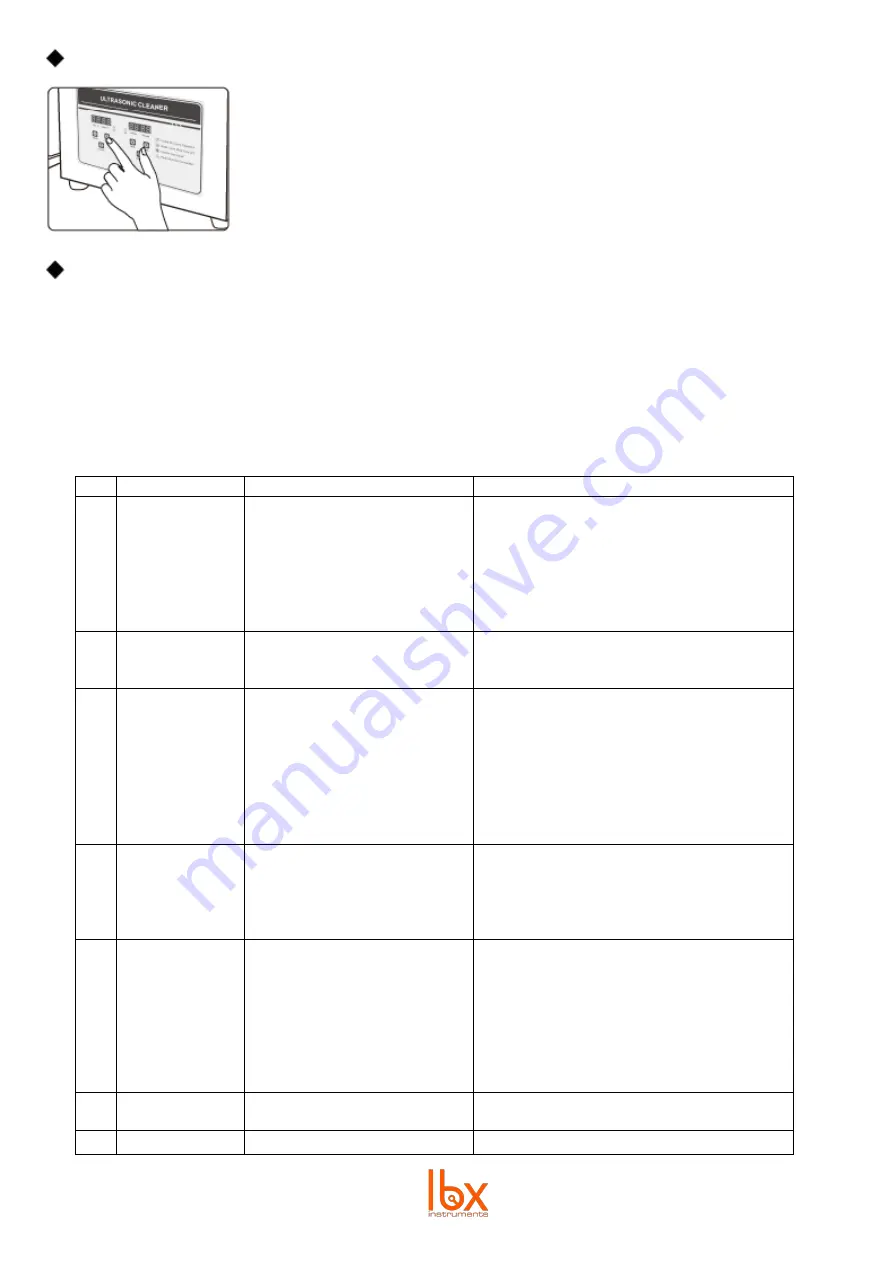
Heat


For the first boot, the setting temperature on the display is random, and actual 
temperature is room temperature. Touch 

TEMP+

 once to increase temperature by 

1

; Touch 

TEMP-

 once to decrease temperature by 1

. Temperature display 

shows setting temperature and actual temperature when heater is working, the 
heater indicator goes off when actual temperature reaches setting temperature. 


Power OFF 

Press “ON/OFF” to stop worki

ng and then cut off the power. Pour the liquid out, clean the tank and the unit with 

cloth for next use. 

4.


Maintenance 

  To keep your device in good working conditions the electrical control system should be blown regularly 

with high pressure air to get rid of the dust.


  Clean the tank at least once a week 


Trouble clearing 

No. 

Problems 

Possible Cause 

Solutions 

No ultrasonic 

activity 

A.


Power supply not connected 

B.


Fuse broken 

C.


Cable is short circuited 

D.


Transducer is short circuited 

E.


PCB Board broken 

F.


Other reasons 

A.


Check and plug power switch 

B.


Check the fitted power supply and change 

the same specification fuse 

C.


Connect fitted cable or replace a new 

D.


Consult with your supplier  

E.


Check the broken part and change it 

F.


Consult with your supplier 

Time control 

failure 

A.


Timer failure 

B.


Other reasons 

A.


Replace the timer or digital control 

panel 

B.


Consult with your supplies 

No heating 

A.


Heater power switch 

had a bad linkage 
B.


Fuse burn out 

C.


Heating pad burn out 

D.


Digital display board 

out of control 
E.


Other reasons 

A.


Check heating plug and connect it 

well. Check outlet line with multimeter: OK 
if resistance value is a few hundred OHMs. 
B.


Change the same specification fuse 

C.


Replace the bad heating pad if open 

circuit 
D.


Check the broken part and change it 

E.


Consult with your supplier 

Temperature 

control failure 

A.


Thermostat loosen 

B.


Thermostat tube broken 

C.


Digital display out of 

control 
D.


Other reasons 

A.


Fasten the thermostat header 

B.


Replace the thermostat 

C.


Check the broken part and change it 

D.


Consult with your supplier 


Not well 

cleaning 

A.


Not strong ultrasonic 

cleaning 

B.


Too high or too low liquid 

surface 

C.


Too high too low 

temperature 

D.


Not suitable cleaning liquid 

E.


Other Reasons 

A.


Connect ultrasonic button and adjust 

B.


Adjust liquid into the best surface 

C.


Adjust the temperature into the most fitted 

D.


Stop and switch off power supply, replace 

suitable liquid after previous liquid 
cooling down 

E.


Consult with your supplier 

Electric Leakage  A.


Customer side not grounded 

B.


Machine not grounded 

A.


Ensure it is grounded 

B.


Check if machine earth wire loosens 

Scrap 


Not repairable or discarded 


Summary of Contents for ULTR Series

Page 1: ...ULTR Ultrasonic bath with heater and timer Please read the User Manual carefully before use and follow all operating and safety instructions user manual english español français ...

Page 2: ...r care representative with the following information Serial number Description of problem Your contact information Warranty This instrument is warranted to be free from defects in materials and workmanship under normal use and service for a period of 12 months from the date of invoice The warranty is extended only to the original purchaser It shall not apply to any product or parts which have been...

Page 3: ...fter the 30 minute cycle Connect the device to an earthed power supply to ensure the safety of the machine and the experiment connect the power as the machine requires it Refitting is strictly prohibited Ensure the earth wire is well connected before starting Table 1 The control panel cannot be cleaned with organic solutions strong acids or strong alkalis it could become eroded or damaged Please c...

Page 4: ...e in 6 5 L 30 L models Model Frequency Transducer pcs Capacity L Tank size mm Unit size mm Heating Power W Ultrasonic Power W Timer M Temp ULTR 2L0 001 40 1 2 150x135x100 175x160x210 100 80 0 30 RT 80 ULTR 3L2 001 40 2 3 2 240x135x100 265x165x220 100 120 0 30 RT 80 ULTR 6L5 001 40 3 6 5 300x150x150 325x180x280 200 180 0 30 RT 80 ULTR 10L 001 40 4 10 300x240x150 325x265x280 200 240 0 30 RT 80 ULTR ...

Page 5: ... the cleaner into a grounded outlet Turn on the power switch on the back of the tank O is closed and I is open Start ultrasonic cleaning For the first boot time display show setting time at random press time key one time the setting time on the display will be increase by 1 minute correspondingly touch time key to decrease time setting by 1 minute Touch ON OFF switch after you have properly set th...

Page 6: ... Time control failure A Timer failure B Other reasons A Replace the timer or digital control panel B Consult with your supplies 3 No heating A Heater power switch had a bad linkage B Fuse burn out C Heating pad burn out D Digital display board out of control E Other reasons A Check heating plug and connect it well Check outlet line with multimeter OK if resistance value is a few hundred OHMs B Cha...

Page 7: ...l de Atención al Cliente la siguiente información Número de serie del equipo Descripción del problema Sus datos de contacto Garantía Este equipo está garantizado contra cualquier defecto en los materiales y de fabricación bajo un uso normal por un período de 12 meses a partir de la fecha de la factura La garantía se extiende solamente al comprador original La garantía no se aplicará a ningún produ...

Page 8: ...ajar por un tiempo después del ciclo de 30 minutos Conecte el dispositivo a una fuente de alimentación conectada a tierra para garantizar la seguridad de la máquina y del experimento conecte la alimentación como la máquina lo requiera Asegúrese de que el cable correcto está bien conectado antes de comenzar Tabla 1 El panel de control no puede limpiarse con soluciones orgánicas ácidos ni alcalinos ...

Page 9: ...isponible en los modelos de 6 5 L 30 L Modelo Frecuencia Transductor uds Capacid ad L Tamaño tanque mm Tamaño unidad mm Potencia Calefacc ión W Potencia Ultrasonid os W Temp orizad or M Temp ULTR 2L0 001 40 1 2 150x135x100 175x160x210 100 80 0 30 RT 80 ULTR 3L2 001 40 2 3 2 240x135x100 265x165x220 100 120 0 30 RT 80 ULTR 6L5 001 40 3 6 5 300x150x150 325x180x280 200 180 0 30 RT 80 ULTR 10L 001 40 4...

Page 10: ...tierra Encienda el interruptor en la parte posterior del tanque y la máquina estará encendida O está cerrado y I está abierto Comience la limpieza ultrasónica Para el primer arranque la pantalla de tiempo muestra el tiempo de ajuste al azar presione la tecla tiempo una vez el tiempo de ajuste en la pantalla se incrementará en 1 minuto correspondientemente pulse la tecla de tiempo para disminuir el...

Page 11: ...a disminuir la temperatura en 1 La pantalla de temperatura muestra la temperatura de ajuste y la temperatura real cuando el calentador está funcionando el indicador del calentador se apaga cuando la temperatura real alcanza la temperatura de ajuste Apagado OFF Pulse el botón ON OFF para dejar de trabajar y entonces desenchufe el cable Vacíe el líquido limpie el depósito y la unidad con un paño par...

Page 12: ...o OK si el valor de resistencia es unos pocos cientos de OHM B Sustituir con un fusible con las mismas especificaciones C Reemplace la almohadilla de calefacción defectuosa si el circuito está abierto D Revisar la parte rota y cambiarla E Consulte con su proveedor 3 Fallo en el control del tiempo A Fallo del temporizador B Otras razones A Sustituya el temporizador o el panel de control digital B C...

Page 13: ... fournir au représentant du service clientèle les informations suivantes Numéro de série Description du problème Vos coordonnées Garantie Cet instrument est garanti exempt de vices de matériaux et de fabrication dans des conditions normales d utilisation pour une période de 12 mois à compter de la date de facturation La garantie n est offerte qu à l acheteur initial Elle ne s applique pas aux prod...

Page 14: ...dant un certain temps après le cycle de 30 minutes Brancher l appareil à une source d alimentation mise à la terre pour assurer la sécurité de la machine et de l expérience Branchez l alimentation selon les besoins de la machine Assurez vous que le fil de terre soit bien connecté avant de commencer Table 1 Le panneau de contrôle ne peut pas être nettoyé avec des solutions organiques des acides for...

Page 15: ...uniquement pour les modèles de 6 5 L 30 L Model Frequency Transducer pcs Capacity L Tank size mm Unit size mm Heating Power W Ultrasonic Power W Timer M Temp ULTR 2L0 001 40 1 2 150x135x100 175x160x210 100 80 0 30 RT 80 ULTR 3L2 001 40 2 3 2 240x135x100 265x165x220 100 120 0 30 RT 80 ULTR 6L5 001 40 3 6 5 300x150x150 325x180x280 200 180 0 30 RT 80 ULTR 10L 001 40 4 10 300x240x150 325x265x280 200 2...

Page 16: ...rupteur Branchez l appareil sur une prise mise à la terre Allumez l interrupteur d alimentation à l arrière du réservoir O pour eteint et I pour allumé Démarrer le nettoyage par ultrasons Pour le premier démarrage l affichage de l heure indique le temps de réglage aléatoire appuyez sur la touche de TEMPS une fois le temps de réglage à l écran augmentera de 1 minute en conséquence Appuyez sur la to...

Page 17: ...nuer la température de 1 L affichage de température indique la température imposée par l opérateur et la température mesurée lorsque le chauffage est en fonctionnement L indicateur de chauffage s éteint lorsque la température mesurée a atteint la température imposée Eteindre l appareil Appuyer sur ON OFF pour éteindre l appareil ensuite débrancher la prise de secteur Vider le bain nettoyer le rése...

Page 18: ...e hors service J Autres raisons F Vérifiez la prise de chauffage et branches la bien Vérifiez la ligne de sortie avec un multimètre OK si la valeur de la résistance est de l ordre de quelques OHMs G Remplacez par un fusible ayant les mêmes spécifications H Remplacer le cousin chauffant si le circuit est ouvert I Vérifiez la piece endommagée et remplacez la J Consultez fotre fournisseur 4 Echec du ...

Page 19: ...esecharse en vertederos De conformidad con la Directiva 2002 96 CE los usuarios de la Unión Europea de aparatos eléctricos y electrónicos tienen la oportunidad de retornar el instrumento para su eliminación al distribuidor o fabricante del equipo después de la compra de uno nuevo La eliminación ilegal de aparatos eléctricos y electrónicos es castigada con multa administrativa Les appareils électri...

Page 20: ...www labbox com ...

Reviews: