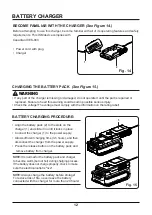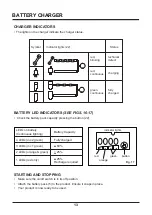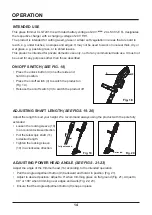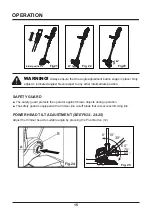
10
ASSEMBLY
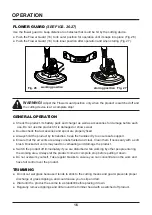
• Adjust the auxiliary handle (6) to desired position.
• Tighten the quick release knob (7) clockwise and clamp the lever down to secure it .
NOTE:
Only use LawnMaster replacement spool model # RS0303
SPOOL REPLACEMENT
(See figs. 9)
Fig.7
Fig.8
• Use only 0.065 in. diameter monofilament line. Use original manufacturer’s replacement line for
best performance.
• Remove the battery from the line trimmer.
• Push in the tabs on both sides of the spool cover.
• Pull spool cover up to remove.
• Remove spool.
• To install the new spool, make sure the line is captured in the slot on the new spool. Make sure
the end of the line is extended approximately 5 in. beyond the slot.
• Install the new spool so that the lines and slot align with the eyelet in the line head. Thread the
lines into the eyelet.
• Pull the line extending from the line head so the line releases from the slot in the spool.
• Reinstall the spool cover by depressing tabs into slot in the line head and pushing down until
spool cover clicks into place.
NOTE!
Only tighten the quick release knob so that it is possible to clamp the lever down with light
pressure. If the lever cannot be clamped, slightly loosen the quick release knob. If the lever can be
clapped without resistance, tighten the quick release knob.
WARNING!
Always remove the battery prior to line spool. Failure to do so, can cause serious injury!
Fig.4
Fig.5
Fig.6
Summary of Contents for 24LSC01-ETL
Page 25: ...25 EXPLODED VIEW CLGT2410 EXPLODED VIEW...
Page 27: ...27 NOTES...
Page 51: ...51 VUE CLAT E VUE CLAT E DU MOD LE CLGT2410...
Page 53: ...53 REMARQUES...


