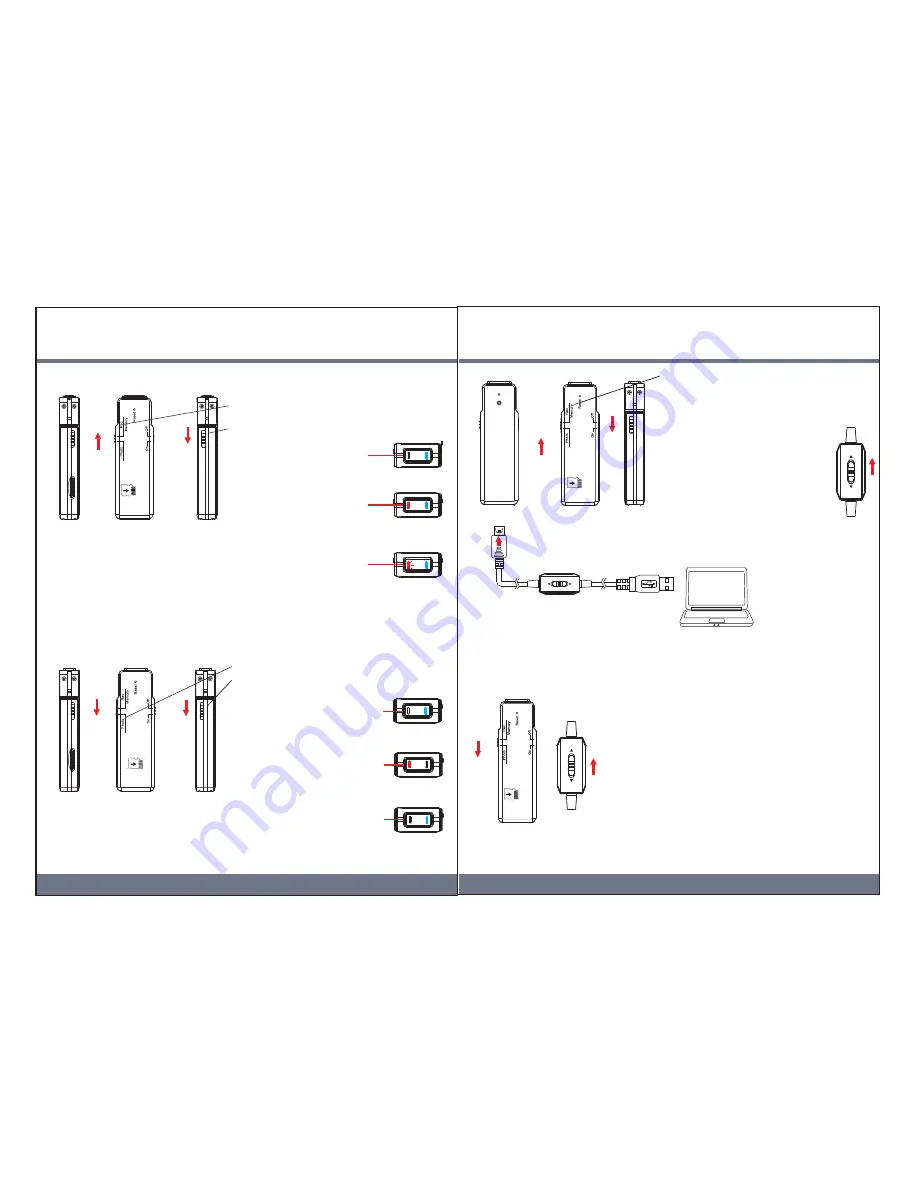
7.Video recording
8.Taking photos
On
Photo
(4)
Rec
On
1.Slide the switch on the unit to Rec position
2.Power on the PV-RC300
3.A solid blue LED will illuminate
indicating the power is on
4.Gently press the button on
top of the unit once. A solid red
LED will illuminate indicating it is
recording
5.To stop recording, press the
same button again and the red
LED will go out
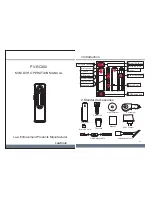
9.Downloading files to a computer
1. Slide the switch to Memory position on the
PV-RC300
2. Connect the supplied USB cable to the port
on the bottom of PV-RC300
3. Connect the other end of the
USB cable to the computer
4. When connected to a computer
the PV-RC300 is recognized as
a “removable drive”
5. Double-click on the “removable
drive” then a folder named “DCIM”
will appear
6. When finished, you must eject the
removable drive before unplugging the
USB cable
(5)
USB
Charge
W
ebcam
W
ebcam
W
ebcam
1.Slide the switch on the unit to Photo position
2.Power on the PV-RC300
3.A solid blue LED will illuminate
indicating the power is on
4.To take photos, gently press
the button on top of the unit
once. The red LED will
illuminate for about 1 second
indicating a photo is taken
5.When the photo is taken and
saved the red LED will go out
Memory
W
ebcam
On
USB
Charge
Webcam
USB
Charge
Note: When the memory of SD card is full,
the red LED will be flashing, please
change a new card or move files to
a computer
USB
10. Installing webcam driver
1. Install the webcam driver from the supplied CD-ROM.
The file is located in X:\Autorun\Driver\Setup
(X is the CD-ROM drive)
2. Slide the switch to Webcam position on the PV-RC300
3. Slide the switch to USB position on the cable
4. Connect the cable to USB port on the buttom of PV-RC300
and the other end to the computer
5. Wait a moment, the computer will automatically detect
the PV-RC300 as a webcam
6. Double click on “My Computer” you should see the
PV-RC300 is now recognized as the “Standard Camera”
7. Installation completed, the webcam is now ready to work


