PLMNL0232 REV. H Effective Date: 01/14/19
27
FiberCUT
®
2D Operation Manual
4.1.2 Installing FiberCUT
®
2D Driver
Before operating FiberCUT
®
Monitor, the control box must be
connected to a customer supplied
Windows based computer. If the
system is connected and is not
recognized, light A will remain
illuminated in red on the control box
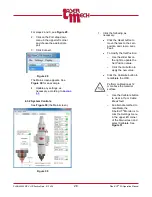
(see
). In this case, install
the driver (Freescale Virtual Com
Port, located in the same folder as
the software) using the following:
Administrator rights to your
computer are required to
complete the driver installation.
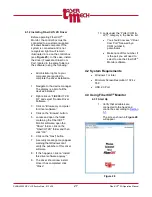
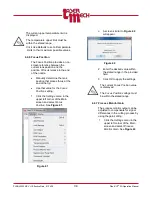
1. Navigate to the device manager.
The display is a list of all the
devices installed.
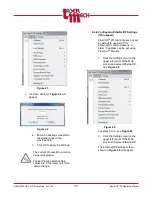
2. Right-
click on “FIBERCUT 2D
I/O
” and select “Update Driver
Software…”
3.
Click on “Browse my computer
for driver software”.
4.
Click on the “Browse” button.
5. Locate and open the folder
containing the FiberCUT
®
Monitor software, open the
“Driver” folder, click on the
“FiberCUT 2D” folder and then
click “OK”.
6.
Click on the “Next” button.
7. A security message may appear
warning that Windows can’t
verify the publisher of this driver
software.
8. If this happe
ns, click on “Install
this driver software anyway”.
9. The driver should now install.
Once it has completed, click
“Close”.
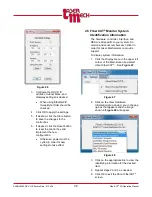
10.
Look under the “Ports (COM &
LPT
)” category in the device list.
You should now see “Virtual
Com Port” followed by a
COM number in
parenthesis.
Make note of this number. It
is the port you will need to
select to use the FiberCUT
®
Monitor software.
4.2 System Requirements
Windows 7 or later
Minimum Screen Resolution: 1024 x
768
USB 2.0 Port
4.3 Using FiberCUT
®
Monitor
4.3.1 Start Up
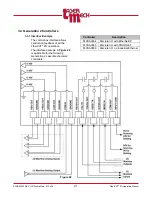
1. Verify that all cables are
connected to the head and
control box according to
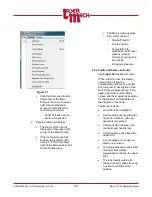
The screen shown in
will appear.
Figure 28

