


DVD-PORTABLE-9V2
USER MANUAL
19
TROUBLESHOOTING
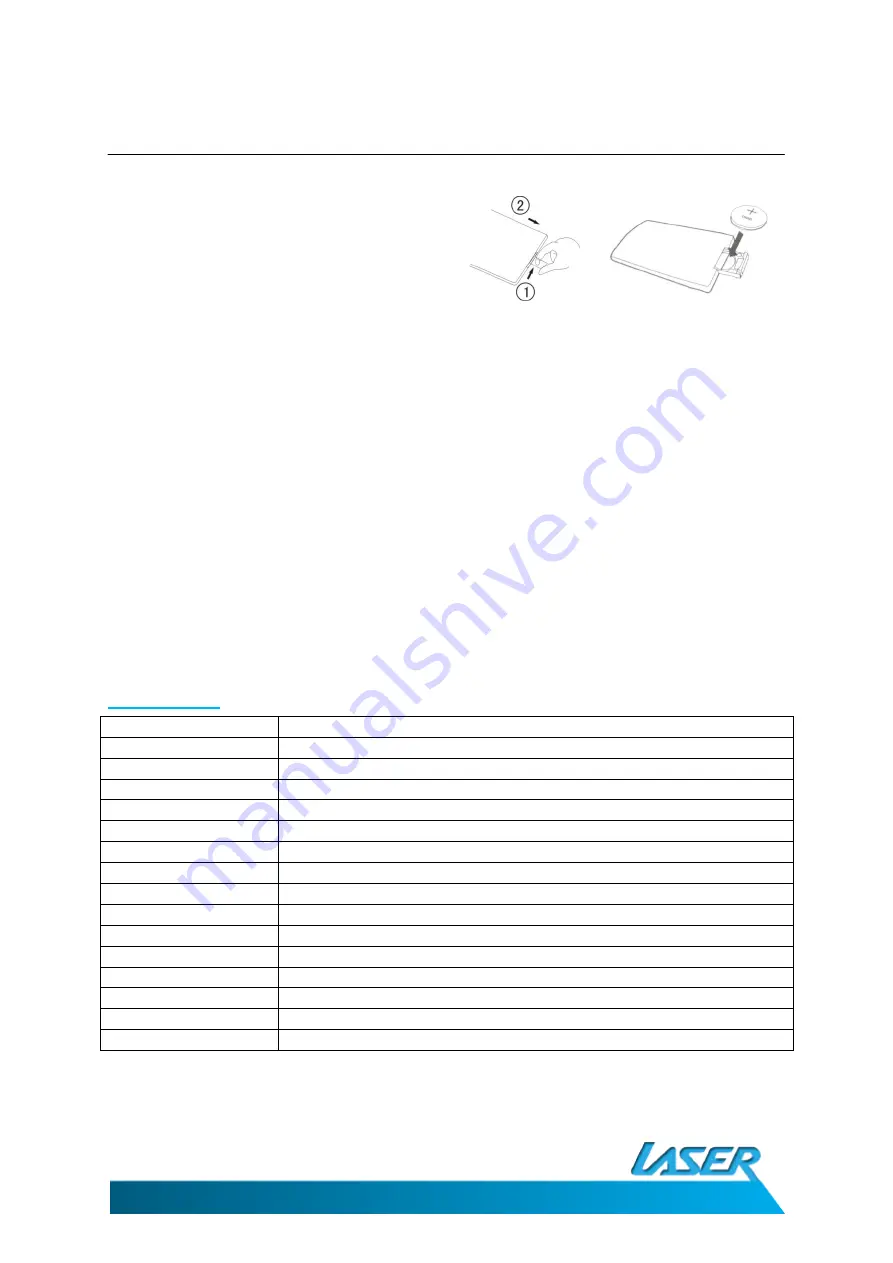
Change the Remote Control Battery
1.
Open the Battery Door.
2.
Insert one CR2025 size battery.
3.
To use the remote control, point it at
the remote sensor on the player.
Charging the DVD Player
In the first instance the player should be left on charge for 12 hours.
Regular charging can be completed in 5 hours.
Connect the player to the AC charger or DC charger. The player will charge when connected.
Although the player will charge during playback, the player can be turned off to decrease
charging times.
SPECIFICATIONS
DVD Player
Compatible Disc:
DVD/VCD/CD/MP3/JPG/MPEG-4
Signal System:
PAL/NTSC
Screen Size:
7 Inch (178MM)
Frequency Response: 20 Hz to 20 KHz
Video Output:
1 Vp-p/75 Ohm, Unbalanced
Audio S/N:
Better than 60 dB
Dynamic range:
Better than 85 dB
Laser:
Semiconductor Laser, Wave Length: 650 nm/795 nm
Power source:
DC 9 – 12V 1.5 amps
Power Consumption:
10W
Battery Type
7.4V Li Ion 1600mAh
Charge Time
Up to 5hrs
Playback Time
Approx 2 hours
Working temperature:
5 - 40°C
Weight:
600 grams Without remote, discs or cables
Dimensions (LxWxH):
205mm X 165mm X 40mm


