REASSEMBLY
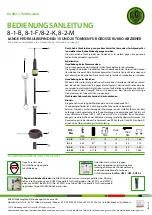
STEP 7
Place the rear bearing (50106B) into hole #2 of the work block, with the
shielded side facing upwards, towards the ram of the press. Press the spindle/
chuck (with the chuck nut in place) through the bearing.
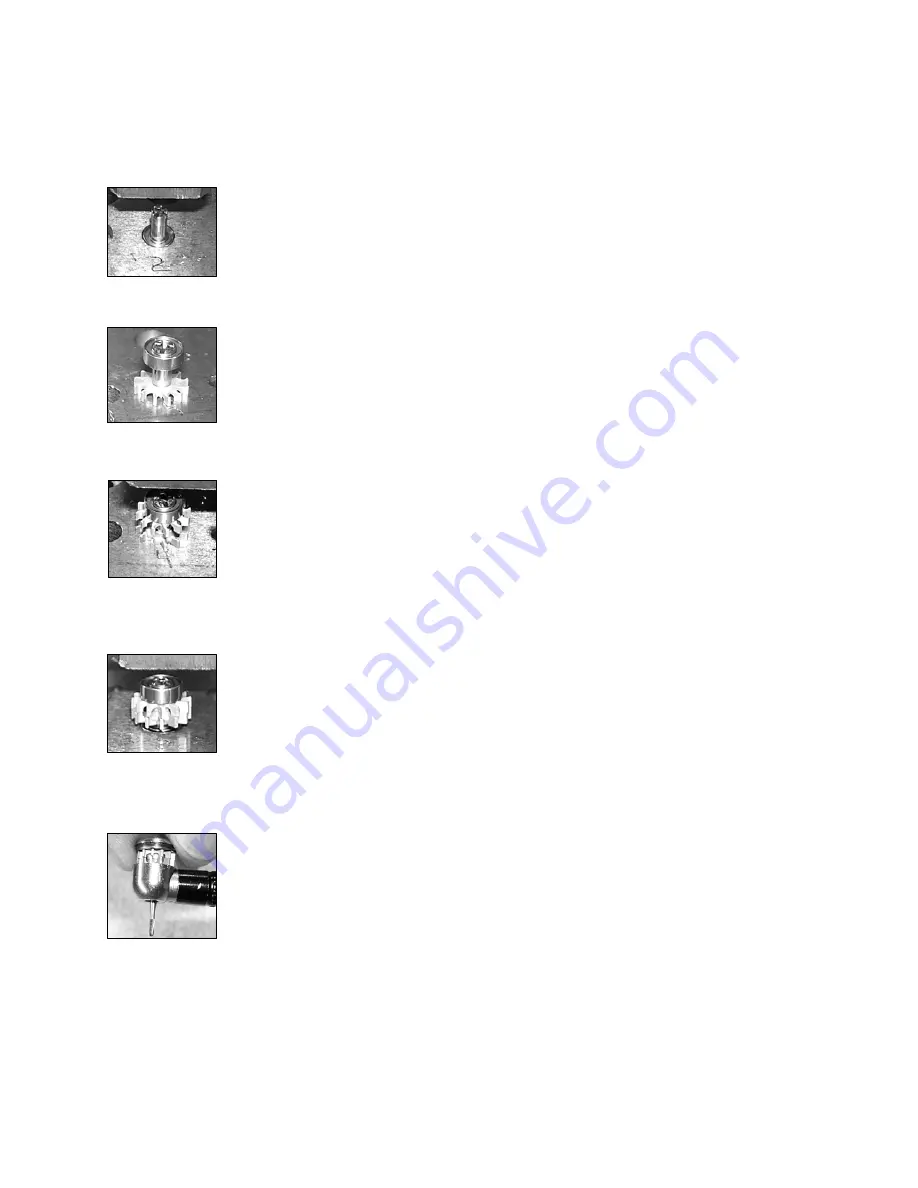
STEP 8
Place the rear half of the impeller over hole #4 of the work block, with the teeth
facing down, closest to the work block. Position the partially assembled turbine
squarely over the impeller and using the ram of the press, push it into the
impeller until the bearing and impeller are snug together.
Note: New style Lares have a One-Piece impeller and a front loading spring.
STEP 9
Position the front half of the impeller over hole #4 of the work block, with the
teeth facing upwards, closest to the ram of the press. Position the partially
assembled turbine squarely over the impeller and using the ram of the press,
push it into the impeller, until the teeth on both impellers make contact. Note: it
is not necessary to align the impeller teeth with each other. It will still work
fine if they are offset.
STEP 10
Place the front bearing into hole #2 of the work block, this time, with the
shielded side facing down, into the work block, away from the ram of the press.
Position the partially assembled turbine squarely over the impeller and using the
ram of the press, push it into the impeller until the bearing and impeller are snug
together. The turbine is now fully assembled.
STEP 11
Reinsert new o-rings (50110) into the head and back cap. Slip the back cap
onto the rear bearing on the turbine assembly. Next, insert the turbine into the
head of the handpiece, as seen in the photo to the left. Carefully thread the back
cap into the head, twisting in a clockwise direction. Use the Lares back cap
wrench to tighten the back cap snuggly.