8: Configurable Pin Manager
XPort Pro User Guide
62
To change a CP configuration:
1. Select the CP number (in CP column) from the current configuration table.
2. Select the CP configuration from the
Type
drop-down list in the CP Status table.
3. (If necessary) Select the
Assert Low
checkbox.
4. Click
Change
.
Note:
These changes to a CP are not saved in FLASH. Instead, these settings are used
when the CP is added to a CP Group. When the CP Group is saved, its CP settings are
saved with it. Thus, a particular CP may be defined as “Input” in one group but as
“Output” in another. Only one group containing a particular CP may be enabled at once.
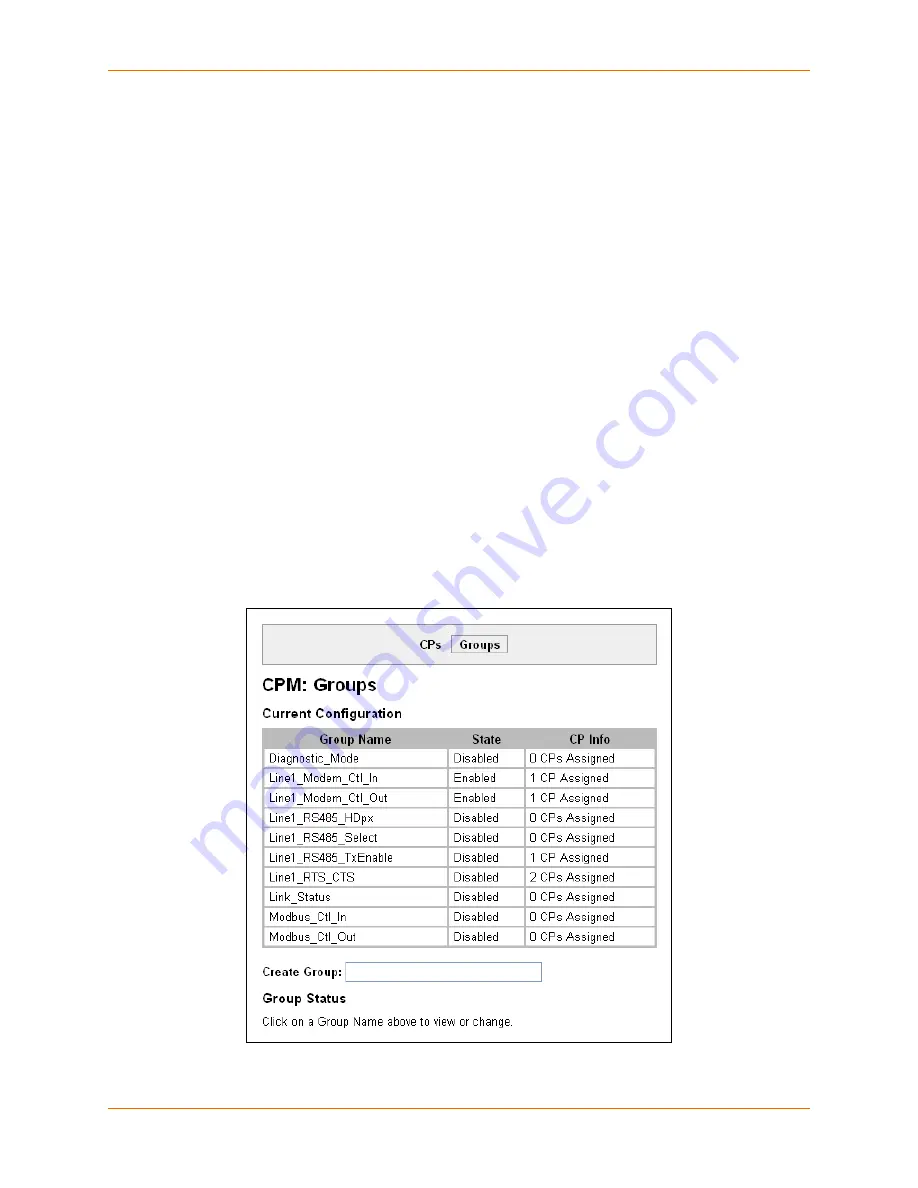
CPM: Groups
The CP Groups page allows for the adding, removing and managing of CP groups. Groups can be
created or deleted. CPs can be added to or removed from groups. A group, based on its state,
can trigger outside events such as sending email messages. Only an enabled group can be a
trigger.
View Groups
1. Click
CPM
on the menu bar and then
Groups
at the top of the page. The CPM: Groups page
appears.
Figure 8-4 CPM: Groups


