background image


xPico Development Kit Quick Start Guide 

8


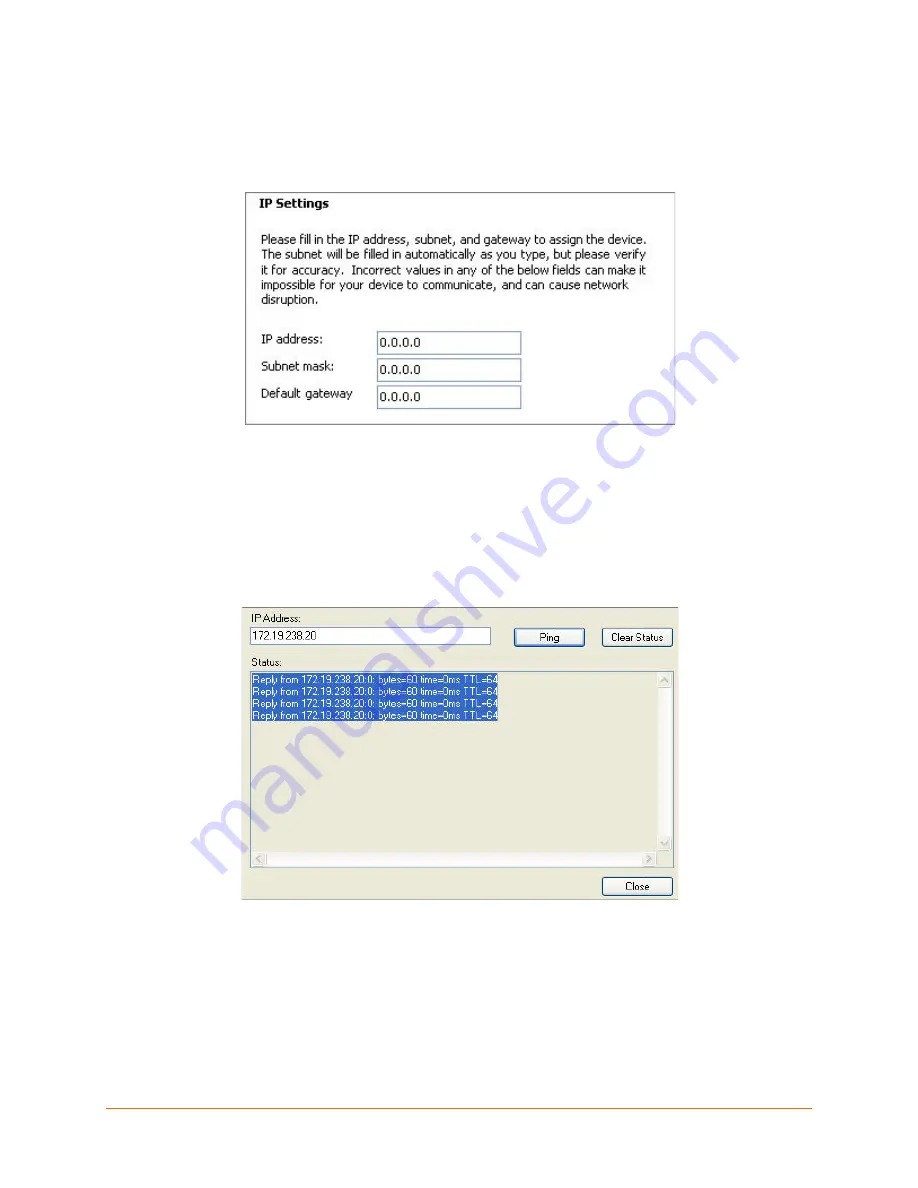
5.  Enter the IP address.  

The Subnet mask appears automatically based on the IP address. 

You may change it. On a local network, you can leave the Default gateway 

blank (all zeros).  


6.  Click 

Next

7.  Click 

Assign

 and wait several seconds until a confirmation message 

appears.  

8.  Click 

Finish

9.  Select the xPico from the main window list and click 

Tools

Ping

. The 

results appear in the Status area.  


10. Click 

Clear Status

 to clear the window to ping the device again. 

Note:

 If you do not receive “Reply” messages, ensure the IP address assigned is 

valid for the particular network segment you are working with.  

11. Click 

Close

Summary of Contents for xPico

Page 1: ...Part Number 900 623 Revision D January 2018 xPico Development Kit Quick Start Guide...

Page 2: ...nd trade names are the property of their respective holders Warranty For details on the Lantronix warranty replacement policy please go to our Web site at www lantronix com support warranty Contacts L...

Page 3: ...__________________4 IP Address _________________________________________________________4 Connecting an xPico Module Network Method ______________________________5 Connecting an xPico Module Serial Me...

Page 4: ...onnector 5V Wall mount Power Supply AC DC 1A RS 232 DB9F F 10 ft Null Modem Cable Ethernet Cable 10 ft For the latest revision of this product document please check our online documentation at www lan...

Page 5: ...le is quite simple and requires removing the fitted mounting clip and exchanging the module in the 40 pin socket 1 Connect the PC to the Evaluation Board with a cross over cable or a hub switch and tw...

Page 6: ...the power supply into an outlet 4 Connect the output plug of the power supply to the xPico Evaluation Board The final serial connection setup should look like this 5 Move the power switch on the Eval...

Page 7: ...ss to the xPico or do not have a DHCP server on the network 1 Click Start Programs Lantronix DeviceInstaller 4 4 DeviceInstaller If your PC has more than one network adapter a message appears Select a...

Page 8: ...Next 7 Click Assign and wait several seconds until a confirmation message appears 8 Click Finish 9 Select the xPico from the main window list and click Tools Ping The results appear in the Status are...

Page 9: ...ate to sub pages where you can configure the xPico module 4 Commit any changes as follows Every sub page has an OK button that tells the xPico what changes to use but it does not immediately change th...

Page 10: ...ue for a parameter type the value and press Enter or to confirm a current value just press Enter 6 When you are finished making all changes to the various settings use the S ave option to save the new...

Page 11: ...Mouser Electronics Authorized Distributor Click to View Pricing Inventory Delivery Lifecycle Information Lantronix XPC100100K 02...

Reviews: