Section 1: Assembly & Set-Up
RCF3096, RCF3010, & RCFM3010 Rotary Cutters 326-566M
11/8/18
27
Check Driveline Clearance
WARNING
!
To avoid serious injury or death:
1.
Lubricate driveline If it has not be lubricated. Refer to
2. Assemble driveline profiles if they are separated.
3. If the driveline is not installed to the implement and
hooked to the tractor, do so now. Refer to:
•
“Driveline Installation (3-Point)”
•
“Driveline Installation (Semi-Mount)”
•
•
“Driveline Hook-up (Semi-Mount)”
4. Start tractor and raise implement slightly off the
support blocks. Drive forward until the implement is
clear of the support blocks.
5. Slowly and carefully lower and raise cutter to ensure
drawbar, tires, and other equipment on the tractor do
not contact the cutter frame. If there is an
interference:
a. Back cutter over the support blocks and lower it
onto the blocks.
b. Shut tractor down before dismounting. Refer to
c. Move or remove drawbar if it interferes with the
cutter and make any other necessary corrections.
d. Repeat steps 1-5 to verify the cutter does not
interfere with the tractor.
6. Start tractor and raise implement fully up. If
implement is not above the support blocks, back
implement over the support blocks. Do not lower
implement onto the support blocks.
7.
Without changing the 3-point lift height, shut tractor
down using
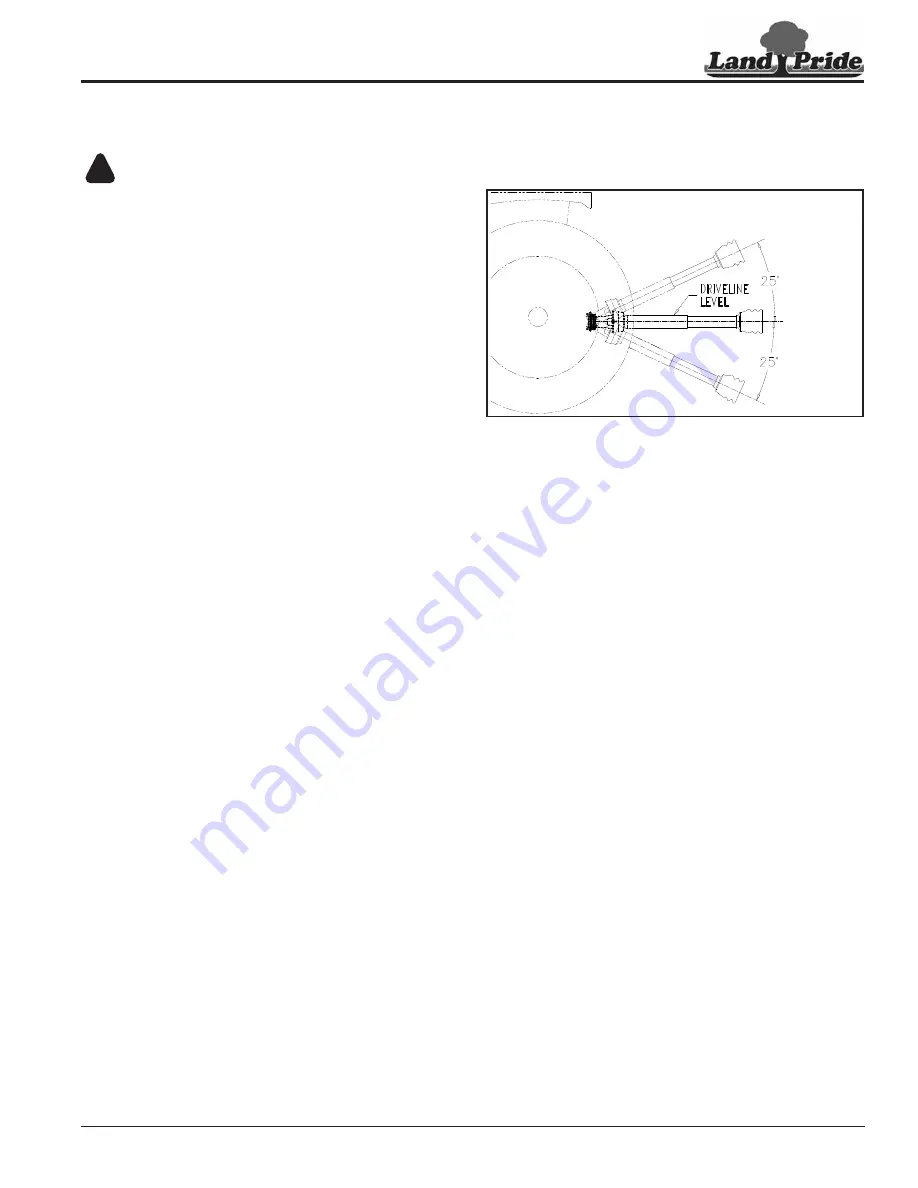
8. Check to make sure the driveline angle does not
exceed 25 degrees above horizontal as shown in
Figure 1-21.
9. If driveline angle exceeds 25 degrees above
horizontal, adjust 3-point lift height as follows:
a. Adjust tractor 3-point lift limiter to the height that
will keep the driveline within the recommended lift
angle.
b. If the 3-point left lever does not have a lift height
limiter, make a mark with tape or other means to
indicate maximum lift height.
10. Start tractor and drive forward enough to clear the
support blocks.
11. Lower implement to ground and shut tractor down
using
Maximum Driveline Movement During Operation
Figure 1-20
24872


