5
Positioning
In order to facilitate proper dispenser drainage, ensure
that the dispenser is level, front to back and side to
side. Place a level on the top of the rear edge of the
dispenser. The bubble must settle between the level
lines. Repeat this procedure for the remaining three
sides. Level unit if necessary. For optimum perfor-
mance place the unit at a 0° tilt. The maximum tilt is 5°.
Leveling the Dispenser:
1.
Place machine on a horizontal and sturdy surface.
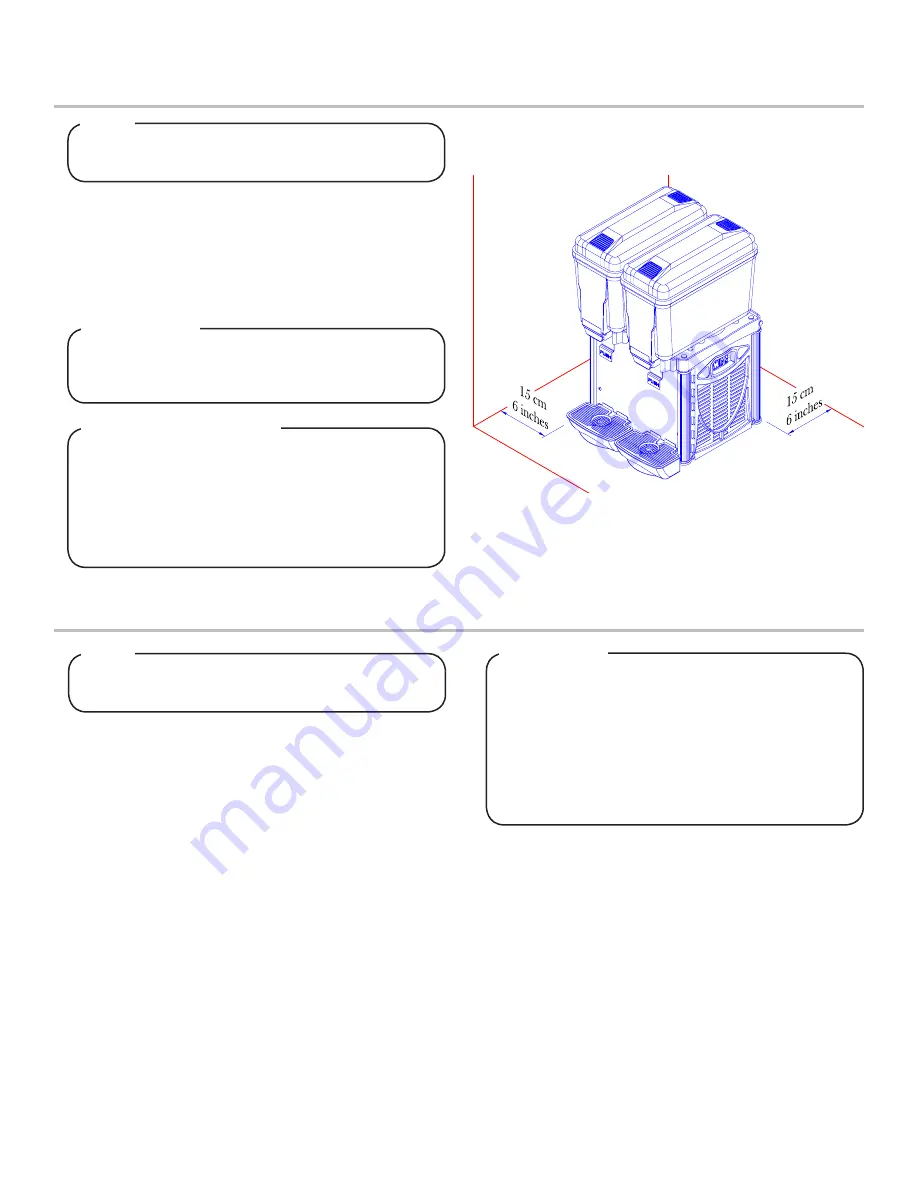
2. For an improved ventilation maintain a distance of 15cm (6
inches), between unit and walls or other obstacles.
3. Increase the distance if the obstacles are an heating source.
4. When the dispenser is in place, regulate the legs in order to
keep it level.
Failure to maintain specified clearance will cause the
compressor to overheat and will result in compressor
failure
!
ATTENTION
The dispenser should only be installed in a location
where it can be overseen by trained personnel
NOTE
Electrical Connection
•
Make sure that the machine is properly connected to an
efficient grounding system, in compliance with current
safety standards.
•
Make sure that the voltage is in acordance with what
indicated on the “serial number” tag applied on the
chassis.
•
Make sure the current available is suffiecient for the
maximum required by the machine.
•
If needed, use only approved multiple outlets, in
compliance with current safty standards.
Before inserting the plug into the eletrical socket, read
the following precautions:
NOTE
The dispenser must be properly electrically grounded
to avoid serious injury or fatal electrical shock. The
power cord has a three-prong grounded plug. If a three-
hole grounded electrical outlet is not available, use an
approved method to ground the unit. Follow all local
electrical codes when making connections. Each dis-
penser must have a separate electrical circuit. Do not
use extension cords. Do not connect multiple electrical
devices on the same outlet.
!
WARNING


