Lancaster 7-LETCT-1B Installation, Operating And Service Manual Download Page 8

PAGE 8

INJECTOR CAP, SCREEN, INJECTOR PLUG AND INJECTOR:

The screen, injector and/or injector plug(s) are installed under the injector cap in an easy to access location on top of the 

valve. The injector cap contains four slots so no water accumulates in the cap. The injector cap is designed to be hand 

tightened. 
Under the injector cap there is an easy to clean removable screen to prevent fouling of the injector. There are two holes 

under the injector cap labeled “DN” and “UP”. The holes will be filled with a plug or an injector. 
The plug (Order # V3010-1Z) prevents water from traveling a certain pathway. The injector lets water pass through the 

pathway. The self-priming injector increases the velocity of the water, creating a zone of negative pressure that draws in 

the concentrated liquid regenerant, such as sodium chloride (brine), potassium permanganate, etc. The regenerant blends 

with the stream of water, which passes through the media to regenerate the bed. 
The injector provides a consistent regenerant/water mixture ratio over the entire operating pressure range of the control 

valve. The injector provides good performance in a variety of applications, which may involve elevated drain lines and 

long regenerant draw lengths. Injectors are chosen by knowing the type, amount, and regenerant flow rate for a particular 

type of media. Guidelines can be found in the media manufacturer’s literature. The color coded injectors give different 

regenerant draw, slow rinse and total flow rates over the pressure range.
NOTE: It is not recommended to field convert valves from upflow to downflow and vice versa. Separate areas in the valve 

supply water to the injector for upflow and downflow valves.

DRIVE CAP ASSEMBLY, MAIN PISTON AND REGENERANT PISTON:

The drive gears turn the main gear of the drive cap assembly, which moves the piston. The screw-driven, horizontally 

moving piston stops at specific positions to direct the flow of water to backwash, regenerate, rinse or refill. The PC board 

determines the position of the piston by counting pulses produced when the piston is moved. An optical sensor looking 

at one of the reduction drive gears generates these pulses. Each cycle position is defined by a number of pulses. The 

counter is zeroed each time the valve goes to the service position. The PC board finds the service position by noting the 

increase in current delivered to the motor when the mechanical stop at the service position is reached. This method of 

controlling piston position allows for greater flexibility and requires no switches or cams (U.S. Patent 6444127).
A regenerant piston must be attached to the main piston.

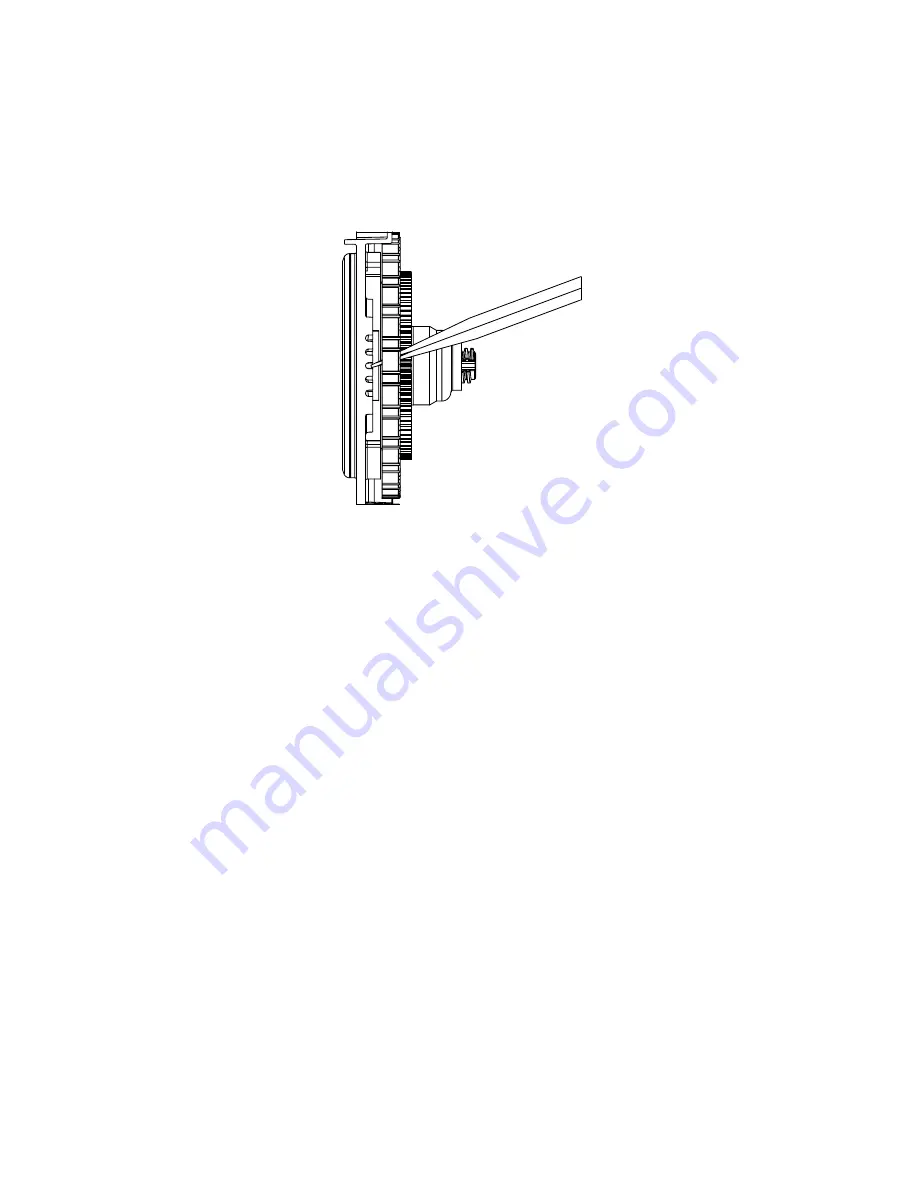
SPACER STACK ASSEMBLY:

The spacer stack assembly provides the necessary flow passage for water during the different cycles. The all-plastic 

spacer stack assembly (U.S. Patent 6402944) is a one-piece design which allows the stack to be removed using your 

fingers. 
The exterior of the stack is sealed against the body bore with self lubricating EPDM o-rings, while the interior surface is 

sealed against the piston using slippery self cleaning directional (one-way) silicone lip seals. The lip seals are clear in 

color and have a special slippery coating so that the piston does not need to be lubricated.

Summary of Contents for 7-LETCT-1B

Page 1: ...e free service For servicing and future inspection purposes please file this booklet with your important documents BRONZE LINE LET ELECTRONIC WATER FILTER TIME CLOCK MODEL FEATURING THE LETCV1F VALVE INSTALLATION OPERATING AND SERVICE MANUAL COLOR TASTE ODOR 7 LETCT 1B 7 LETCT 2B 7 LETCT 3B IRON FILTER 7 LETIM 1B 7 LETIM 2B 7 LETIM 3B SEDIMENT TURBIDITY 7 LETST 1B 7 LETST 2B 7 LETST 3B F I L T E R...

Page 2: ...be a minimum of Backwash flow rates in excess of 7 gpm or length in excess of 20 require drain line Solder joints near the drain must be done prior to connecting the drain line flow control fitting Leave at least 6 between the drain line control fitting and solder joints when soldering pipes that are connected on the drain line control fitting Failure to do this could cause interior damage to the ...

Page 3: ...plug A8021 CALCITE 2 7 LETDAN 1 5B FG1054D 10 X 54 with dome plug A8021 CALCITE 3 7 LETDAN 2B FG1348D 13 X 48 with dome plug A8021 CALCITE 4 7 LETDAN 3B FG1365D 13 X 65 with dome plug A8021 CALCITE 6 7 LETIM 1B FG1044 10 X 44 A8007 BIRM 1 7 LETIM 2B FG1348 13 X 48 A8007 BIRM 2 7 LETIM 3B FG1465 14 X 65 A8007 BIRM 3 7 LETCT 1B FG1044 10 X 44 A8009 CARBON 1 7 LETCT 2B FG1348 13 X 48 A8009 CARBON 2 7...

Page 4: ...r hole of the bottom of the control valve Complete plumbing Place the bypass valve in BYPASS OPERATION Figure 1 Plug the transformer into a 120V uninterrupted receptacle Carbon should be soaked in water for at least one hour before backwashing at full flow The mineral is dry and filling too quickly will result in the mineral plugging the drain line and valve assembly 16 MIN Distributor Assembly Mi...

Page 5: ...REGEN button Place the bypass valve in the NORMAL OPERATION position Figure 3 It is common to have some very fine particles visible in the service line immediately after loading new mineral even after initial backwash This is temporary and will clear up after a few gallons of water have passed through the filter A sediment cartridge filter can be installed after a backwashing filter to capture the...

Page 6: ...uired backwash periodically No hardness is added to the water For clear water iron when the pH is less than seven 7 in the raw water a water softener should be used in place of the iron filter Note When using Birm for iron removal it is necessary that the water contain no oil or hydrogen sulfide organic matter not to exceed 4 5 ppm the D O content equal at least 15 of iron con tent with a pH of 6 ...

Page 7: ...ket slightly to the left by pressing on the side of the upper right corner This helps the drive gears mesh with the drive cap assembly The drive bracket is properly seated when it snaps under the latches on the drive back plate If resistance is felt before latching then notches are not fully engaged the piston rod is not in hole the wires are jammed between the drive bracket and drive back plate o...

Page 8: ...OTE It is not recommended to field convert valves from upflow to downflow and vice versa Separate areas in the valve supply water to the injector for upflow and downflow valves DRIVE CAP ASSEMBLY MAIN PISTON AND REGENERANT PISTON The drive gears turn the main gear of the drive cap assembly which moves the piston The screw driven horizontally moving piston stops at specific positions to direct the ...

Page 9: ...ne oils or other unacceptable lubricants on o rings A silicone lubricant may be used on the black o ring Reinsert the meter plug into the side slot Hand tighten the nut Do not use a pipe wrench to tighten nut BYPASS VALVE The working parts of the bypass valve are the rotor assemblies that are contained under the bypass valve caps Before working on the rotor make sure the system is depressurized Tu...

Page 10: ...sary to assemble the valve the optional maintenance wrench shown in various positions on the valve may be purchased to aid in assembly or disassembly Loosens Drain Nut In Polytube Applications Loosens Injector And Bypass Caps Loosens Quick Connect Nuts Loosens Drive Cap ...

Page 11: ... 2 V3151 Nut 1 Quick Connect 2 2 V3150 Split Ring 3 2 V3105 O Ring 215 4 2 V3191 Vertical Adapter ADDITIONAL OPTIONAL FITTINGS Part Number Description V3007 01 3 4 X 1 PVC Solvent Elbow Assembly V3007 02 1 Brass Sweat Assembly V3007 03 3 4 Brass Sweat Assembly V3007 04 1 Plastic Male NPT Assembly V3007 05 1 1 4 Plastic Male NPT Assembly V3007 07 1 1 4 1 1 2 PVC Solvent Elbow Assy V3007 09 1 1 4 1 ...

Page 12: ...ve Assembly parts 2 6 NOT SHOWN 1 V3186 Transformer 110V 12V INJECTOR INJECTOR CAP SCREEN AND O RING Item No Quantity Part No Description 1 1 V3176 Injector Cap 2 1 V3152 O Ring 135 3 1 V3177 Injector Screen 4 1 V3010 1Z Injector Assy Z Plug NOT SHOWN V3170 O Ring 011 NOT SHOWN V3171 O Ring 013 Injector plug and injector contains one 011 and one 013 O ring DRIVE CAP ASSEMBLY DOWN FLOW PISTON REGEN...

Page 13: ...1 Drain Elbow and Retainer Asy DRAIN LINE 3 4 Item no Quantity Part No Description 1 1 H4615 Elbow Locking Clip 2 1 V3194 Polytube Insert 5 8 3 1 V3192 Nut for 3 4 Drain Elbow 4 1 V3158 3 4 Drain Elbow 5 1 V3163 O Ring 019 6 1 V3159 DLFC Retainer 7 1 V3162 056 DLFC 5 3 7 1 V3162 065 DLFC 6 5 7 1 V3162 090 DLFC 9 0 7 1 V3162 100 DLFC 10 0 3 4 5 1 2 6 ATER METER SHOULD NOT BE USED AS THE PRIMARY MON...

Page 14: ...not inserted fully to engage pinion motor wires broken or disconnected motor failure e Check motor and wiring Replace motor if necessary f Drive gear label dirty or damaged missing or broken gear f Replace or clean drive gear g Drive bracket incorrectly aligned to back plate g Reset drive bracket properly h PC board is damaged or defective h Replace PC board i PC board incorrectly aligned to drive...

Reviews: