background image

Style #906 

Lot or Model #: 

Date of Purchase: 

(to be completed by consumer)

REV. #1 (2012)

THIS INSTRUCTION BOOKLET CONTAINS IMPORTANT SAFETY

INFORMATION. PLEASE READ AND KEEP FOR FUTURE REFERENCE.

ADULT ASSEMBLY IS REQUIRED.

• TOOLS NEEDED ←

A FLAT OR PHILLIPS HEAD SCREWDRIVER AND AN

ADJUSTABLE WRENCH, 7/16 INCH WRENCH OR A PAIR OF PLIERS.

LAMONT  HOME

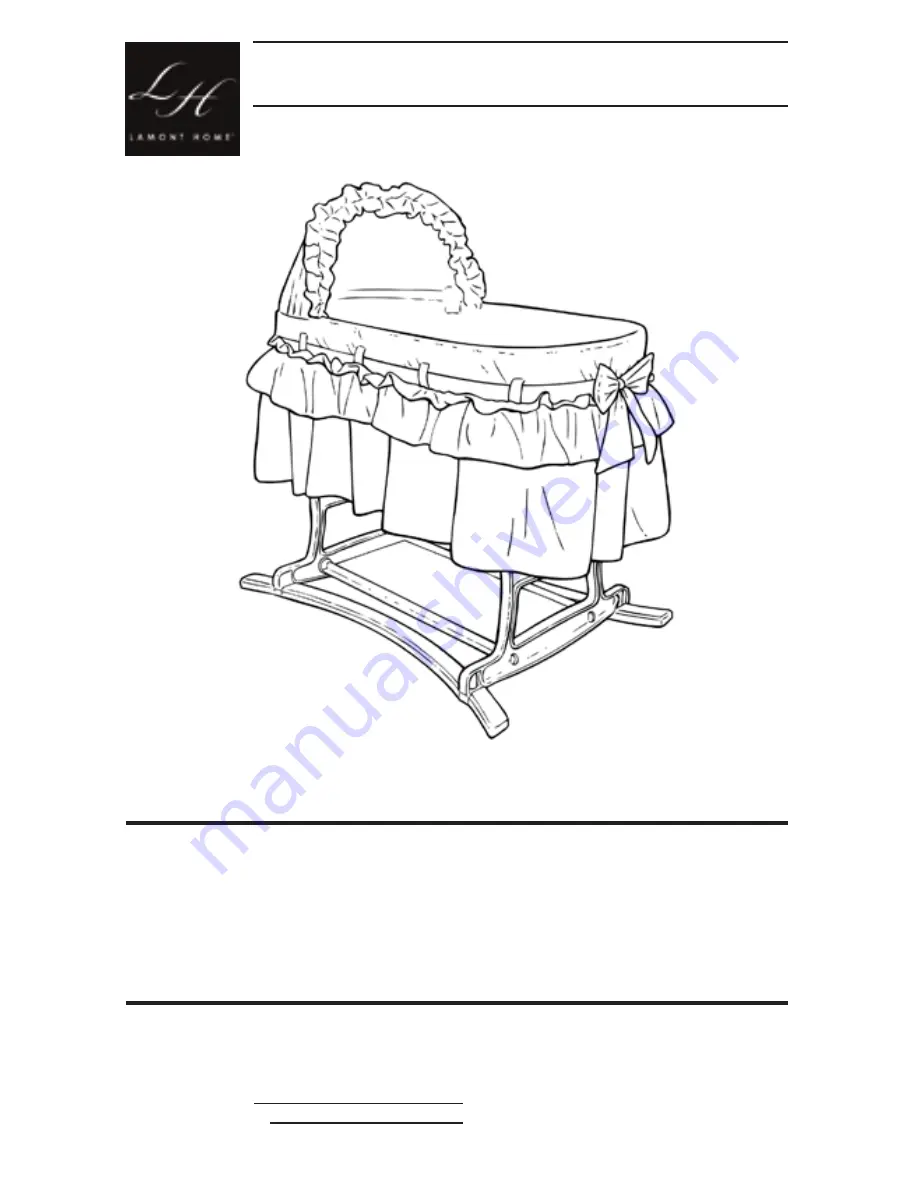
Bassinet Assembly Instructions

Lamont Home Customer Service Department

800-553-5621  (8:00 am — 4:30 pm  CST,  M-F)

Bassinet Made in the USA

Liners and Pad Made in China

Summary of Contents for 906

Page 1: ...E READ AND KEEP FOR FUTURE REFERENCE ADULT ASSEMBLY IS REQUIRED TOOLS NEEDED A FLAT OR PHILLIPS HEAD SCREWDRIVER AND AN ADJUSTABLE WRENCH 7 16 INCH WRENCH OR A PAIR OF PLIERS LAMONT HOME Bassinet Asse...

Page 2: ...by the juvenile product industry but there is no substitute for personalized instruction from your baby s licensed pediatrician Serious and even fatal accidents can happen so please do not use this p...

Page 3: ...d parts at no charge you must provide proof of purchase within 90 days If you need assistance with assembly or to order replacement parts please call our Customer Service Associates prior to returning...

Page 4: ...Customer Service at 800 553 5621 from 8am 4 30pm CST M F DO NOT substitute any parts Keep unassembled parts out of the reach of children This product is for one time use only DO NOT store for re use o...

Page 5: ...use plastic shipping bags or other plastic film as a mattress cover not sold and intended for that purpose as this may cause suffocation Strings can cause strangulation DO NOT suspend strings over a p...

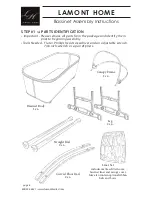
Page 6: ...wdriver and an adjustable wrench 7 16 inch wrench or a pair of pliers Bassinet Body 1 ea Canopy Frame 1 ea Leg 2 ea Curved Floor Rail 2 ea Straight Rail 2 ea LAMONT HOME Bassinet Assembly Instructions...

Page 7: ...E Bassinet Assembly Instructions Mattress Pad 1 ea Shelf Board 1 ea page 7 800 553 5621 www lamontlimited com 1 1 4 inch Screw 4 ea 3 4 inch Screw 4 ea 1 4 inch Nut 8 ea 2 3 4 inch Screw 4 ea Shown ac...

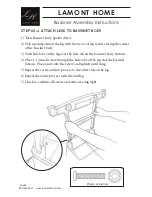
Page 8: ...ole tabs on the leg over the hole tab on the bassinet body bottom 4 Place 1 1 4 inch screw through the hole tabs of the leg and the bassinet bottom Place a nut onto the screw and tighten until snug 5...

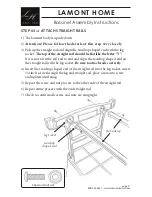
Page 9: ...gn the teardrop shaped end on the straight rail with the leg socket Be sure to attach rails correctly 4 Insert the teardrop shaped end of the straight rail into the leg socket insert 3 4 inch screw th...

Page 10: ...e up 2 Place the shelf board between the straight rails and the legs 3 Gently push downward on the shelf until the shelf is seated on the ledges of the straight rails and the legs STEP 4 ATTACH SHELF...

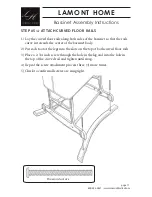
Page 11: ...the bassinet body 2 Put each foot of the legs into the slots on the top of both curved floor rails 3 Place a 2 3 4 inch screw through the hole in the leg and into the hole in the top of the curved rai...

Page 12: ...slits in the bassinet liner position the liner as shown in the diagram using the round molded buttons on the bassinet top frame and the two warning labels sewn onto the liner 3 Place each liner slit...

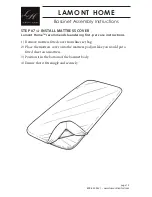
Page 13: ...rst per care instructions 1 Remove mattress fitted cover from liner set bag 2 Place the mattress cover onto the mattress pad just like you would put a fitted sheet on a mattress 3 Position it in the b...

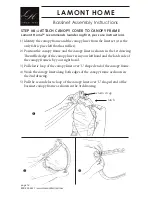
Page 14: ...led edge of the canopy liner is in your left hand and the latch side of the canopy frame is by your right hand 3 Pull elastic loop of the canopy liner over U shaped end of the canopy frame 4 Work the...

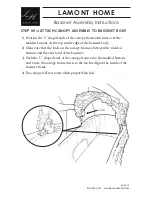
Page 15: ...he latch on the canopy frame is between the molded buttons and the short end of the bassinet 3 Push the U shaped ends of the canopy frame onto the molded buttons and rotate the canopy frame down so th...

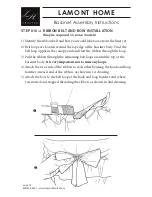
Page 16: ...3 Pull the ribbon through the remaining belt loops around the top of the bassinet body It is very important not to miss any loops 4 Attach the two ends of the ribbon to each other by using the hook an...

Reviews: