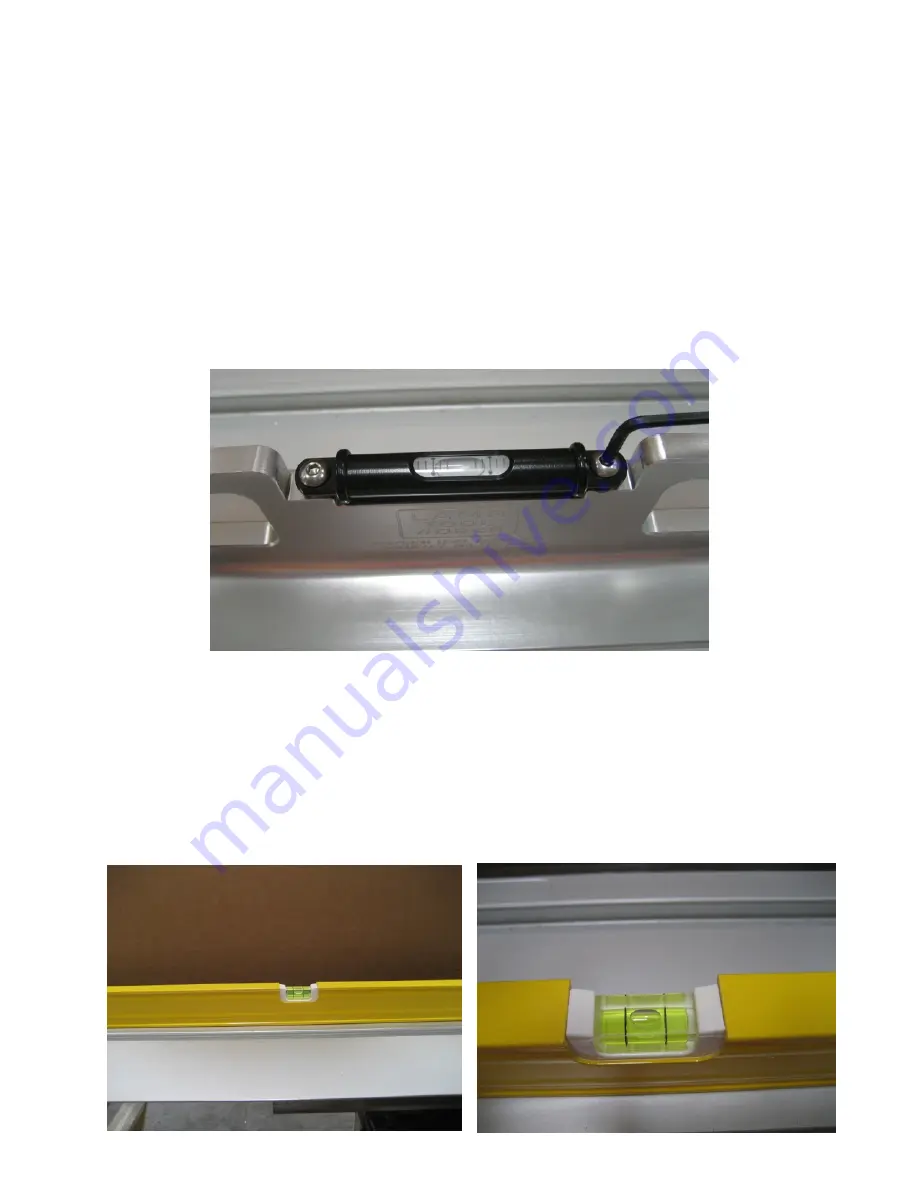
If you have used the adjusting screw to set the vial to a level reading on your machine and
would like to reset the vial to be truly level again, this is the procedure to accomplish this.
1) It might be wise to find a reference surface to use for calibration, something static, that
doesn’t change. It could be the granite counter tops in the kitchen, a smooth desk top, or
any of your stationary machines in the shop. Using the LTW level as shipped, find out what
thickness of feeler gages makes it read level on top of this reference surface. Say we use
the saw table as pictured in this document above, we found .042” was level. With the LTW
level shimmed, you should be able to turn the level 180º and get the same reading either
way, even if the bubble isn’t perfectly centered when you have the level shimmed, as long
as the reading is the same when flipped, the vial is level.
2) If you haven’t found a reference surface and gotten a value, you can start from the
beginning. In this example we are using the sliding table surface of the saw. We used a 4 foot
carpenter’s level and checked to see if the machine is level. If not, using feeler gages on one
end of the level, calculate what it takes to be as level as you can detect. Remember a
carpenter’s level will not be anywhere near as accurate as the LTW Level, but it will get you
close. If the level is 4 foot long, its spacing will be approximately 3 times the length of the LTW
Level. So you will divide whatever shim stack you arrive at by 3 to use as at a starting point for
the LTW level. Say we come up with .030”, then we start with .010”.
Reseting the Vial to Level
Page 8


