background image

Weather Forecast Symbols

4.1 Current Time Mode - Weather Forecast Feature

4.2 Current Time Mode - Setting the Current Time

Weather Forecast Feature

A  special  feature  of  the  Watch  is  the  
coming weather predicting function. It works by 
analyzing the changes of  the past air pressure.

How to Indicate the Coming Weather

The Watch provides 5 different symbols to 
indicate the forecast weather, which includes:

- Sunny
- Cloudy with Sun
- Cloudy
- Raining
- Storm

The symbols will be shown only in Current Time
Mode and World Time Mode.
IMPORTANT:  Since the Watch predicts the 
coming weather by using the data of the changes 
in the air pressure, it is highly recommended to 
stay at the same altitude for at least 24 hours for 
a higher accuracy predication.
IMPORTANT:  The  Watch  predicts  the  weather  
by adopting general weather prediction principles, 
it is NOT capable to reflect the dramatic changing 
of weather within a very short period of time.
Note:  To allow storm prediction, see 7.1 to set 
storm alert On/Off.

How to Set Current Time

- To select the setting display, press and hold

the[M]  button  for  about 2 seconds in Current 
Time Mode. In setting display, the flashing
"SET" icon will appear.

- In setting display, press the [M] button to

change the selection following the adjacent
Current Time Setting Sequence.

- When the digits are flashing (selected), press 

the [S/S] or [L/R]  button  to  increase /
decrease the number. (Hold down the button
change the number at a higher speed).

- When the setting is completed, press and hold 

the [M] button to exit the setting display.

Sunny

Cloudy 

with Sun

Cloudy

Raining

Storm

Current 
Time Mode

Hold [M]

[S/S] / [L/R]

Hold [M]

Time Zone

Second

Minute

Increase/Decrease

the number

Increase/Decrease the 

number at a higher speed

Hour

Year

Month

Date

  Date 

Format

  Hour 

Format

  DST

On/Off

  key Tone

On/Off

LCD

Contrast

[M]

[M]

Hold [S/S] / [L/R]

[M]

[M]

[M]

[M]

[M]

[M]

[M]

[M]

[M]

[M]

Current Time Setting Sequence

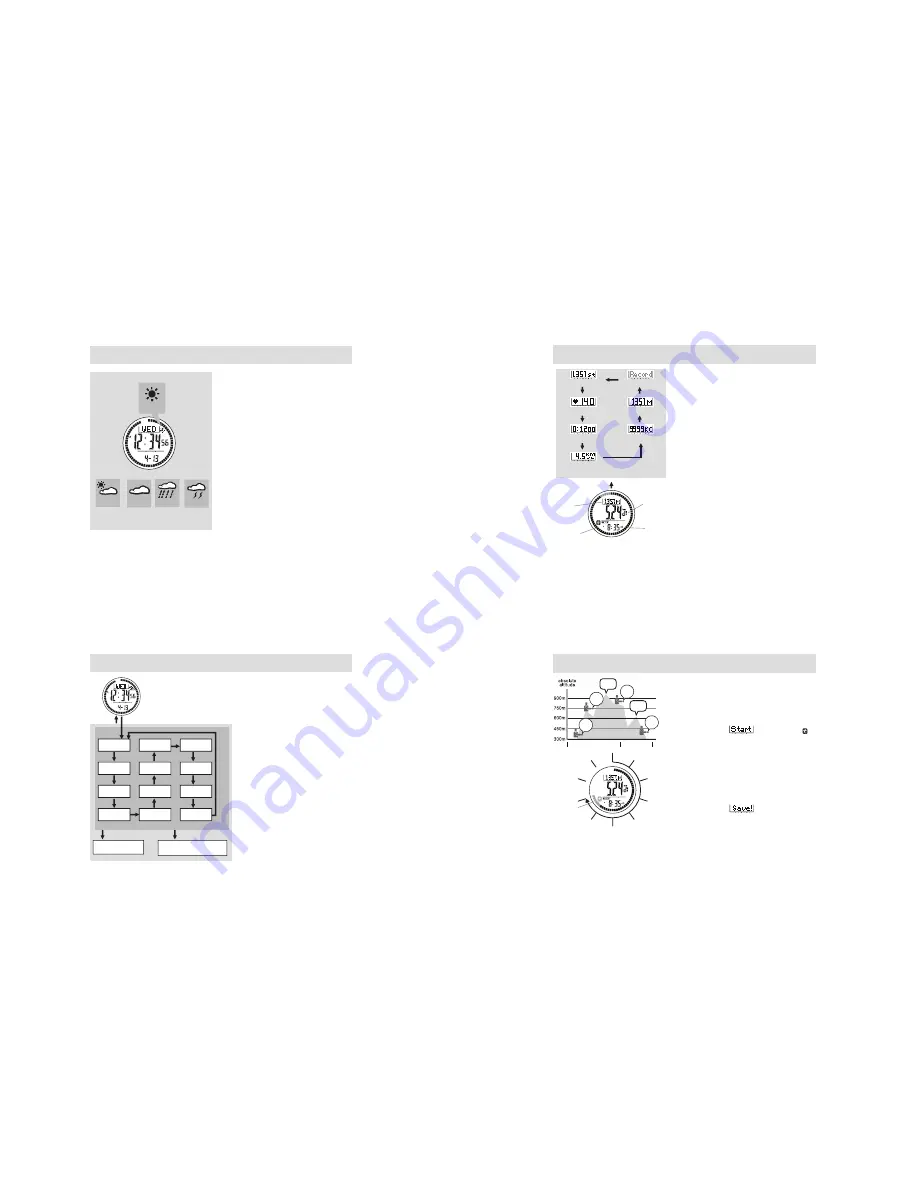
5.1 Trip Mode - Using the Trip function

How to Start/Stop Trip Mode

- The watch has a built-in 3-axis accelerometer sensor which 

monitors and records your physical activity. One of the 3 
types (Steps, Distance and Calories) can be selected as 
the trip goal and display on the watch. 

- In Trip Mode, press [S/S] to start. Press [S/S] once again to 

stop.

- When Trip Mode start “                 ” will appear and “     ” 

icon will start flashing.

- During the Trip, Highest Peak point will save to peak record 

automatically when Trip mode is activated.

How to Reset Trip Mode

- When Trip Mode is stopped, press and hold [L/R] to reset.
- All the previous Trip record data will be erased. 

How to Record Trip Point Data

- When Trip Mode is started, press and hold [L/R] to save 

your trip point record, “                 ” will appear.

- Max 30 Trip point data can be saved and recall.
- If smart lap by distance is On, the watch will save your Trip 

point record at preset distance interval.

- See Trip record recall to check the Trip Point Data.

Note: 

Personal data such as Birthday, Gender, Height and Weight have to be input to get more accurate    

          estimation of distance and calories burnt.  

Trip Mode

Progress 

of goal %

10%

100%

20%

90%

30%

80%

40%

70%

50%

60%

Distance Display

Trip

Point

Trip

Point

Trip

Point

Trip

Point

Peak

Point

Peak

Point

Date

Date

Start

Stop

5.0 Trip Mode - Function Display

Main Trip Display

- The  Trip  Mode  includes  3  kinds  of  Goal Type 

display:

- Distance Display
- Step Display
- Calories Display

- See Trip Setting mode to select Goal Type display 

Functional Display

- The  Trip  Mode  includes  7  kinds  of  functional 

display:

- Steps Display
- Current Heart Rate Display
- Travelled Time Display
- Current Speed Display
- Calories Display
- Current Altitude Display and 
- Record Display

- To select among different functional display, press the 

[L/R] button following the adjacent diagram.

Note: 

If Distance / Step / Calories are selected in Goal 

Type display, functional display will not be shown again 
in the upper row.

Steps

Travelled Time

Current Heart Rate

Current Speed

Calorie

Current Altitude

Record

[L/R]

[L/R]

[L/R]

[L/R]

[L/R]

[L/R]

[L/R]

Trip Mode

Functional

Display

Goal Type

Display

Progress 

of goal

Current

Time

[L/R]

(Distance Display)

Functional Display

Summary of Contents for Sensor Master V

Page 1: ...Instruction Manual Sensor Master V Multi Sensor with Pedometer and Optical Heart Rate Watch ...

Page 2: ... below notes Be sure to carefully read this manual and keep it on hand for later reference when necessary Avoid exposing your Watch to extreme conditions for an unreasonable time Avoid rough usages or severe impacts to your Watch Do not open the Watch s case unless a certified service agency because your Watch contains precise electronic sensors and components Clean your Watch with a soft cloth oc...

Page 3: ...ction How to Start Stop Trip Mode The watch has a built in 3 axis accelerometer sensor which monitors and records your physical activity One of the 3 types Steps Distance and Calories can be selected as the trip goal and display on the watch In Trip Mode press S S to start Press S S once again to stop When Trip Mode start will appear and icon will start flashing During the Trip Highest Peak point ...

Page 4: ...s organization websites for example www heart org This Watch includes three pre defined heart rate zone Aerobic Fat burn Health and one user defined Heart rate zone My Zone for selection The Upper and Lower limits of these Zones are shown in the adjacent diagram Heart Rate Zone setting based on the percentage of Estimated Max Heart Rate EMHR EMHR 220 Age Example Your age is 20 Your EMHR is 200 If ...

Page 5: ...ep Total Traveled Distance Total Calories Burnt Total Traveled Time Total Average Speed Average and Highest Heart Rate Trip Point Data In Trip point data view press S S to recall the recorded trip point and total Trip point data In each Trip point data view press L R to select between Lap Step Lap Distance Lap Calories Heart Rate View 5 5 0 Trip Mode Trip Record Recall Trip Point Data 5 5 1 Trip M...

Page 6: ... Close to an electrical appliance Inside a moving object Perform compass calibration or magnetic declination compensation process when The Watch is using for the first time The battery has been replaced The bearing direction digits are flashing and the compass bearing and compass direction are flashing The compass uses in a location that is apart from the place in which the compass had been calibr...

Page 7: ...noaa gov seg geomag jsp Declina tion jsp 7 3 Compass Mode Backward Bearing and Compass Lock NOTE When the Backward Bearing indicator is appeared the Watch is showing the backward bearing direction of the navigating direction When the Lock indicator is appeared the compass direction bearing direction and the magnetic north pole pointer are locked and would not be changed The Compass Lock will be re...

Page 8: ... be deleted at the same time 8 0 Daily Alarm Mode Daily Alarm 1 Daily Alarm 2 and Chime Display Daily Alarm 1 and Daily Alarm 2 The Watch includes two daily alarms Daily Alarm 1 and Daily Alarm 2 The Daily Alarm 1 and Daily Alarm 2 are working independently Press the S S button to switch among the Daily Alarm 1 Daily Alarm 2 and Chime Display following the adjacent diagram How to Turn ON OFF the D...

Page 9: ...hen timer reaches zero Press any button CAN stop the beep instantly The Target Time will be reloaded automatically time minute S S S S S S S S S S 0 3 1 2 3 2 2 Multiple Countdown 1 Single Countdown 3 2 1 0 Single and Multiple Countdown L R L R 3 3 TargetTime Zero Counting StopCounting S S L R S S Beep Beep Beep Beep 9 1 Chronograph Mode Recording and Recalling Lap Time How to Record Lap Time The ...

Page 10: ...ted added for this setting World Time Mode 1 Second City Code World Time Mode World Time DST 11 1 World Time Mode City Initial Code Table City Code Table 1 ADL Adelaide 11 BRU Brussels 21 DE N Denver 31 KHI Karachi 41 NOU Noumea 51 SIN Singapore 2 AKL Auckland 12 BUE Buenos Aires 22 DUB Dublin 32 LAX Los Angeles 42 NYC New York 52 STO Stockholm 3 AMS Amsterdam 13 CAI Cairo 23 DXB Dubai 33 LIM Lima...

Page 11: ...ourly chime Alarm Sound Sounds for 30 seconds at preset time Countdown Timer Mode Resolution 1 second resolution Measuring range 99 hours 59 minutes 59 seconds Quick Set 6 quick set Values 1 3 5 10 15 45 minutes and 1 User Define Barometer Mode Resolution Measuring Range 300 hPa mbar to 1100 hPa mbar 8 85 inHg to 32 48 inHg Sampling Interval First 5 min 1 second After 5 min 1 min History Recall Ma...

Reviews: