


6
Connecting the Ethernet Cable
The 5big Backup Server is accessible when attached to
your network
(Fig. 06)
.
The 5big Backup Server must
receive its IP address from a DHCP server.
1. Connect the Ethernet cable to the Ethernet port on
the back of the LaCie 5big Backup Server*.
2. Connect the other end of the Ethernet cable into an
available Ethernet port on your router.
3. If it is not powered on, turn on the 5big Backup
Server. See
Turning On the 5big Backup Server
.
*The USB 2.0 and eSATA ports are for storage
expansion only. They cannot be used for direct
connection to a computer.
DESIGNED BY NEIL POULTON
POWER
AUDIO OUT
LAN 1
USB
USB
USB
eSATA
Fig. 06
CAUTION: (1) Only use the AC adapter supplied with your specific LaCie device. Since each
product is unique, do not substitute a power supply from another LaCie device or another manu-
facturer for the LaCie 5big Backup Server.
(2) Please note that the AC adapter provided with your LaCie device includes connectors for
electrical outlets in multiple regions. Thanks to its 100-240 Volt power supply, you may use your
device in a foreign country. However, LaCie accepts no responsibility for any damage to the drive
resulting from the use of an inappropriate adapter. Further, your warranty will be void if you:
• Use a power cable, power supply, or power adapter other than one that has been autho-
rized by LaCie.
• Do not remove your AC adapter when transporting your LaCie device. Neglecting to do so
may damage your 5big Backup Server.
DESIGNED BY NEIL POULTON
POWER
AUDIO OUT
LAN 1
USB
USB
USB
eSATA
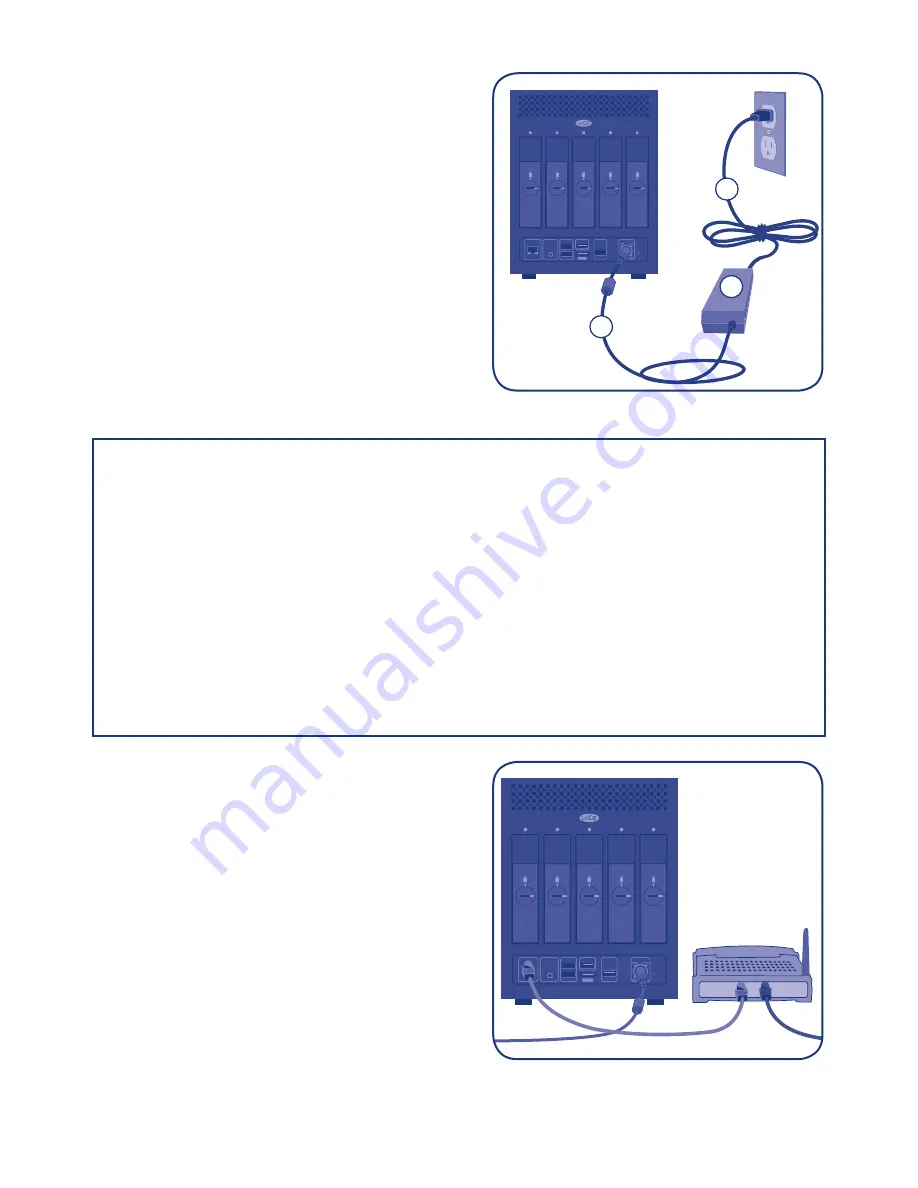
Connecting the Power Supply to the
5big Backup Server
The power supply kit is composed of two cables:
one cable (A) connects to the LaCie 5big Backup Server;
and the other cable (B) connects to a power source,
such as a wall outlet or a surge protector
(Fig. 05)
.
1. Connect Cable
A
to the 5big Backup Server.
2. Connect Cable
B
to the power supply brick (
C
).
3. Connect Cable
B
to a surge protector or wall outlet.
4. Turn on the device by pushing the button on the
face of the 5big Backup Server.
5. The 5big Backup Server is powered and ready for
use when the front LED stops blinking.
Fig. 05
A
C
B


