Maintenance
77
Adjustment Procedure:
1.
Move the packer blade to the half pack position, switch OFF the hydraulic pump, shut the engine
off and remove the key (see
Lockout/Tagout Procedure
on page 37).
2.
Remove the cover protecting the packer blade ahead and half pack proximity switches and check
that the actuator bolt is 3 3/4 in. (9.52 cm) from the front end of the slot and perpendicular to
the front header.
N
OTE
:
Full Eject
: The actuator bolt is attached to a clamp that should be 1/16 in. (1.58 mm) below the
top of the shaft-end cylinder collar.
Tip-to-Dump
: The actuator bolt is threaded into a plate that is welded to the cylinder tube.
The actuator bolt is cemented in place with Locktite 242 or 272.
3.
Check the gap between the proximity switch and the tab.
If the gap is too wide or too narrow, proceed with the adjustment:
3 a.
Loosen the proximity switch mounting nuts. Slide the switch forward or backward in the
mount to achieve a gap of approximately 1/4” with the tab.
3 b.
Tighten the proximity switch nuts.
3 c.
Test the operation.
4.
Start the Front Loader, switch ON the hydraulic pump and test the packer blade operation.
5.
Repeat steps until the half pack proximity switch is correctly adjusted.
6.
Reinstall the cover protecting the packer blade ahead and half pack proximity switches.
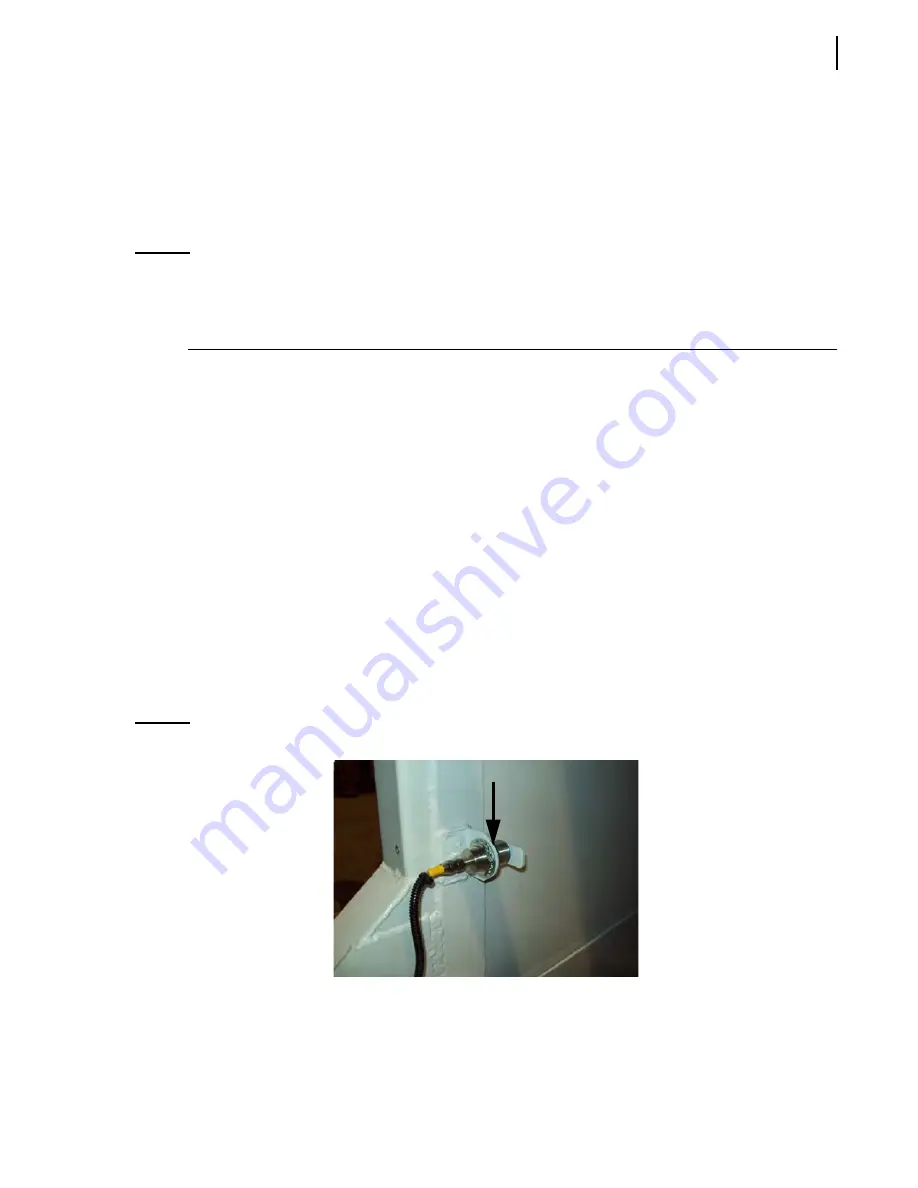
Adjusting Side Access Door Proximity Switch
The side access door proximity switch affects the power to all packer system electric controls. It also
cuts power to all hydraulic functions when the door is not fully closed.
Location:
The side access door proximity switch is mounted on the side access door frame.
Figure 3-15 Side access door proximity switch
Summary of Contents for Pendpac WITTKE RETRO FL
Page 1: ...WITTKE RETRO FLTM MAINTENANCE MANUAL...
Page 2: ......
Page 3: ...WITTKE RETRO FLTM MAINTENANCE MANUAL...
Page 5: ......
Page 6: ......
Page 10: ...viii Table of Contents...
Page 14: ...4 Introduction...
Page 20: ...10 Safety Keep Hands and Body Clear...
Page 21: ...Safety 11 Stand Clear of Tailgate Extreme Crush Hazard Service Hoist Handle...
Page 22: ...12 Safety Do Not Climb on Canopy Check All Bridge Clearances...
Page 24: ...14 Safety Crush Hazard Body May Fall The Top of This Vehicle is High Enough...
Page 25: ...Safety 15 Danger of Electrocution Damage to Vehicle Frame is Heat Treated...
Page 26: ...16 Safety Disconnect All Batteries and Electronic Control Modules Remove Cap Slowly...
Page 27: ...Safety 17 Extension Ladder Must Be Secured Lubrication Points...
Page 28: ...18 Safety Service Hoist Instructions Air Tank Drain Notice...
Page 29: ...Safety 19 Setting the Tailgate Props Curb Side...
Page 30: ...20 Safety Setting the Tailgate Props Street Side...
Page 53: ...Safety 43 5 Lift the body Figure 2 9 Proper lift setup...
Page 54: ...44 Safety...
Page 102: ...92 Maintenance Residential Front Loader...
Page 103: ...Maintenance 93 Tip to Dump...
Page 126: ...116 Maintenance Hydraulic System Schematics Commercial Front Loader...
Page 127: ...Maintenance 117...
Page 128: ...118 Maintenance...
Page 129: ...Maintenance 119...


