


LABORIE Urocap IV Owner’s Manual UC4-UM01
25
•
Menu Bar: Click to access the features available for testing and analysis.
•
Device Status: displays the connection status of the Urocap™ IV. Any changes to the status will
automatically appear here. Double click the icon to open the
Device Manager
window to investigate status
changes and to reconnect.
•
Control Panel: contains buttons for selection during procedures
•
Graph Display Area: displays the scrolling graph, saved graphs, and contains zoom level options.
6.1
QUICK START
•
Click the Uroflow button to manually control the software.
•
Click the Uroflow Auto Start button to automatically start the test and print results.
•
Click the Uroflow Auto Recording button to automatically start, stop, and open the
iLIST Reporter
software.
6.2
FILE MENU
The File menu contains items that allow you to view saved files as well as view contact information for LABORIE’s
support department.
6.2.1
OPEN
Select this to open and view any saved test files.
Click on a patient name to view all tests associated with that particular patient.
To view a test, click on the test name in the lower-half of the window and then click Open Selected Test.
6.2.2
OPEN FROM DATA FILE
Select this to view tests that are saved in the DATA folder on your computer.
•
Data Files can be conveniently sorted according to Filename, Procedure Date, File Date, Patient and
Comments fields.
•
The Re-Index button updates the information stored in the Data Files.
•
The Save ListView button allows you to save a copy of the file list in notepad.
•
The Set Directory button allows you to see the location of the directory where all test data is saved.
6.2.3
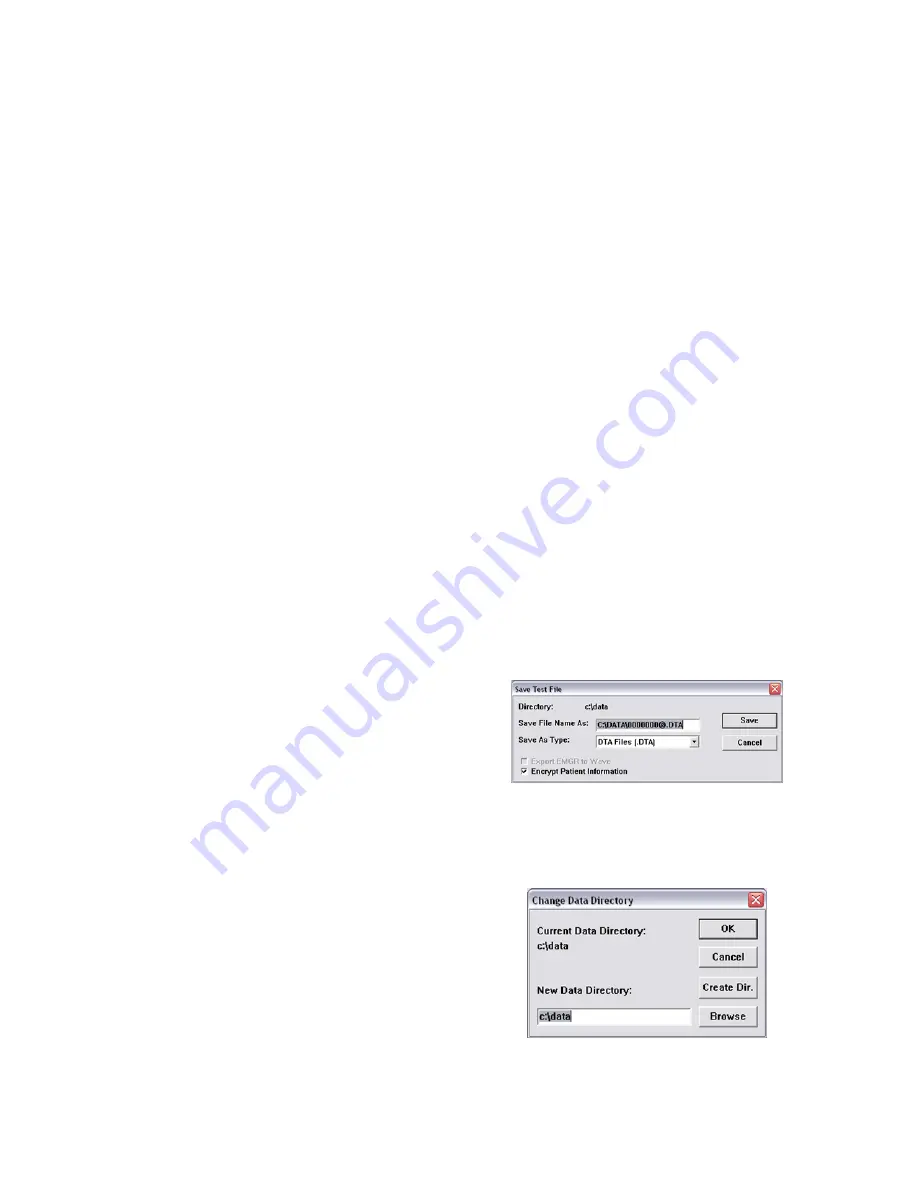
SAVE AS
Click this to:
•
Save a test for the first time.
•
Resave a test using a different filename.
Set up Patient File Security features by selecting the
Encrypt Patient Information
box as shown in Figure 5 –
Figure 5 – Save Test File Window
6.2.4
FILE SAVING DIRECTORY
The File Saving Directory option allows you to select the storage directory/folder for saving the UDS data files.
To change the directory:
•
Click Browse and select a new directory.
•
Click OK.
•
Click the Create Dir. button to set the new
directory.
Click OK.
Figure 6 – Change Data Directory Window


